Here are the links to the parts of the blog series:
Part 1 - Drawing and painting Goldilocks
Part 2 - Drawing and painting Papa Bear
Part 3 - Drawing and painting Mama Bear
Part 4 - Drawing and painting Baby Bear
Part 5 - Adding educational items to Goldilocks and Papa Bear
Part 6 - Adding educational items to Mama Bear and Baby Bear
Part 7 - Sewing the actual book bags

We will start with Mama Bear. Cut two pieces of fabric to size.


Cut stiffening for the panels and iron it on.

Cut the panels in half in the length so that you have four panels.

You will need a short 10 cm zipper.

Sandwich the zipper between two of the panels and pin in place.

Sew as close to the zipper as possible.

Sandwich the other side of the zipper between the remaining two panels and pin in place. Sew as close to the zipper as possible.

Close all four ends of the panels.

Cut away the excess fabric in the corners.

Turn the panels right side out.

Fold the open seams in and iron flat.

Cut two lengths of ribbon. These are decorative and optional.

Pin the ribbons to the panels and pin the zipper panels to the character panel.

Sew along the outer edges.

Sew the top and bottom down as well so that the zipper panel creates a pocket.

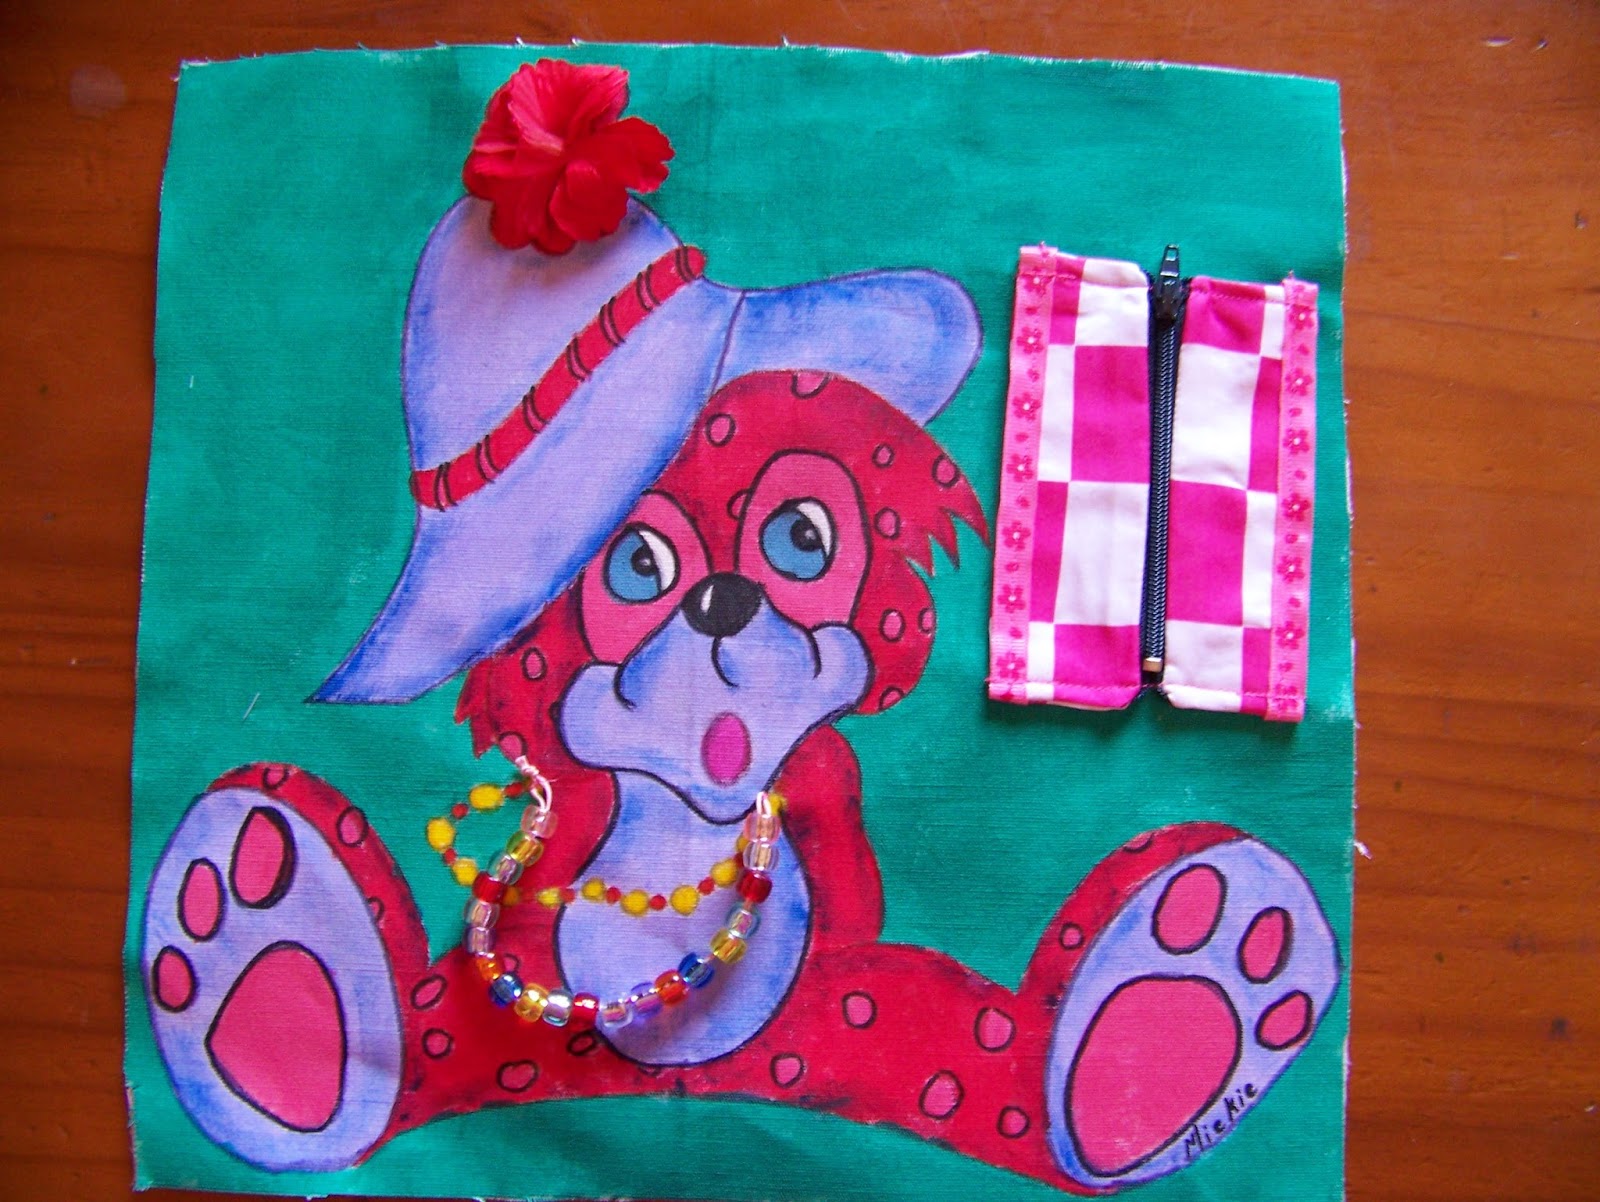
Learning to open and close zippers is a good fine motor skill development technique and one that children have to master when they learn to dress themselves. I slid my scissors into the pocket here to make it clear that there is a pocket.

I found a fabric flower that fits the size of the painted flower and sew that one by hand. Once again I have managed to add more textures to the panel which assists in tactile development. All of the elements that are attached later may in time be pulled off by inquisitive little hands. I have yet to discover anything that is entirely child-proof. If this happens and the elements get lost, the painted pictures will still be there and the book bags will still be pretty.

I have beads with big holes in them and can use a rather thick string attach them to the panel. I like this because it makes it stronger and more difficult for the kids to pull the beads loose. Small children like to push beads up unforeseen crevices (such as noses and ears) and these should be kept away from them unless firmly attached. I cut the string to just longer than the painted beads x 2. I then tie a knot in the open end so that I have a closed loop.

I want to use multi-colored beads in the string, because that way the beads can be used to assist in teaching color recognition.

I strung 20 beads onto the string. I could have fitted more, but I wanted space for the beads to be moved on the string so that the beaded string can double as a counter to teach elementary Mathematical skills and counting.

I put a pin through the one end of the loop to keep the beads from slipping out.

I then sew the two ends of the loop in place.

When I am done I have added a number of useful elements that are pretty as well.

We now move on to Baby Bear. Again we start by cutting two panels from fabric to size.


Yet again we need to cut stiffening for the panels and iron it on.

Fold the panels in half, right sides facing, and sew the panels closed on two sides.

Trim away the excess fabric in the corner..

Turn the panels right side out

Fold the open seams in and iron flat.


Cut two pieces of ribbon to fit the width of the panel, folded over.

Pin these ribbons in place.

Cut two more ribbons just longer than the length of the panels.

Tuck the ends in, lay the ribbons in place and sew. This seam will also catch the loops of the first two ribbons, securing them in place.

Sew the remaining panel in place in the same way. Hook the fasteners in place and mark where they need to be attached to the second panel.

Attach the clips by hand.

Cut a wide ribbon approximately 1 m in length. Gather it at the center and sew it onto the bear's bow tie.

Fold the ends in half and snip.

When opened up you will have a pretty v-shaped ending.

Burn the edges of the ribbon so it melts to stop it from fraying.

A nice big ribbon like that is ideal for learning to tie bows, which is an important skill to master.

With all of the panels now prepared, we will sew the actual book bag library in the next blog and attach the prepared panels to it.

For more crafty ideas and great products, visit APrettyTalent.com.
Remember to keep nurturing your TALENT for making PRETTY things.
You can subscribe to this blog and receive regular updates by email by simply registering your email address at the top of the current blog.
No comments:
Post a Comment