Easily navigate between the different parts of this 3 part blog series by following the links:

I start by laying out the pattern pieces on the fabric it should be cut from. (You will see pattern pieces for the Minnie Mouse Cuddle Cushion mixed in here as I cut the two patterns together).

In actual fact Rocky's nose is an olive green color. I doubt I will be able to pull that off in fabric and opt to cut it from black instead. The pupil of the eye is also cut from black.

The badge and head is cut from grey. Both the front and back of the head is cut from grey.

There are a number of colors I do not have in fabric to finish Rocky. I therefore decide to cut it from white and to paint it the desired colors instead.

As I did not have the necessary colors in fabric, I decide to paint the cut-out pattern pieces the desired colors. I use Dala's Fabric Paint for this purpose. The mouth and two of the ears need to be flesh colored. I only have Peach left and paint these pieces Peach.

I use a wide flat brush to paint the pieces as there is no detail in the painting process.

Rocky's eyes are brown and this is the color I use on the color sections of his eyes.


I have grey fabric, but want a more lively color for his ears. I therefore decide to mix black and white to get a less solid grey.

I partially mix the two colors with a palette knife, wanting the grey to have darker and lighter patches when I paint it.

Isn't this better than a dull monotone grey?

The cap is non-negotiable and is painted green.

I want to use green on the arms as well, but I am in danger of running out. I therefore decide to start in Olive green and leave patches unpainted.

I fill the unpainted patches with Green and get a very interesting mix for the arms.


I cut iron-on cotton stiffening for the face side of the head.

It is time to lay the different fabric pieces in place to see if anything needs adjusting. I am satisfied with the progress so far.

I now cut double-sided iron-on stiffening for the different facial features.

I iron the stiffening onto the face.

The badge is ironed onto the cap.

The paw print is then ironed onto the badge.

The whites of the eyes, the nose and the mouth is ironed on.

I iron the teeth and the brown of the eyes on.

Only the pupils of the eyes still need to be ironed onto the face.

I iron stiffening onto both sides of the cap of the hat.

I set the color on the painted fabric pieces by ironing it fast with a hot iron.


Lay the ears right sides facing on top of each other. They must be flesh to grey. Sew along the two long sides.

Trim the seams.

Turn the ears right sides out.

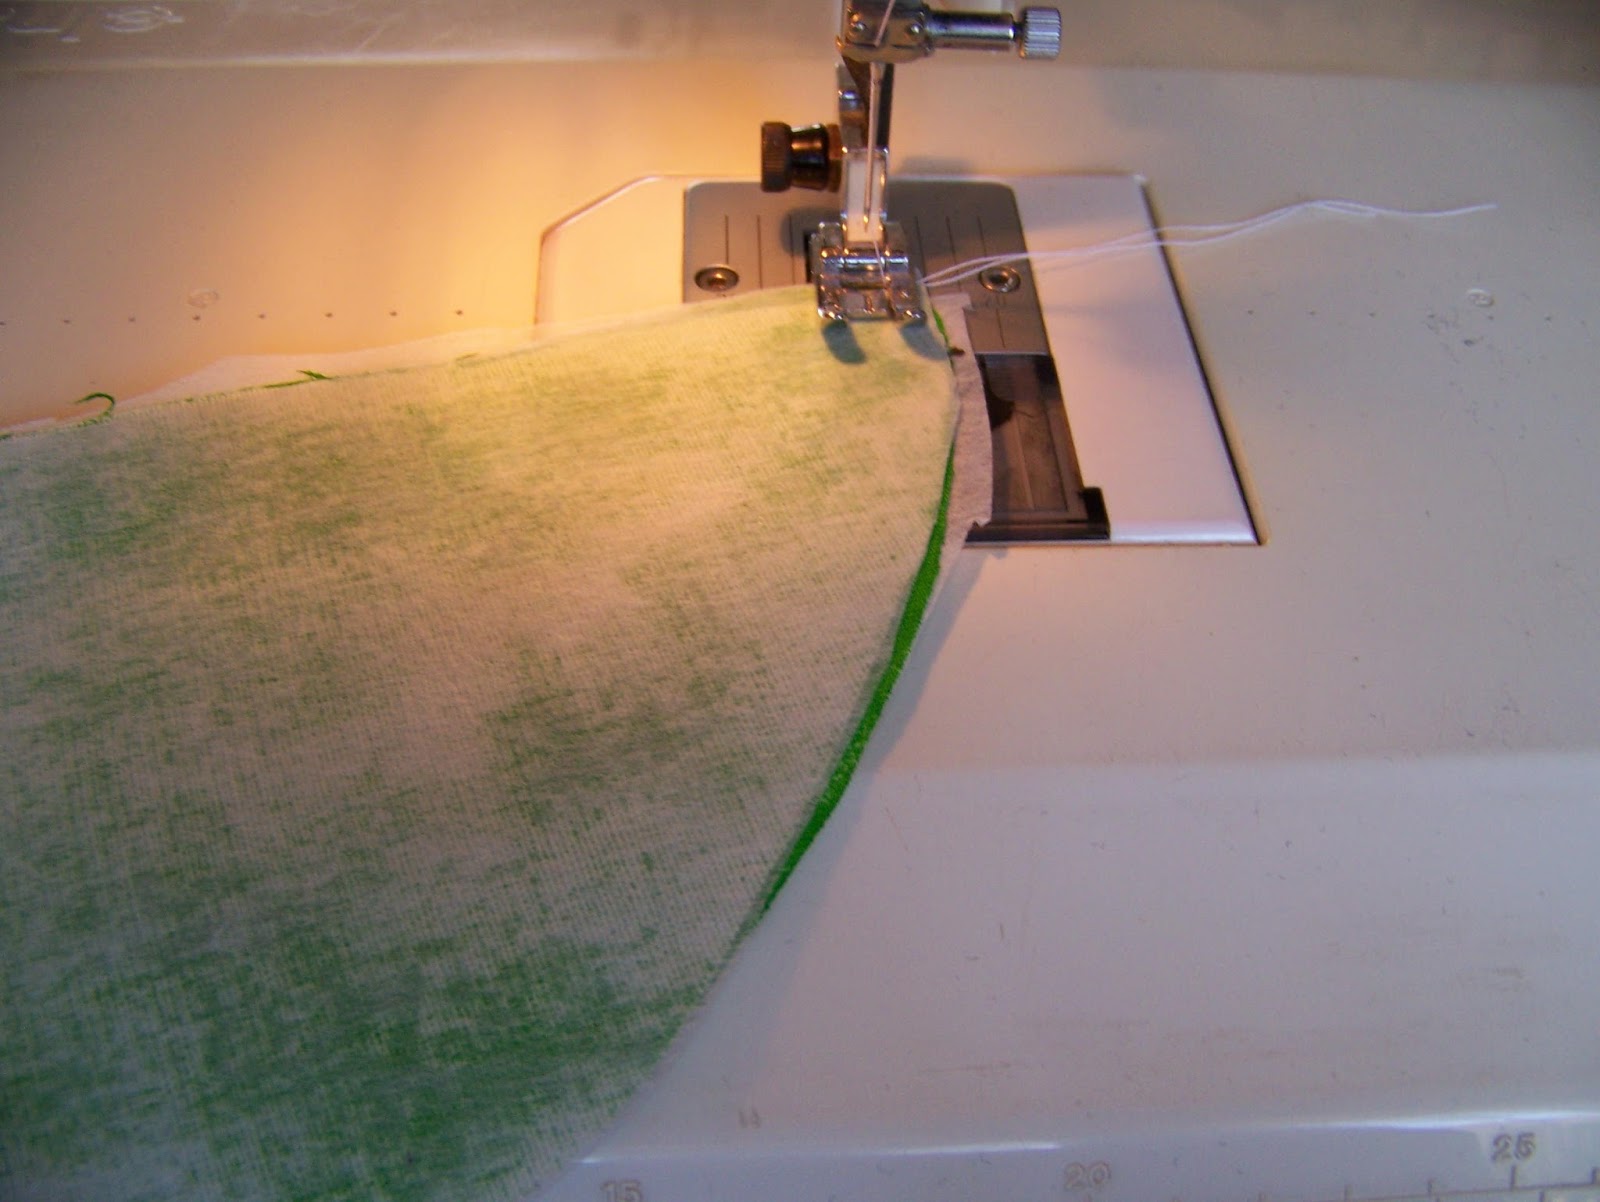
Lay the cap pieces on top of each other. Sew a foot width from the side all along the rounded seam.
Trim the seam.

Cut a rounding to the other side of the cap. If this side is not rounded, it will not stand upright when we are done.

Turn the cap right side out.

Fold the arms over and sew at 1,5 cm seam allowance along the long side.

Iron the seam on the arms open. Iron the cap and the ears flat.

Pin the hands to the arms.

Sew the hands to the arms.

Turn the arms right sides out. We will finish the cuddle cushion in the next blog in the series.

For more crafty ideas and great products, visit APrettyTalent.com.
Remember to keep nurturing your TALENT for making PRETTY things.
You can subscribe to this blog and receive regular updates by email by simply registering your email address at the top of the current blog.
No comments:
Post a Comment