
You will need a container to pour the rubber into. You will need shapes to make molds of. I am going to use buttons. The liquid rubber is in the unbranded bottle in the photo.

Pour the rubber into the container.

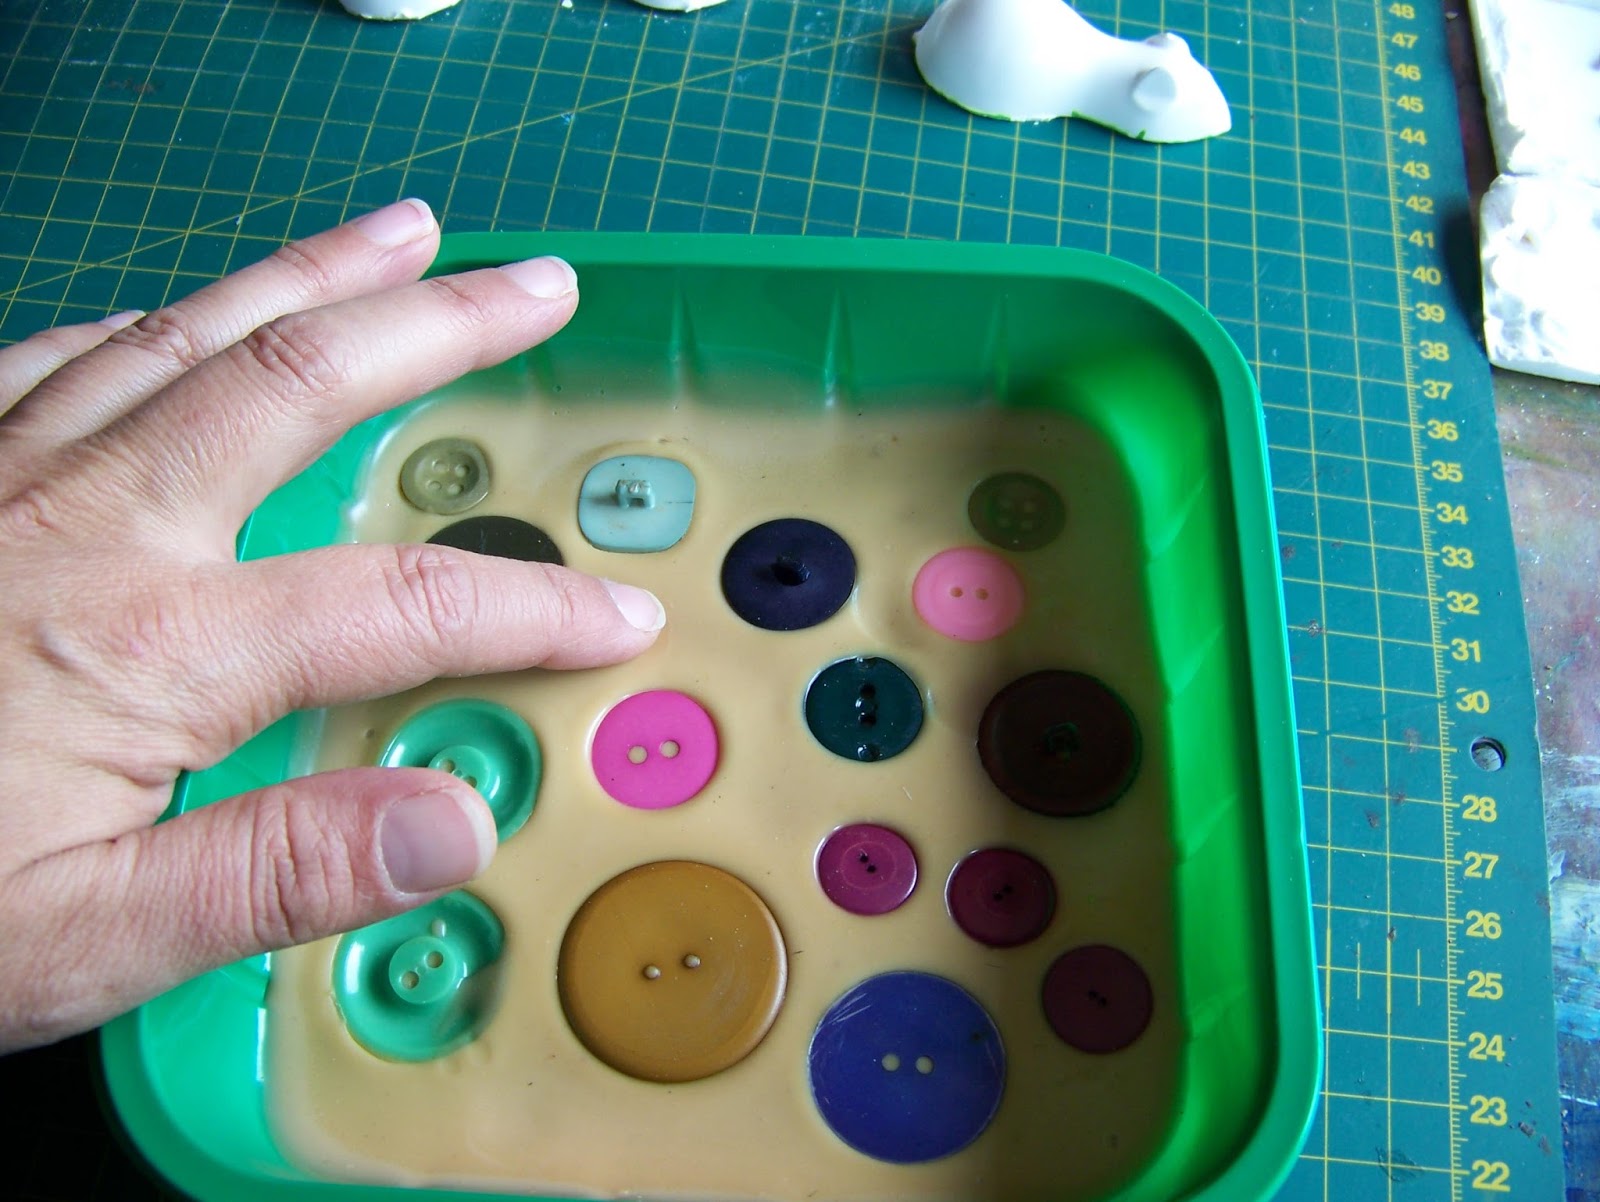
Lightly press your shapes (buttons) into the rubber. I clumsily dropped my first one in and it became half submerged. I decided to leave it as is to show what will happen, but I could easily have lifted it out, cleaned it off and put it back again. I now set it aside to dry. Mine will have to dry overnight while I continue with other projects.

48 hours later I tested the mold to see if it had set. It should give way like rubber and then bounce back when I press my finger against the dry surface if it is dry throughout.
I found that the indent left by my finger remained. It was clearly not dry yet. This could be because we have had a couple of cold and wet days. In warm and dry weather the drying time could be expected to be much shorter.

I waited 5 days before the rubber eventually set and I could remove the buttons.

I discovered that in some places I cast the mold almost too thinly. This would mean that I could not remove it from the container for fear the mold would tear. As it is a throw-away container it would not be a problem.

I also discovered that with some buttons the color seemed to have transferred from the plastic button to the rubber mold.

And then I discovered that the rubber was not dry under most of the buttons yet!

You can see that the rubber is still wet enough here to be lifted off with the button.

This is the button that I dropped in the mold and I now trimmed the rubber before placing the buttin back in its position, hoping it will eventually dry correctly.

There were many more buttons that needed to be replaced to continue drying.


Although the mold was dry under this button, the rubber seemed to have absorbed most of the color from the plastic button. It used to be the same color as the small purple ones below it.

I decided that I would not wait for the rest of the buttons to dry. I had some Plaster of Paris mixed for another project and poured it into the molds that were already dry.

The Plaster of Paris casts came out beautifully, proving that eventually I should have a very workable mold. I have no idea how well the rubber will handle extreme temperatures or if it could be used with food items. I would therefore rather caution against it.

After another day or two the mold was completely dry and I finally removed the rest of the buttons. I honestly expected better results. Any suggestions to get better results anyone?

For more crafty ideas and great products, visit APrettyTalent.com.
Remember to keep nurturing your TALENT for making PRETTY things.
You can subscribe to this blog and receive regular updates by email by simply registering your email address at the top of the current blog.
No comments:
Post a Comment