Easily navigate between the differents parts of this 3 part blog series by following the links:
Part 1
Part 2
Part 3

For those of you who also did not know who Rocky is I include this screen shot from the iPad.

Not having an amply large enough paper to deign on, I glued 3 A4 sheets of paper together.

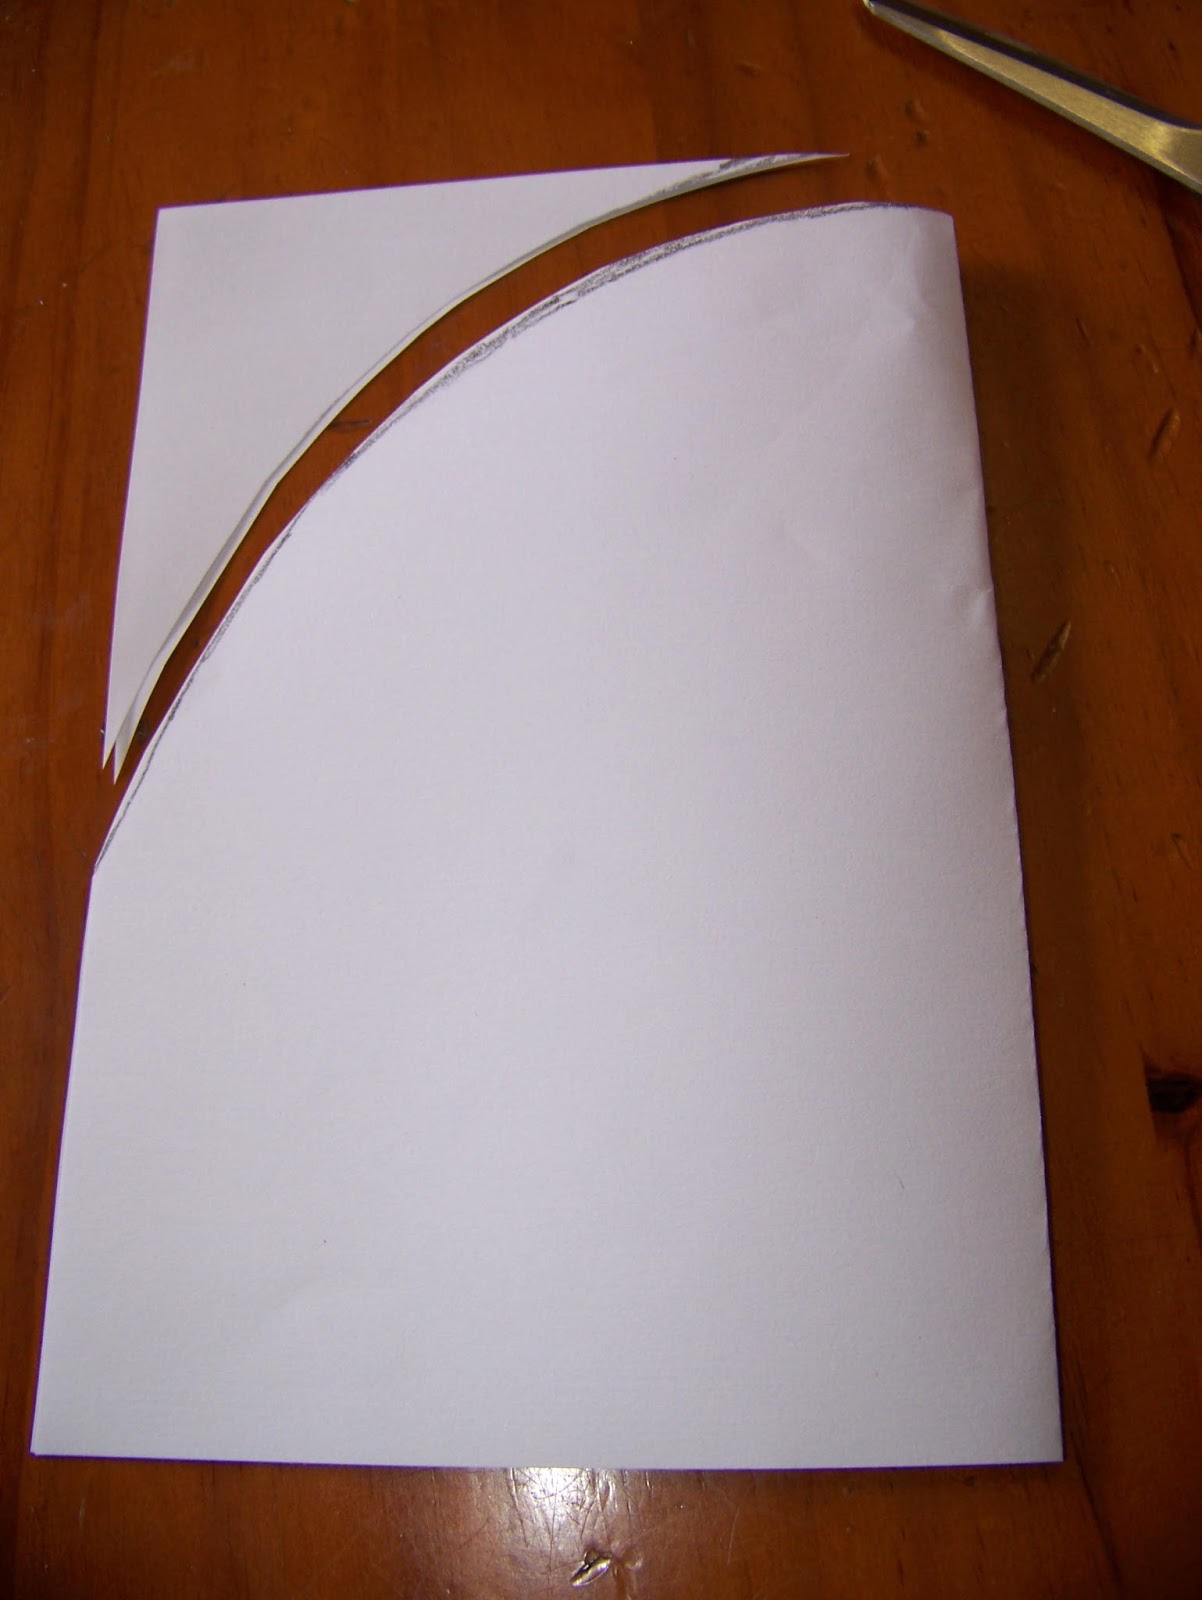
Set your compass to radius 15 cm. This will construct a circle of diameter 30 cm which will serve as the base for the cushion.

Describe the circle, making sure there is enough space left on the paper on three sides of the face for facial extensions.

Not being familiar with the character, I drew the facial features in freehand to orientate myself about dimensions and shapes.

I then folded the circle in half to cut the circle with its facial extensions to be similar on both sides.

Cut on the fold.

I cut a mouth for Rocky on the fold. I then traced the mouth so that I could cut teeth that would fit perfectly in the mouth.


I folded another piece of paper and drew half of Rocky's nose.

The nose was also cut on the fold.

Progress photo.

I used the dividers to measure the diameter of the eyes.

I found the diameter to be 7 cm.

I would have to describe the eyes at radius 3,5 cm.

I drew the two desired circles for the eyes.

I drew a third circle for the eyes so I could draw the details in here.

I started on the color of the eyes, drawing it inside the third circle I drew for the eyes.

The color of the eye is traced so I can draw the pupil inside this space.

I draw the pupil as desired.

Progress photo.

The ear is drawn freehand.

The ear is then folded in half and cut on the fold.

Trace the ear for a second copy as well. Note how I keep writing the names of the pattern pieces inside the pieces so they will not confuse me afterwards.

Progress photo.

The arms will be cut from a whole A4 sheet of paper. We only need to construct the circles for the 'hands'. Set your compass to radius 4 cm.

Describe the circle for the hands.

The pattern pieces for the arms and hands.

Rocky wears a distinctive cap. I trace the top of the head to design the cap.

Fold the paper in half and cut it out.

The distance from the lowest part of the circle to the end of the paper is 9 cm. I draw a line 9 cm wide under the semi-circle.

I now have the part of the cap that fits on the head.

I measure this width of the cap and find it to be 29 cm.

I need to design the cap for the cap/hat. It will be 12 cm deep and 29 cm wide.

Fold the paper in half and draw a soft semicircle for the brim of the cap.

Cut it on the fold.

I fold another piece of paper to draw the badge that goes on the cap.

The badge is also cut on the fold.

I trace the outline of the badge to fit the detail inside.

The detail of the inside of the badge is drawn freehand.

The completed badge.

The completed pattern with all its pieces in place.

For more crafty ideas and great products, visit APrettyTalent.com.
Remember to keep nurturing your TALENT for making PRETTY things.
You can subscribe to this blog and receive regular updates by email by simply registering your email address at the top of the current blog.
No comments:
Post a Comment