Easily navigate between the three parts of this blog series by clicking on the links provided:
Before we start the appliqueing we need to draw in a couple of missing lines on the face. These are drawn with a pencil. I start by adding the luscious lashes that are synonymous with Minnie.
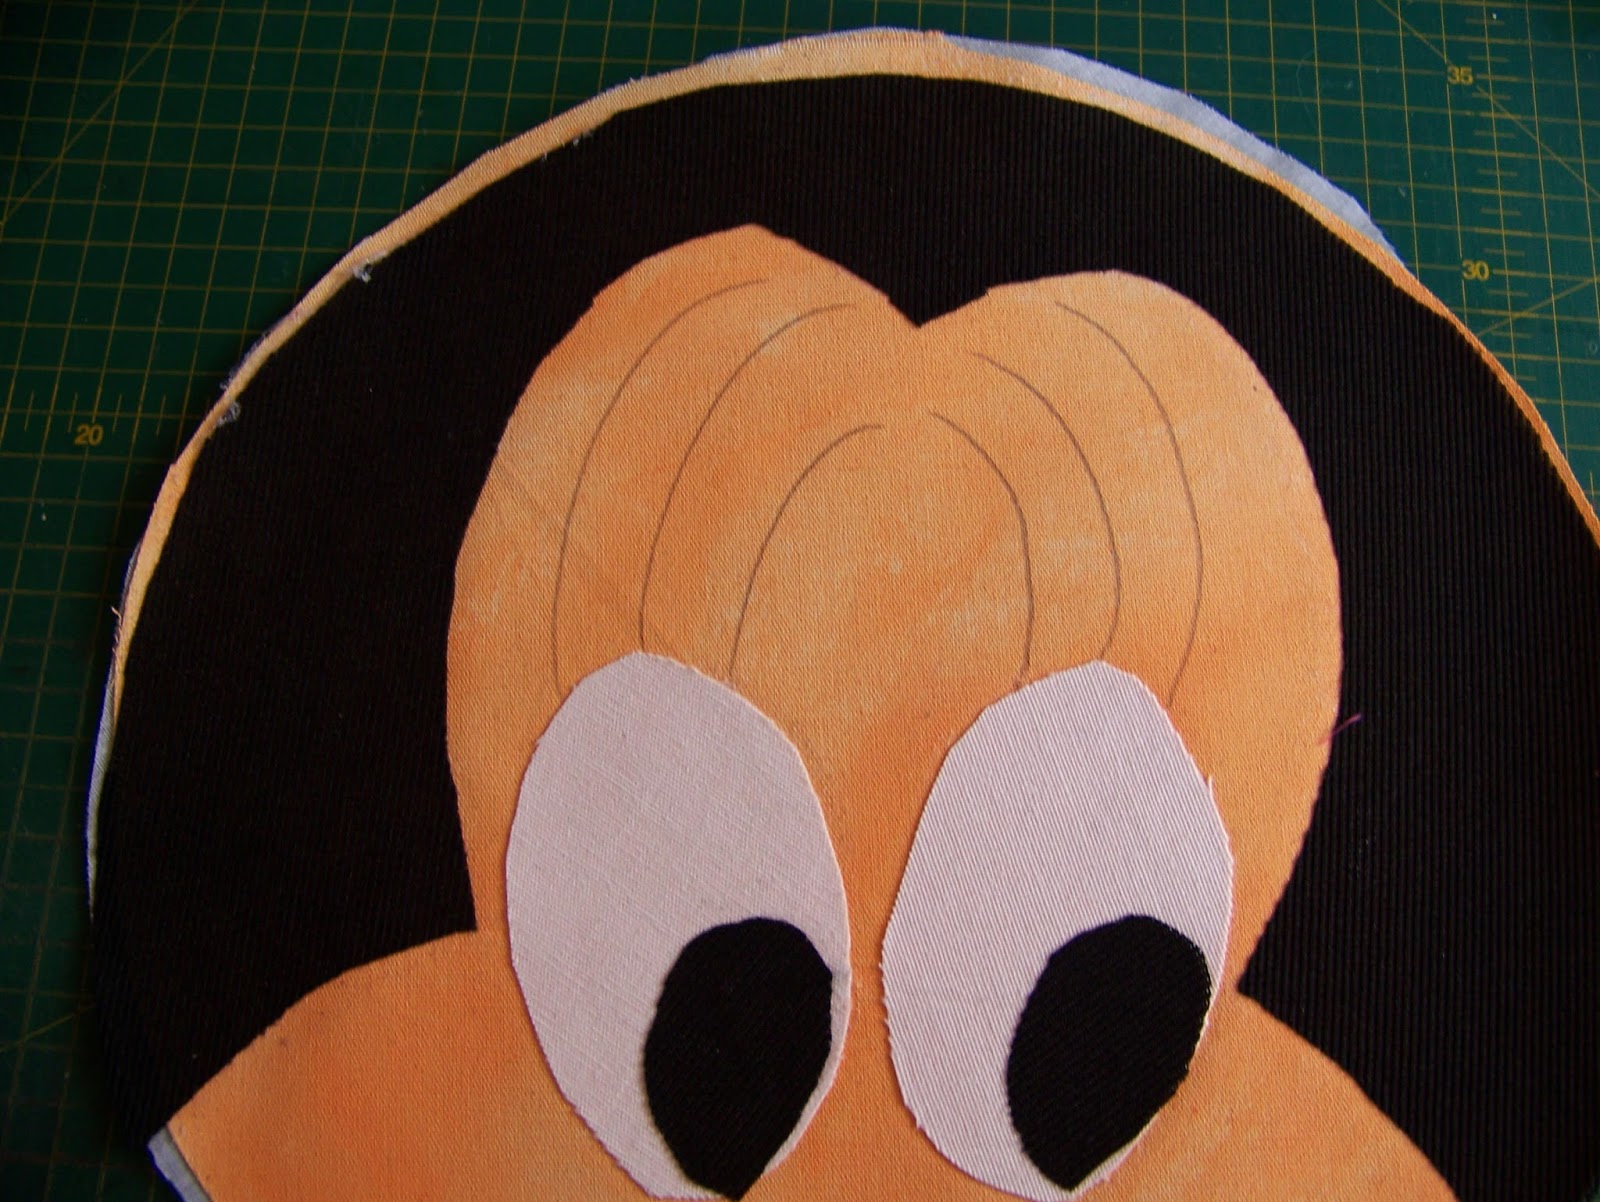
I also add the nose fold and the extensions on the mouth.

I now set my machine to a zigzag stitch and reduce the stitch length.

I start at the top of the face and work my way down. I set my needle to stop in the down position and applique the hairline in a single go, only stopping to turn the fabric.

The hairline with the applique done.

The next step is to applique the lashes.


I do the pupils and the eyes in one movement, continuously turning the fabric.


Next follows the nose line.

Progress photo.

I now sew from one mouth end to the next, across the upper lip.


It is time to applique the mouth corners.

Now follows the tongue.

The last to be done in the lower lip.

The face with all the appliqueing done.

I stuff the ears only slightly.

Pin the ears to the face and sew them on with a stay stitch.

The arms are stuffed well to give them shape.

Progress photo.

I now attach the arms to the face with pins.

Sew the arms on with a stay stitch.

I fold the arms and the ears in and lay the back of the head on the face with the right sides facing. The arms are very bulky and I have to use a lot of pins to keep the pattern pieces in place.

Start at the one arm and sew all the way around to the other arm leaving only the chin open.

Remove the pins and turn Minnie right side out. This is a rather arduous task as the arms are very stiff.

Fill the head with stuffing.

Pin the opening in the chin with the seams folded in.

Sew the ribbon on by hand between the ears.


Sew the chin closed by hand.

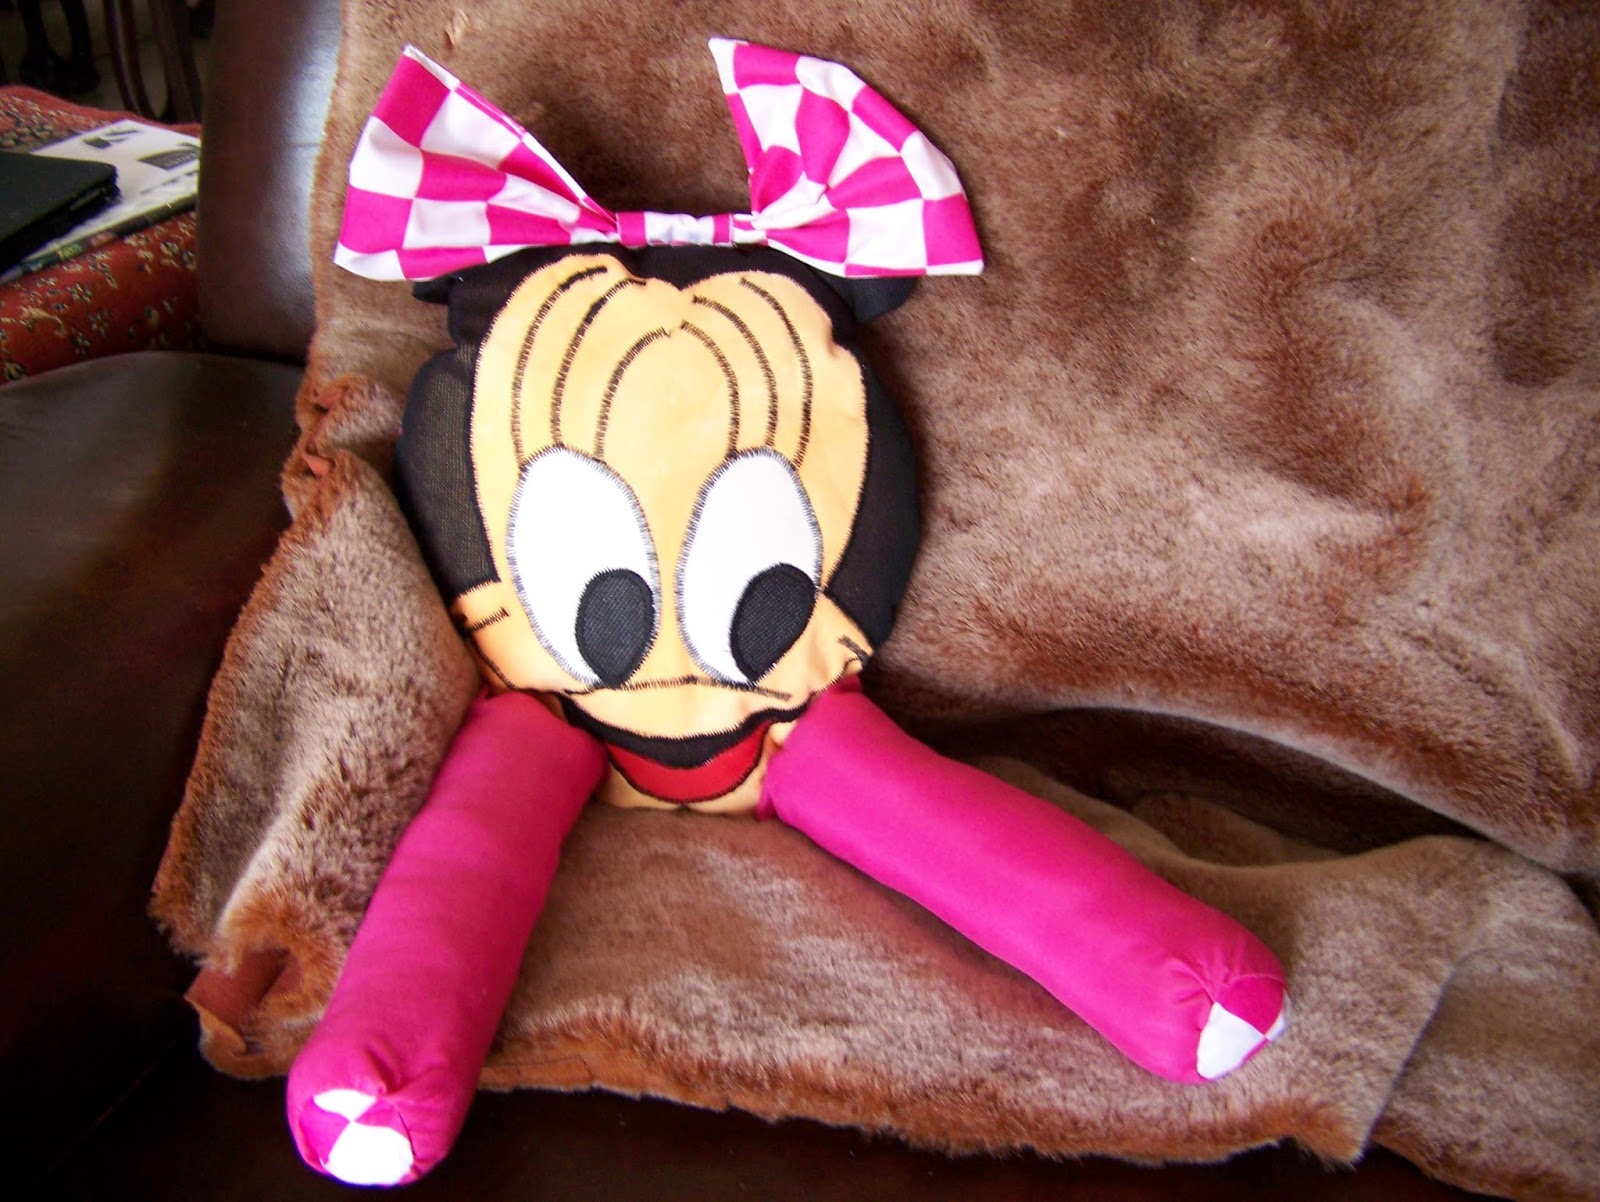
Now give Minnie to the closest little girl to enjoy.

For more crafty ideas and great products, visit APrettyTalent.com.
Remember to keep nurturing your TALENT for making PRETTY things.
You can subscribe to this blog and receive regular updates by email by simply registering your email address at the top of the current blog.
No comments:
Post a Comment