
I started today's project on an old bed sheet that had fallen into disuse. The fabric is still strong and will last a while longer, but the colour has made it very unpopular.

I measured a square of 45 cm.

This was cut out of the fabric. The first square was used as template for the successive squares to be cut out.

When I was done, I took care to iron all creases out before continuing.

My 10 year old niece wanted to paint Bloom from Winx Cl

I used a pencil to draw the design on the fabric, using the picture she selected from the internet as reference.

My 5 year old niece wanted to paint this odd version of Tinkerbell. She baffled all of us with this choice, but I was game.

I drew this design on the fabric using pencil. I did not draw the tattoos, as these could be added later if she still fancied them.

Having only now learned about Winx Club, I was rather fascinated by these little creatures. I decided to draw Muso for myself to paint, so that I could have something to work on to teach them what to do. I don't like working on their paintings, but prefer to demonstrate on my own.

Thus, I drew my chosen design on the fabric as well.

My 6 year old nephew had his own ideas. He wanted a tractor, a rake and a trophy. They never cease to amaze! I added his name for good measure, as it was still a novelty for him to be able to read and write it himself.

I decided the lines on the tractor was too confusing and used a fabric marker, from Dala, to outline it.

I love the quality of Dala Fabric Paints and this is what we would use for the project. This time the kids get some of my best brushes to paint with, as it is rather essential for accurate painting.

I started them off by illustrating how to fill the spaces.

I explained how it was easier to finish all the areas to be painted in a specific colour, before moving on to the next part of the painting. This way you don't waste a lot of paint when washing your brush.

This is my nephew working from his reference photos on the side.

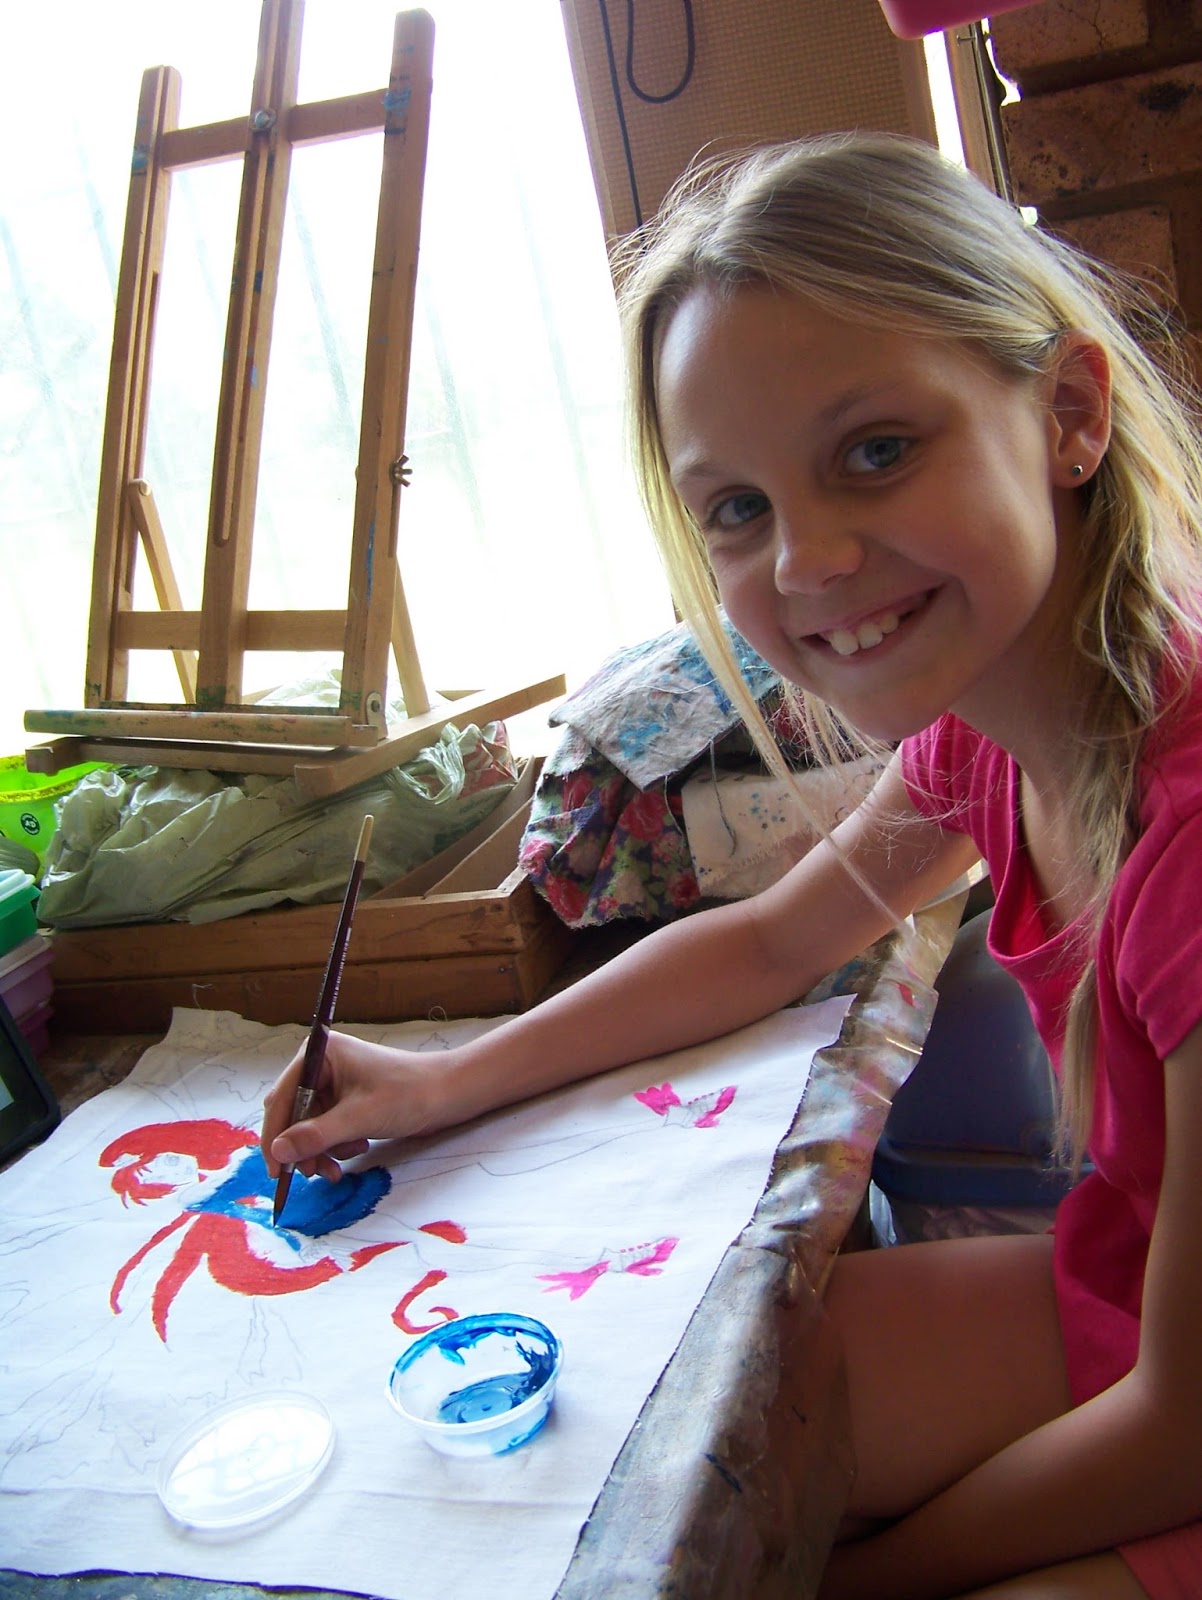
This is my niece, painting her fairy and having loads of fun. The smallest of the three wasn't available and would catch up later.

I the meantime, I had moved on to yet another colour.

My nephew had decided that he needed to add grass for his implements.

My niece, working from the reference photo on the iPad.

I opted for blue hair, rather than black.

This little man was still having fun, but getting restless. This is a long time to be busy with a single project and he wanted to be out and about.

My niece, being a little older, had a longer concentration span and was still happily painting away.
Progress photo.

Progress photo.

I painted the silver glitter on the wings with Dala Fabric Paint Glitter Pen. We had already lost my nephew and my niece was also growing tired. I suggested we leave it at that for the day to return to it in the morrow.

When I suggested getting into the swimming pool to wash the paint off ourselves, everyone was eager to leave the project be until the next day.

I think I will need to give a little more guidance here when we return. But this is not bad at all for a first timer.

The next day, the little one made her appearance and we started work on her fairy. She was still adamant about the black dress.

Fortunately, she was happy to add lots of colour to the other elements on the picture.

I assisted with the detail painting of the facial features.

In the meantime, I kept myself busy with my own fairy. I added some hearts.

Then I added some flowers.

My niece painted the flowers all by herself, but by then she had grown tired of painting. I painted the heart in the background.

Then I painted the whole of the remaining background, after consulting with her on the choice of colour. She painted glitter on the wings of the fairy.

This meant that one of the flowers needed to painted a different colour. She opted for white.

The paintwork on her pillow was now done.

My nephew had returned to the painting table, in between this and I showed him how to tidy up his painting. I then painted the background green on his instructions.

My own background, I painted Scarlet. The older niece was not present this time around, but we would finish her painting another day.

When all of the backgrounds were dry, I used some markers to outline the paintings. This gives it a tidier finish.

I then ironed it with a hot iron to set the paint permanently.

I found coordinating fabric to use as backing for the cushions.

I used the front of the cushions as guide to cut the back.

I then laid front and back on top of each other with right sides facing, and pinned it together.

I sewed all around the edge of the cushions, leaving only a small gap of approximately 10 cm open at the center bottom of the cushion.

Here you can see the gap I have left un-sewn.

I trim the corners.

Then I pull the cushions right side out, using a pin to pick the corners out neatly.

I let the kids shove the stuffing into their own cushions.

Once the cushions were full, I helped them to pin the opening together.

Then I showed them how to sew the opening closed by hand.

My finished cushion served as step by step example of what to do.

The little ones were the first to show up to finish their cushions

They had immense fun filling their own cushions.

I then folded the seams in and used closed pins to pin them in place, rather than the normal open pins.

I started the hand sewing fore them to show them what to do, as well as to secure the thread. I then handed the needle to them and allowed them to do the needle craft by themselves. I finished it off again.

The youngest participant obviously had a hard time of it, but this will make for a treasured keepsake when she's older. I left it as is.

Her finished cushion.

I pinned my little man's cushion as well.

He proved to be quite a meticulous little sewer!

I could not be more impressed with him! Very neat and tidy sewing indeed!

His finished cushion.

Three of the four cushions when finished. The oldest child had a busier schedule and still had to finish hers when the two younger children were already finished and rearing to take their cushions home with them.

The last little niece finally showed up to finish her cushion a couple of days later. She still had the wings to paint, as well as the background. She added two hearts to the background.

Once the wings were dry, she painted glitter over them. I outlined the drawing for her when all the paint had dried as she had once again disappeared.

It turned out that she would not return again that day and it was time to pack the sewing stuff away. I ended up finishing her cushion as a result.

The two fairy cushions side by side.

Marietjie Uys (Miekie) is a published author. You can buy the books here:
You can purchase Designs By Miekie 1 here.
Jy kan Kom Ons Teken en Verf Tuinstories hier koop.You can purchase Designs By Miekie 1 here.
Jy kan Kom Ons Kleur Tuinstories In hier koop.
Jy kan Tuinstories hier koop.
You can follow Miekie's daily Bible Study blog, Bybel Legkaart, here in English & Afrikaans.
For more crafty ideas and great products, visit A Pretty Talent on Facebook.
Remember to keep nurturing your TALENT for making PRETTY things.
You can subscribe to this blog and receive regular updates by email by simply registering your email address at the top of the current blog.