
I sorted the pattern pieces out to see which were body parts and which were clothing. In the process I discovered that there were some pieces I could not make head nor tail of. I would simply have to wait and see if time would reveal their secrets.

I decided to make this a real rag doll and use only off-cut fabric to make the doll from. The closest resemblance to skin tone I could find among my rags, was this. I cut the pieces for the doll's body from this apricot coloured fabric.

The shoes were cut from black denim.

The dress and panty was cut from this poly-cotton.

The pocket and collar was cut in an accent colour.

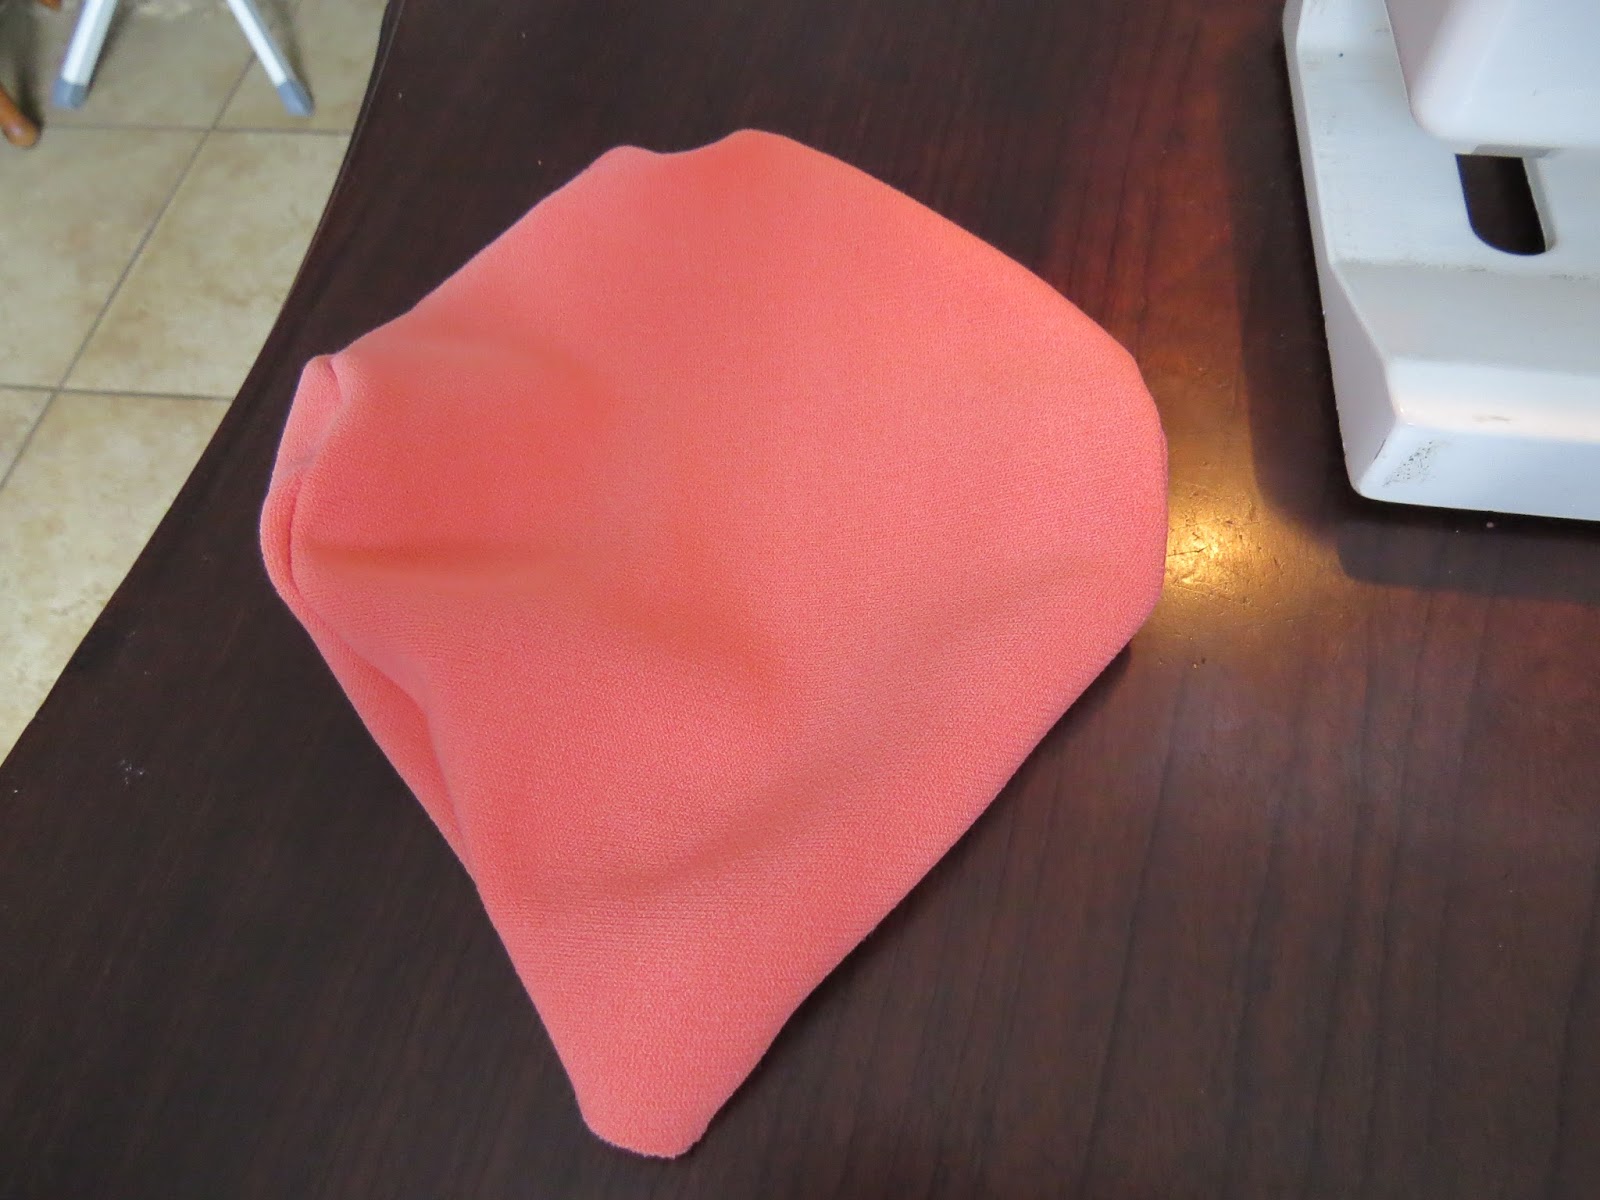
I started by pinning the back of the doll's head to the face.

Sew all around the head, leaving only a gap where the chin is.

Cut notches in the seam.

Turn the head right side out.
Fold the legs in half on itself. Pin the long sides only.

Sew only the long sides.

Pin the arms and sew all around, leaving only the side that attaches to the body, open.

Cut notches in the seams.

Turn the arms right side out.

Place the back and front of the body on top of each other and pin the sides only.

Sew only the sides.

Fold the neck double and roll it up tightly. Pin to prevent it from unrolling.

Lay the pieces for the sides of the shoes with right sides facing. Pin and sew the inner circle.

Cut notches in the seam. Open the seam up and pin the ends together.

Sew the ends and turn the shoe right side out.

Pin the ends of the foot together and sew.

Press the shoes flat.

Pin the uppers of the shoes to the soles.

Now pull the feet over the shoe uppers and pin it to the soles as well.

Sew all around the edges of the soles.

Cut notches in the seams.

Turn the shoes and feet right side out.

It is time to start stuffing the doll. I use the stuffing from an old pillow that had gone lumpy and uncomfortable. This is in line with my idea of making the doll strictly from off-cuts and discards.

I start by filling the head with stuffing.

I also stuff the feet.

It is time to start forming the nose.

Put a wad of stuffing in the fabric square and fold two opposite corners in.

Bring the remaining corners in.

Sew the nose into a small ball by hand.

This is what it should look like when you are done. Leave the needle and thread in.

Sew the nose to the face.

Roll the legs up.

Pin the legs to the feet.

Hand sew the legs to the feet.

Unroll the legs when done.

Stuff the legs with wadding.

Slide the legs into the body with right sides facing. Pin the body and the legs at the top of the legs.

Sew the legs to the body. This will flatten the legs and body, making it possible for the doll to bend into a sitting position.

Pull the body off the legs and stuff the arms.

Pin the arms to the body and hand sew to attach.

Your doll should now look like this.

Sew the neck roll by hand to secure it in a roll.

Insert half of this roll into the body. Stuff the body with wadding.

Shove the other half of the neck roll into the head. This will strengthen the neck and help to keep the head up.

Fold the edges in as you go along and sew the head to the neck by hand.

The doll is now just about done. Time to paint the face.

I prefer using Dala Fabric Paint.

I use Dala Fabric Marker to draw the facial features on the fabric.

I then bring the colour back to neutral by painting the features white.

Add the colour of the eyes.

Add the black of the eyes.

Colour the lips.

Put a sparkle in the eye with white dots.

Some detail is added with the fabric marker. In the following blog I will show you how to make the hair and we will dress the doll.

You can purchase Designs By Miekie 1 here.
Jy kan Kom Ons Teken en Verf Tuinstories hier koop.Jy kan Kom Ons Kleur Tuinstories In hier koop.
Jy kan Tuinstories hier koop.
You can follow Miekie's daily Bible Study blog, Bybel Legkaart, here in English & Afrikaans.
For more crafty ideas and great products, visit A Pretty Talent on Facebook.
Remember to keep nurturing your TALENT for making PRETTY things.
You can subscribe to this blog and receive regular updates by email by simply registering your email address at the top of the current blog.
No comments:
Post a Comment