Read Part 1 here.
Read Part 2 here.

Mark the position of the buttonhole on the button flap.

Create the buttonhole.

Open the buttonhole with your quick unpick.

Fold flat pleats and pin them in place at the top and bottom.

Sew a stay stitch along the bottom to keep the pleats in place at the bottom.

Remember to pin the button flap to the center of one of the panels.

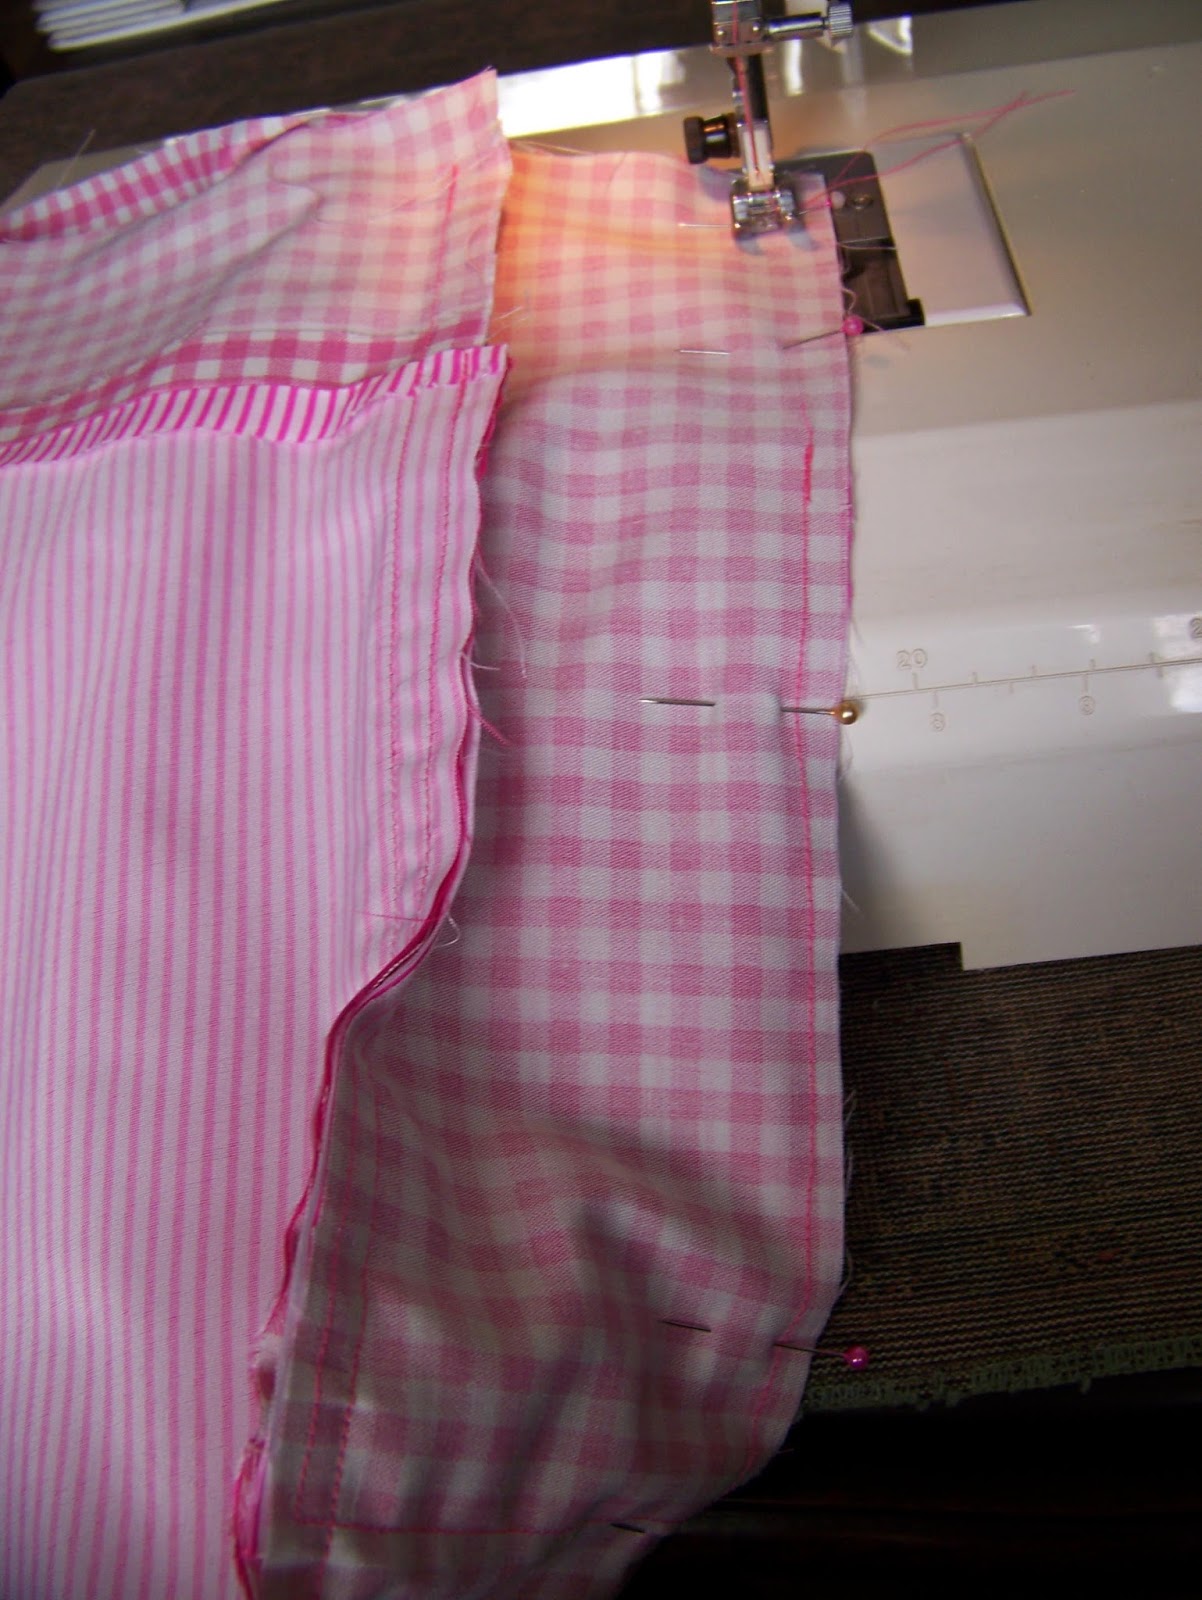
Pin the top panel to the pleated panel with the right sides facing.

Sew the top panel to the pleated panel at 1,5 cm seam allowance.

Pin and sew the top panel to the remaining lining panel in the same way.


In the previous blog we have made two 'iPad' pockets and ironed them flat. I now give these pockets a top stitch at the top where a hand can be expected to reach in frequently, to make it a little stronger. This means that I simply sew along the top edge about a foot's width away from the top.

In the original pattern you only need two lining panels for the bag. For the baby bag I have cut four panels from lining and two more from fabric. This is because I want to create extra compartments inside the bag. The iPad pockets are pinned to the fabric panels.

Sew as close as possible to the side of the pocket, along the three sides of the pocket, leaving only the top open.

Lay one of the lining panels on top of the fabric panel with right sides facing. Pin at the top.

Sew at 1,5 cm seam allowance at the top. Lay aside to iron flat.

I cut two bottoms for the bag from fabric since I need the bag to be quite sturdy. Find the center of these bottom panels and mark with pins.

Pin the side pockets to the bottom panels. Each panel gets two pockets. In the photo my remaining two pockets are pinned at the other end of the bottom panel and hidden from sight.

Stay stitch the sides of the side pockets. This is very important to do or you will struggle when attaching the bottom to the bag later on. Sew the bottoms of the pockets to the bottom of the bag as well.

The side pockets are deep and can easily keep a baby bottle.

It is time to iron again. Fold the inside panels of the bag over so the right sides face outwards and iron flat.

It is extremely important that you iron the pleats flat at this stage or the bag will never hold its shape. Take your time on this to get it perfect. Iron the top panels flat as well.

Pin away the button flap. Trim the top of the bag to line up with the bottom.

Pin the center of the bottom of the bag to the center of the side panel.

Pin all the way around to the top of the bag.

Sew the bottom to the bag at 1,5 cm seam allowance. Repeat the steps with the other side panel of the bag.

You should now be able to see the bag take shape.

You will need to turn the bag right side out later. This is a good time to cut away the extra fabric in the curves so the bag will turn inside out neatly.

Lie the lining panel wit the rim of the bag on flat surface. Now lay one of the dividing panels on top of it.

Pin the division to the lining panel.

Stay stitch the side panel to the lining panel. Doing this will make your task much easier when you attach the bottom of the bag later.

Trim the seams to be equal..

Line the center of the lining up with the center of the bottom of the bag and pin in place.

Pin all the way to the top.

Sew at 1,5 cm seam allowance.

Repeat with the other side as well.
Your lining now forms a bag. Put the lining aside for the moment.

Find the center of the top of the bag.

Find the centers of the zipper flaps as well. Line up the centers and pin the zipper flaps to the rim of the bag.


Note that the lining of the zipper flap is also pinned to the rim of the bag.

Sew at 1,5 cm seam allowance. Start right on the seam line of the side panel and stop at the same place on the other end. Repeat for the other side of the zipper.

Cut away the extra length of the zipper (if you have any).

The zipper should now be attached on the long ends and look like this. Open the zipper about halfway.

Slide the sling in.

Line up the bottom of the bag, the sling and the zipper flaps and pin them in place.

Sew from seam to seam across the zipper.

This close-up shows more clearly which seams I am referring to above.

We now turn our attention to the open ende of the zipper. Again the bottom of the bag, the sling and the zipper is lined up and pinned in place.

Hold the zipper together and sew from seam to seam, as you did on the other end.


Turn the lining bag right side out.

Slip the outside of the bag into the lining bag so the wrong sides are facing each other.

Line the sides of the bags up. Fold the seam on the lining in and pin in place.

Fold the lining all around the bag and pin in place.

Sew the lining to the bag by hand.

Turn the bag over and sew the button on for the button flap.

This is what the inside of the bag looks like when it is completed.

The completed baby bag.

Another version of the same bag.

For more crafty ideas and great products, visit APrettyTalent.com.
Remember to keep nurturing your TALENT for making PRETTY things.
You can subscribe to this blog and receive regular updates by email by simply registering your email address at the top of the current blog.
No comments:
Post a Comment