
Assessing the photos, I realize there is quite a bit of 'dead' space on the biggest photo that I can trim away. I could crop the smaller photo in landscape, but the power outlet is part of the story in the photo and I opt to keep this. The smaller landscape photo can not be cropped and ought better be left as is.

I made the background paper a while ago and find that it is perfect for the photos, accentuating the green of the walker that the baby is sitting in. I simply cut gift wrapping paper to size (12" x 12") and stuck it on plain white scrapping paper. I did not have a large enough piece to cover the second paper, so I used an off-cut to fill the bottom. I then simply stuck a green ribbon over the mark to obscure it. This now becomes part of my page's embellishments.

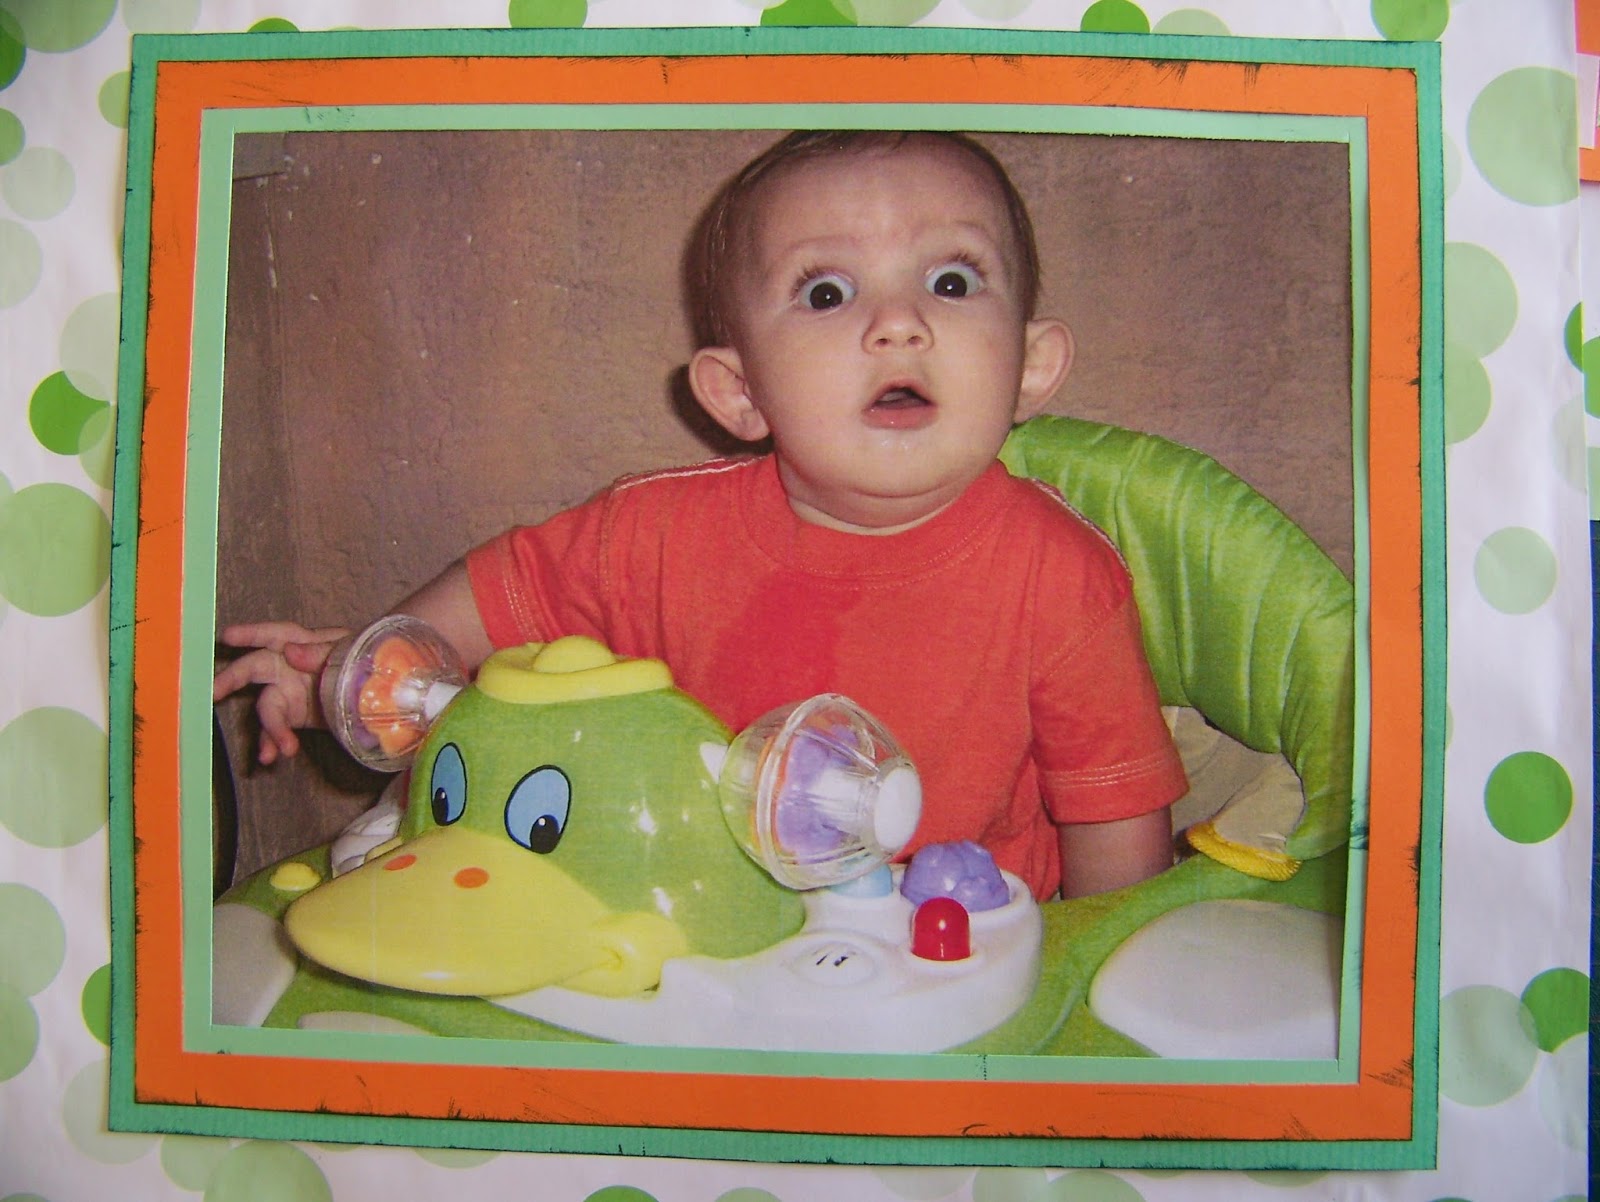
When selecting paper to cut my frames from, I allow myself to be dictated to by the photos, loving the combination of green and orange.

I crop the larger photo to measure 18 x 22 cm.


My first frame will measure 1 cm bigger than the photo all around at 19 x 23 cm. The frame itself is cut to a width of 1 cm. You can read more about this in a previous blog if you click here.

The second frame is once again cut 1 cm bigger in width and length, measuring 20 x 24 cm.

The third and last frame is yet again cut 1 cm larger at 21 x 25 cm.

I put double-sided tape on the frames in advance, so that when I start inking, I don't have to interrupt the process. This is a personal preference and there is no real reason why you can't interrupt the process.

There are plenty of good inks on the market, but I love the colours in the Tim Holtz range of Distress Ink. For this project I worked with Pine Needles.

I stick only the first frame on the photo. I then pull the ink pad over the edges of the photo. If you do this very neatly, you can create the subtle impression of depth. I work very untidily, smearing the ink deep into the frames, because I am trying to achieve a distressed look.


I stick the photo on the second frame and once again ink along all the edges.

I repeat the process with the third frame as well.

This is the final product.
Here is a close-up of the final product.

I did the exact same thing with the smaller photos.

Here you can see how roughly I worked with the ink.

I decide that I can use the off-cuts of the papers with great success to create an attractive border and layer them accordingly. The fact that the layers do not follow the same sequence of the frames is of no concern. If anything, it makes the layout a little more interesting.

I ink the top layer of the border and lay it aside.

I then ink the middle layer of the border.

I adhere the double-sided tape to the borders and stick the orange on top of the green.


I decide to make the bottom layer a little more interesting by using a tearing ruler. I have one that has a crooked line, almost like how you would illustrate electric sparks in a cartoon. I choose this one for the edges of the bottom border. You can read more about how to use the tearing ruler in a previous blog if you click here. I soften the paper slightly by painting a thin water line next to the ruler.

Hold the ruler down firmly on the paper and carefully tear the excess away.

I repeated this process at the bottom of the paper strip.

I now ink the edges of the border.

Finally all three layers are brought together on the page.

It is time to pay attention to the journaling. Again I layer two of the off-cuts on top of each other, but not before I have inked each one in succession.

I punch the wanted letters from the orange off-cuts using my alphabet punches. You can learn more about using punches from a previous blog when you click here. I consider inking the letters, but decide against it fearing the rather small letters might end up looking 'dirty'.

I stick the letters onto the prepared journaling block using the fine point of the Tombow glue.

It is time to start adding embellishments. I loved these hearts for two reasons. The colours complimented the layout beautifully, but I also liked the message of love that it carried. We warn our loved ones about the dangers of life in order to keep them safe, after all. I could ink the hearts as well and thought that I would when I selected them, but I decide that there are enough inked elements and opt to rather leave them as is.

When I stand back to survey the page, I decide that it has become monotonous. A splash of a different colour will pick things up again. I find two bling elements to include in blue. I stick these in the two furthest corners, thereby ensuring that they will bind the two pages firmly together as a unity, almost like a hug.

At this stage the layout is established and it is time to stick everything down. You can't tell from the photos, but up until now I have only laid the different elements in place without sticking anything down, in case I wanted to change something.

I find that there is still something lacking. I find three smaller hearts and stick them to the centers of the bigger hearts.


I am still not fully satisfied and decide to jazz up the journaling box with a blue metallic marker. This will support the two blue embellishments in the layout.


When I step back this time, I am satisfied with the results.

For more crafty ideas and great products, visit APrettyTalent.com.
Remember to keep nurturing your TALENT for making PRETTY things.
You can subscribe to this blog and receive regular updates by email by simply registering your email address at the top of the current blog.
No comments:
Post a Comment