The Handle Tubes
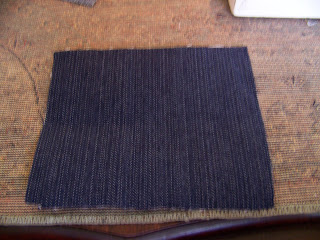
To start with, I am quickly going to hem the tubes to slide through the handles. They get a rolled hem on both sides, so I simply fold the sides over twice and pin it in place.
Sew along the length of the hem.
Iron it flat
The Sling Connectors
I start by preparing the tubes where the sling will attach to the bag. Fold these panels double, right sides facing and pin.
Sew along the long side.
Turn the tube right side out.
Fold the seamline to the centre of the tube and open the hem open. Iron it flat.
The Bag Panels
Line the centre bag panel up with the side panels. Pin and sew.
Iron the seams open.
Open the sling and fold the sides in to meet at the centre. Iron.
Fold on the original fold line again and iron again.
Sew a small hem at each end of the sling.
You will need about 20 cm of 38 mm wide bias binding and two metal clips.
Cut the bias binding into two strips of 10 cm each.
Fold the bias binding in half in the length.
Sew as close as possible to the edge of the bias binding.
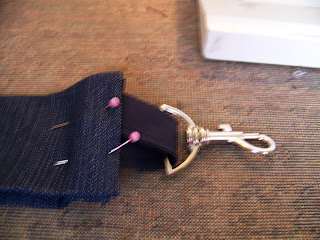
Slide the bias binding through the metal clip.
Slide the end of the bias binding into the sling and pin it in place.
Set your stitch length to be longer to ensure neat top stitching.
Sew all the way around the sling with a neat top stitch. This will also secure the metal clips on the bias binding in place.
The Pockets
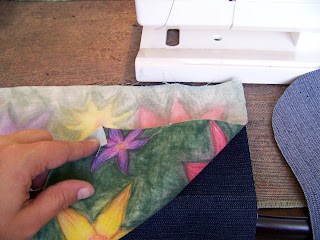
Lay the zipper pocket pocket in the middle of one of the lining panels. Line the bottom up with the lining. The top will extend slightly due to the extra length added by the inclusion of the zipper. Pin the pocket to the lining.
Sew down the two sides of the pocket, securing it to the lining. Trim the excess fabric at the top.
Pin the open pocket to the remaining panel of the lining.
Sew all the way around the pocket, leaving only the elasticated top open.
In the next blog we will be bringing the different pieces together to finish the construction of the bag.
You can order your own ready-made bag from Miekie Crafts on APrettyTalent.com.
For more crafty ideas and great products, visit APrettyTalent.com.
Remember to keep nurturing your TALENT for making PRETTY things.
You can subscribe to this blog and receive regular updates by email by simply registering your email address at the top of the current blog.


No comments:
Post a Comment