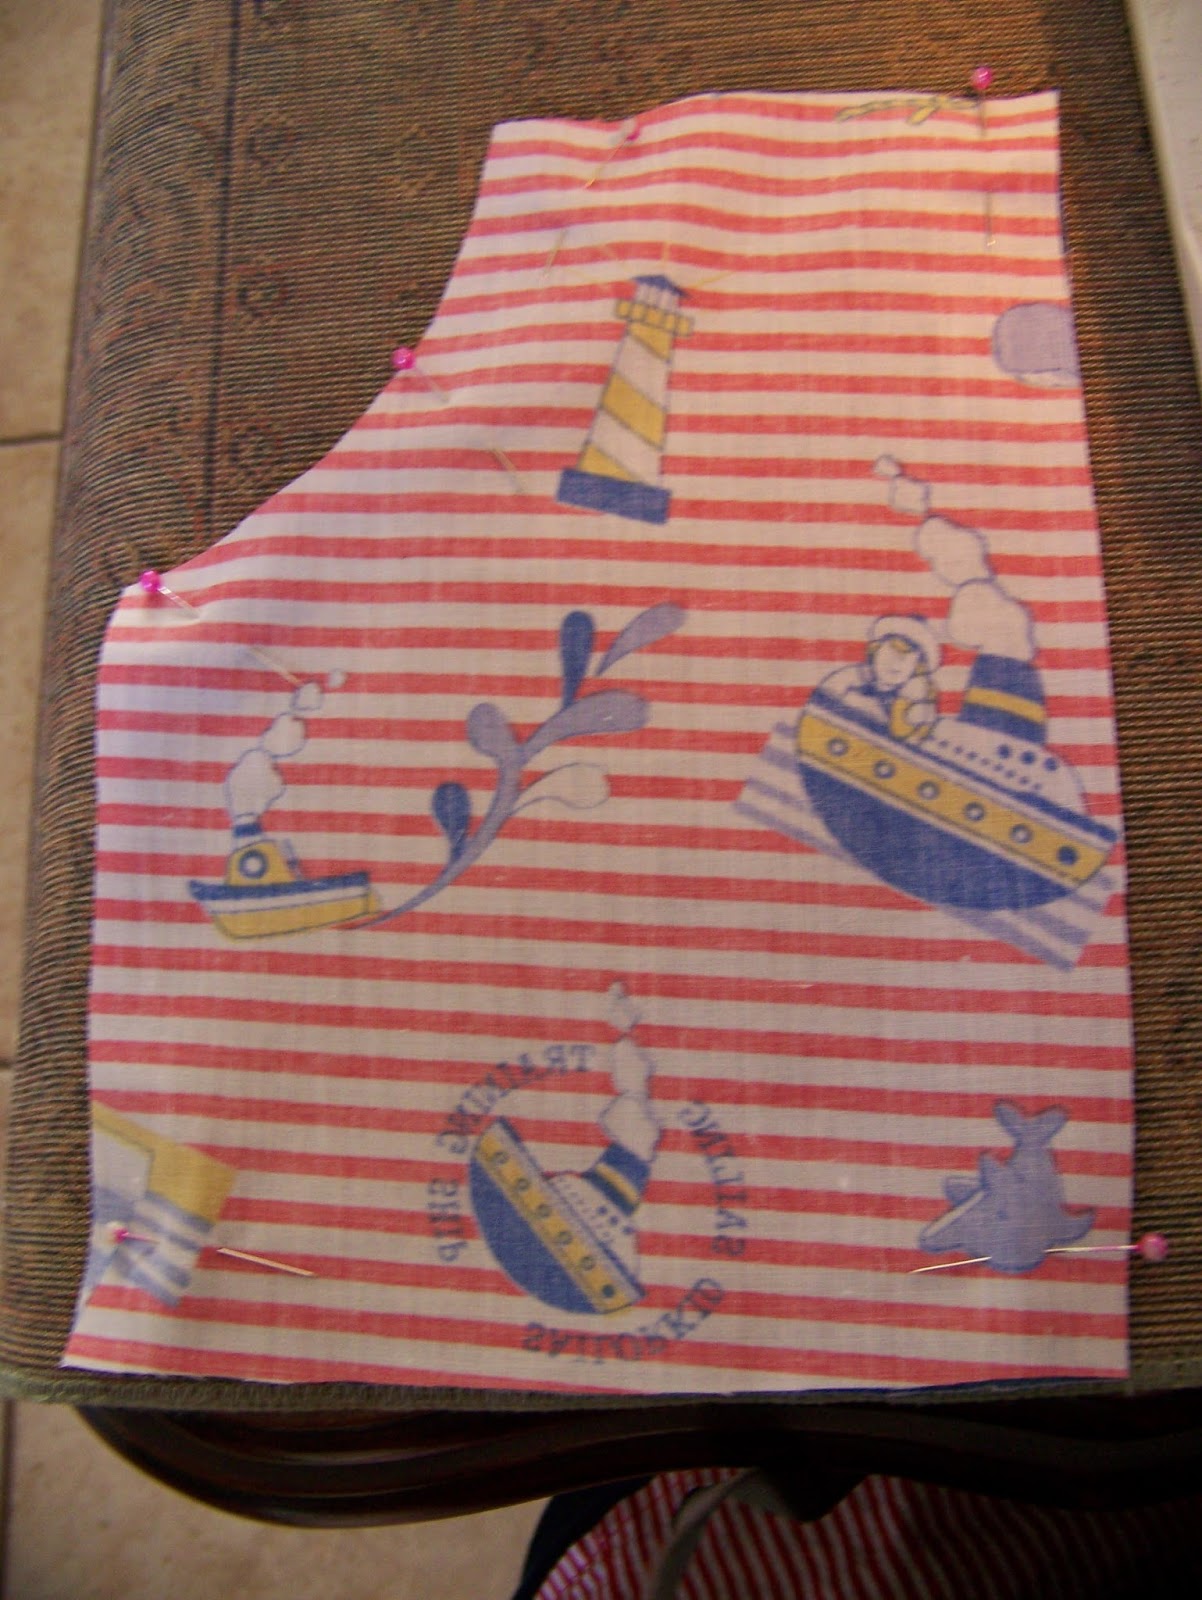
To cut these pockets without a pattern, you need to cut a rectangle measuring 25 x 20 cm. Then simply cut a semi-circle away as shown. If you find the idea daunting, use a side plate to guide you. Now cut two pockets from fabric and two more from lining.

Lay the fabric and lining pockets on top of each other with the right sides facing.

Secure the panels with pins.
Sew all the way around the pocket, leaving only a 3 cm gap anywhere in the pocket to turn it right side out.


Cut the excess fabric away in the corners and the curves, as shown.

Turn the pocket right side out.

It is best to iron the pockets flat before you continue.

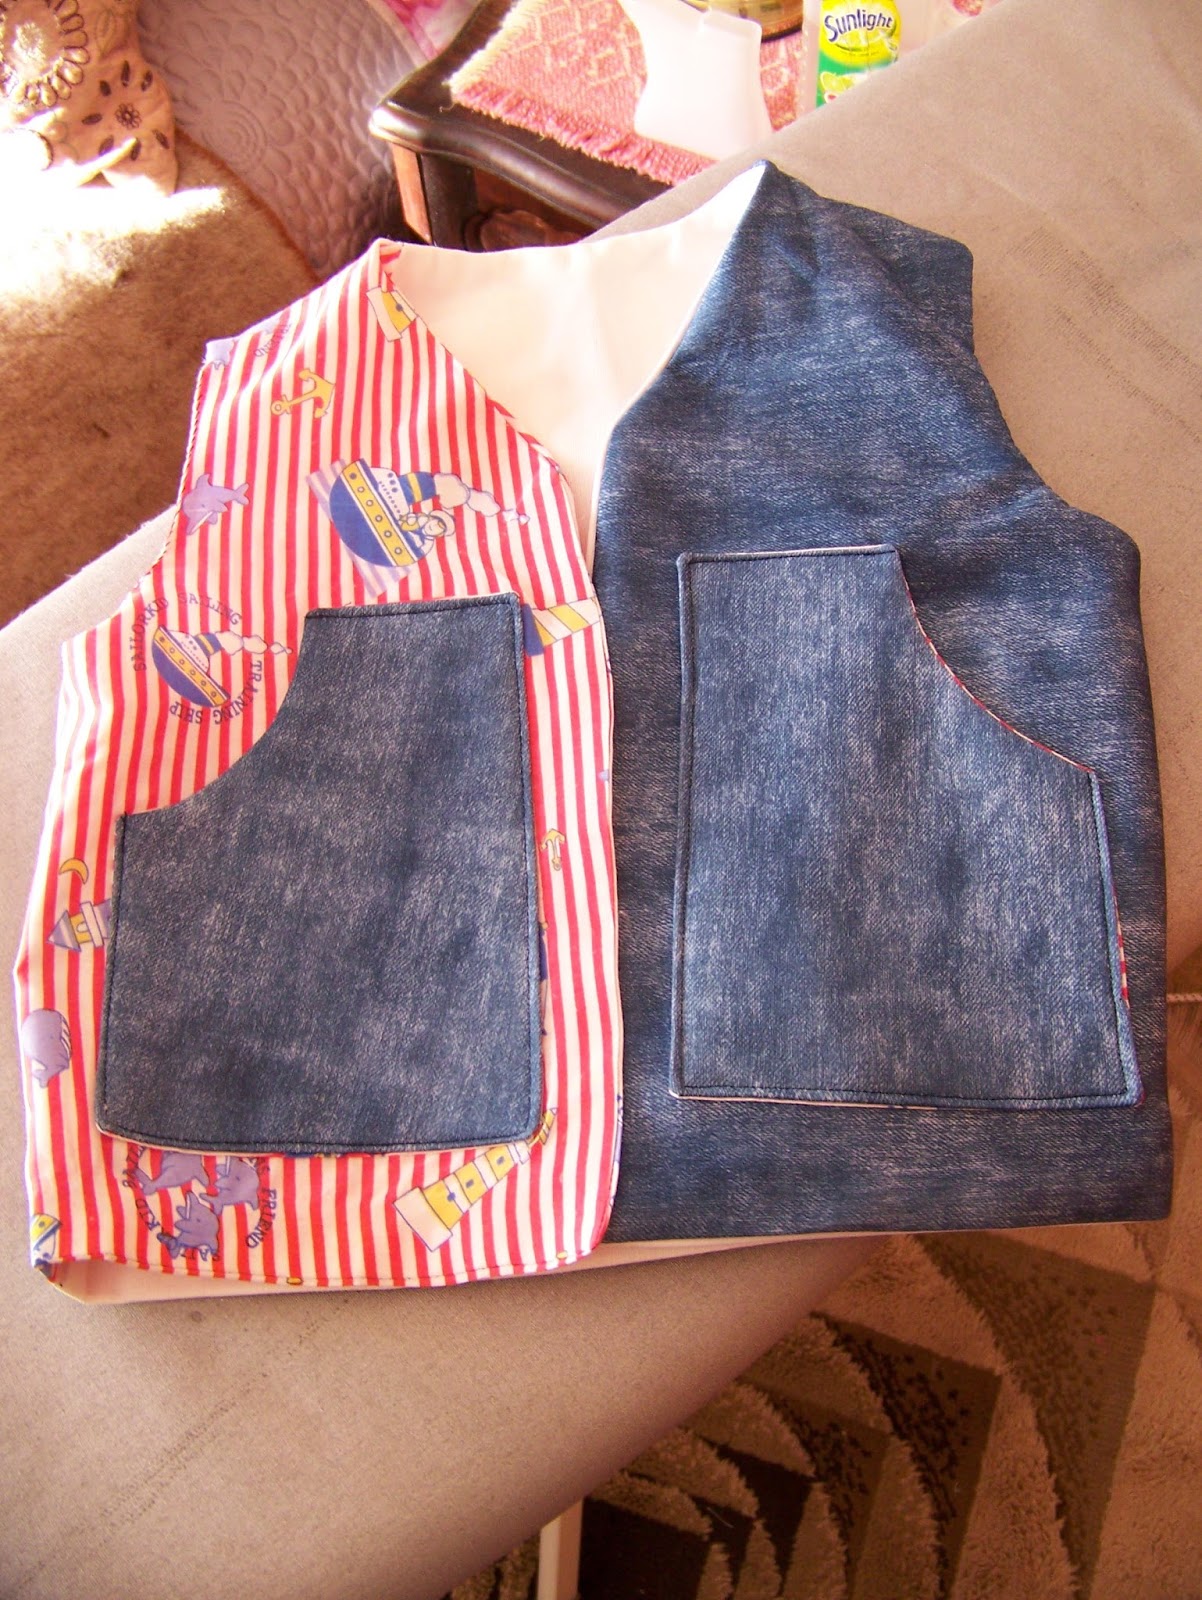
Position the pockets in the appropriate place on the front panels of the waistcoat. Pin in place.

Sew all the way around the pocket with a top stitch (lengthen your stitch length). Do NOT sew the curve. This should be left open.


(I had small bits of fabric left over from previous projects and as a result my waistcoat is a mixture of different fabrics. I could cut the lining for the back panel on the fold, but did not have enough fabric to do the same for the back panel cut from fabric. As a result, I cut two panels and simply sewed them together. That explains the strange seam you see in my back panel.)
Lay the front panels right sides facing on top of the back panel. Pin at the shoulders. Pin at the sides as well. Repeat what you do with the fabric waistcoat and do the same with the lining. Essentially you are making two waistcoats.

Sew the shoulder seams.

Sew the side seams.

Your waistcoat should now look like this. The lining looks like this as well, minus the pockets.

Lay the lining waistcoat inside the fabric waistcoat. Pin all the way around. Leave the sleeves open.

Starting at the neck, sew all the way around the waistcoat and ending where you started. Do not leave a gap.

Can you see where the seam line runs that we have just sewn?

Cut the excess fabric away in the corners and curves.


Turn the waistcoat right side out through the sleeve openings.

This is what the waistcoat looks like at this stage.

Tuck the lining and the fabric neatly in at the arms. Pin in place.

Sew the arm openings by hand. Iron the waistcoat flat when done.

Stand back to admire your own handiwork.
For more crafty ideas and great products, visit APrettyTalent.com.
Remember to keep nurturing your TALENT for making PRETTY things.
You can subscribe to this blog and receive regular updates by email by simply registering your email address at the top of the current blog.
No comments:
Post a Comment