The Side Seams
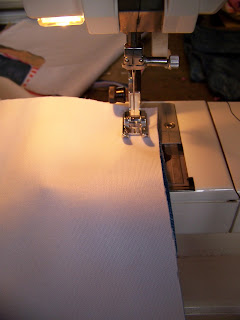
The pattern you use will be marked 'front' and 'back'. Lay the front panel on the back panel, lining up the side seams. Pin in place.
Sew from top to bottom (or bottom to top). Iron the seam open.
Attaching the pockets
I have intended the pockets to fit over the side seam, but the pockets are such that you can virtually choose any sensible place to put them. Lay the front and back panels open on a work surface. Pin the pocket to the desired spot.
The pocket is pinned on the two sides and the bottom. The flap is only pinned at the top.
Lay the other leg of the pants under the one with the pocket, lining the two up. Put a pin through the fabric of the top leg into the bottom leg, just above the flap.
Lift the top leg. Place a second pin in the bottom leg where the top pin enters the bottom leg. You have now marked the spot where the pocket should go on the other leg.
When you lay the two legs side by side, the pockets have to be at the same height, centered over the side seam.
Set your stitch length longer and sew the top (the fold) of the flap.
Pin the fold out of the way.
Sew all around the pocket down one side, around the bottom and up the other side. The easiest way to maneuver around corners is to drop your needle into the fabric, lift the sewing machine's foot, turn the fabric, drop the foot and continue sewing.
This is what the pocket should look like when finished.
The crotch
Lay the front panels up at the crotch and pin.
Line the back panels up in the same way.
Sew the whole length of the crotch, both front and back. (Tip: If it seems confusing, the back crotch is the longer one, since it needs the extra space for the wearer's posterior).
The trousers should now look like this.
Open the pants and pin the front crotch to the back at the bottom between the legs. Lay the front and back panels of the legs face to face and pin in place.
Start sewing at the bottom of one leg, up and through the crotch, and then down the other leg.
The waist
Fold the waist over as far as your pattern specifies.
Sew all around the waist, leaving a 2-3 cm opening to insert the elastic.
Measure the elastic to fit your waist.
I use an old nappy pin to thread the elastic through.
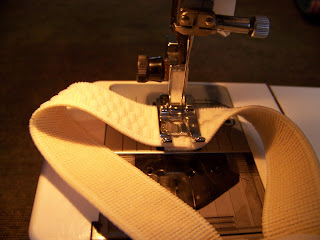
Pin the two ends of the elastic together as shown.
Set your machine to a zigzag stitch.
Sew the ends of the elastic together.
Pull the elastic into the pants. Close the gap in the waist.
The hem
Fold the hem over 1 cm and pin in place. Pull the pants on and pin the hem at the proper length for the wearer.
Pin all the way around on both legs.
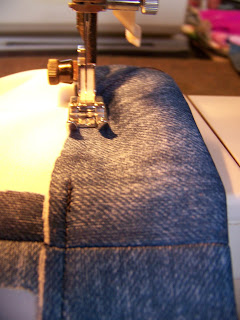
You can choose to put the hem in by hand, or simply machine stitch the hem. Since top stitching is a feature in the pants I made, I opted to sew the hem with a normal top stitch.
When you are done, you will have a comfortable pair of pants to wear with pride.
For more crafty ideas and great products, visit APrettyTalent.com.
Remember to keep nurturing your TALENT for making PRETTY things.
You can subscribe to this blog and receive regular updates by email by simply registering your email address at the top of the current blog.


No comments:
Post a Comment