
I laid out all the products I might use, but in the end used only the pencils, and mainly the Inktense pencils. Both the Watercolour pencils, as well as the Inktense pencils are water-soluble. The main difference is that Inktense colors are set once dry, while Watercolour colors can be lifted and mixed when wetted again. Inktense colors are also more intense in color.

I also gathered a range of brushes that I might need, but in the end I used only the Pentel Aquash Brush. For a surface my choice fell upon Fabriano Elle Erre 220 gsm paper in sky blue.

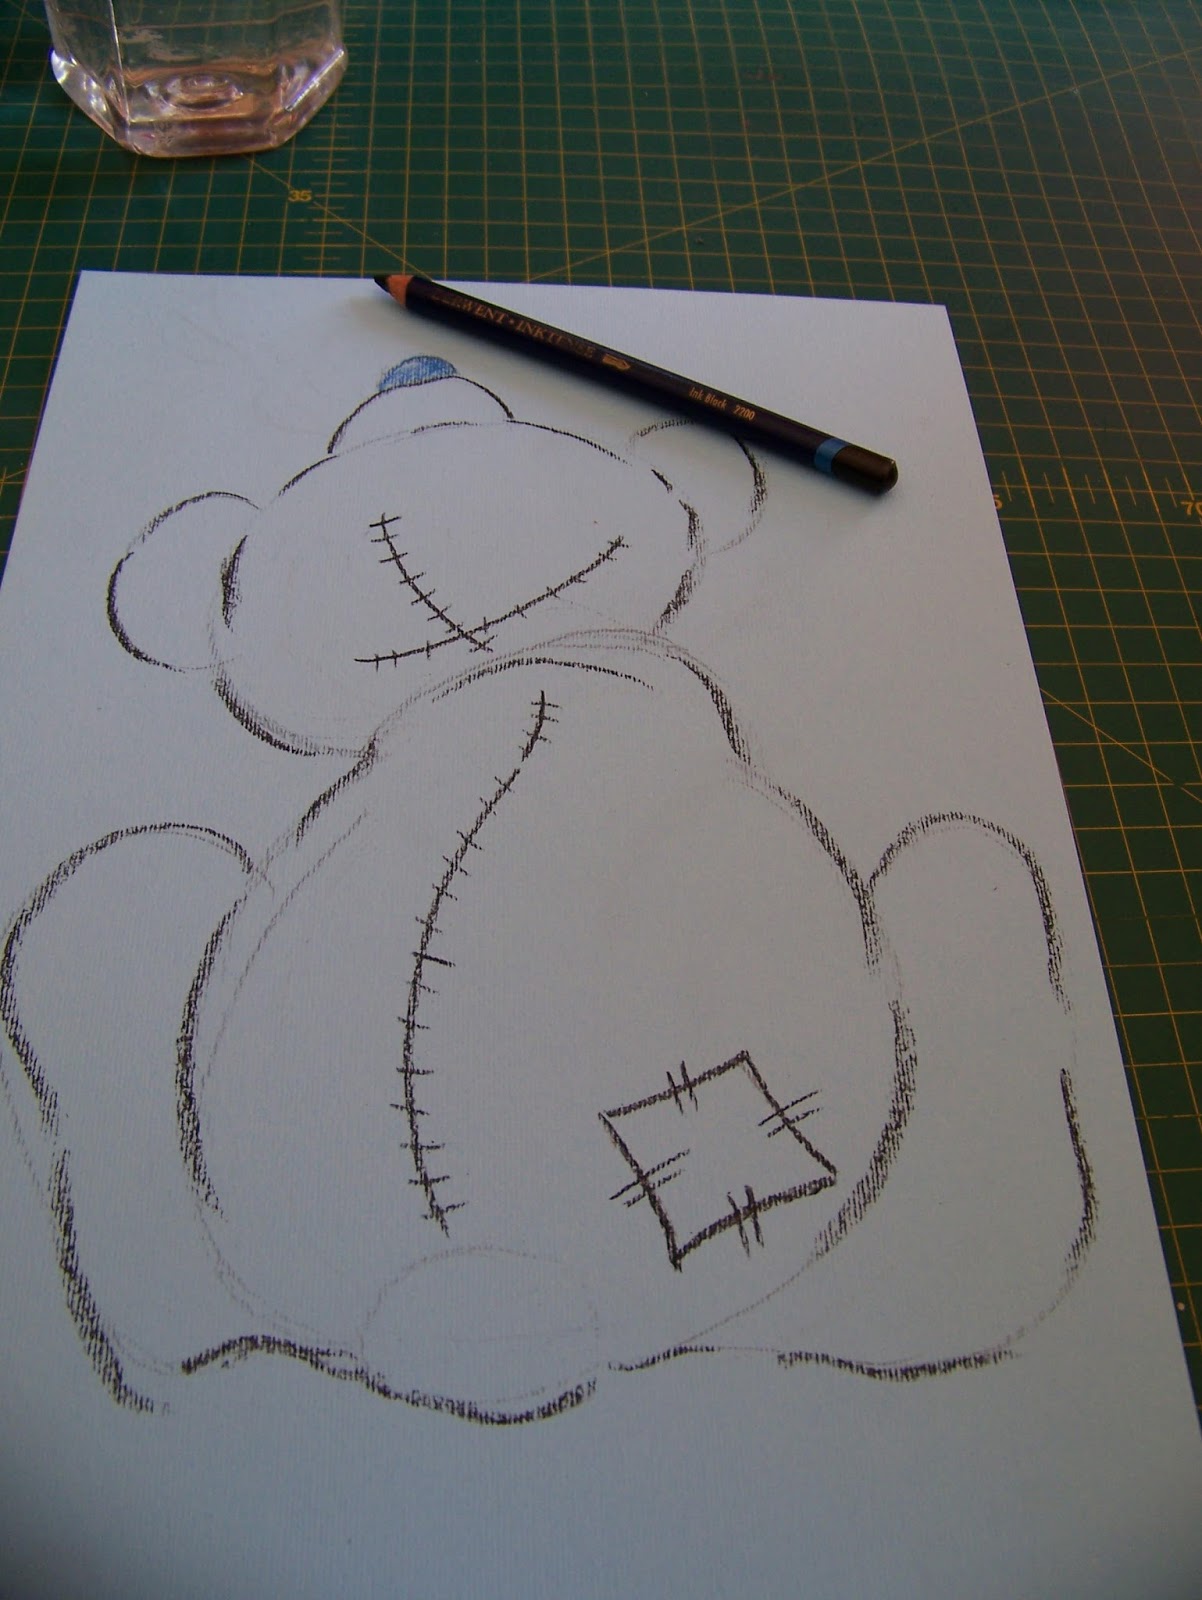
I made a few quick shapes using an HB pencil. In no time I had a little tatty teddy sitting with his back to me. Note that this bear consists mainly of circles grouped together.


I then used Ink Black to add detail to the bear. I used the same color to define the lines, taking care not to draw solid lines, but keeping them broken. This immediately creates the impression of light and shadow.
I painted the colors I laid down with water and allowed them to dry. I wanted to make sure that these colors were fixed and would not lift and mix with the colors that followed.

In a side note, I want to mention that I love this three-holed sharpener by Faber-Castell for sharpening the Inktense pencils. They are thicker than most pencils and won't fit in an ordinary sharpener.

I wanted to make the patch on the bear a check pattern and started off with some Poppy Red lines which I painted and allowed to dry, once again fixing the color so it would not mix with the colors that would criss-cross it later on.


I added clumps of straggly hair to the outline of the bear in Charcoal Grey. Make sure to always draw hair in clumps and crossing each other in disarray for a more natural look. The hair also was painted with water.


I added Teal Green to the patch and painted it with water.

I added bright blue in loose strokes to the bear, leaving large sections uncolored. These will become natural highlights. I will also blend and smooth the paint when wet to spread it more evenly.


I colored the snout and the tail in Turqoise Green using the watercolour pencils. I want to mix a third color here and will do it on the paper, instead of on a palette.


I painted the tail and snout with water, allowing it to dry.

In the meantime I added Sun Yellow to the patch and painted it. Can you see how the colors do not mix, but remain fixed despite my wetting the colors again and again?

I now added Lemon Cadmium to the tail and snout.

When I painted the tail and snout with water, I wanted to retain the integrity of the first two colors in places, while mixing a third color from the two in others. Can you see how I managed to lift the original Turquoise Green and mix it with the Lemon Cadmium to get a deeper green in this close-up?

I even managed to lift the mixed color and add it to other parts of the tail. Are the nuances in the colors not lovely? I could achieve something similar to this if I used the Inktense wet on wet. In other words, you can mix a third color from the Inktense while it is still wet, but not after it has dried. However, the Inktense are too intense in color and I would struggle to get the subtle colors that I achieved here without much difficulty.

I now added Apple Green to the patch and painted it with water.

I do not know who the artist behind the Tatty Teddies are, or I would give credit where it belongs. This is merely a copy of someone else's genius, painted by myself.

For more crafty ideas and great products, visit APrettyTalent.com.
Remember to keep nurturing your TALENT for making PRETTY things.
You can subscribe to this blog and receive regular updates by email by simply registering your email address at the top of the current blog.
No comments:
Post a Comment