
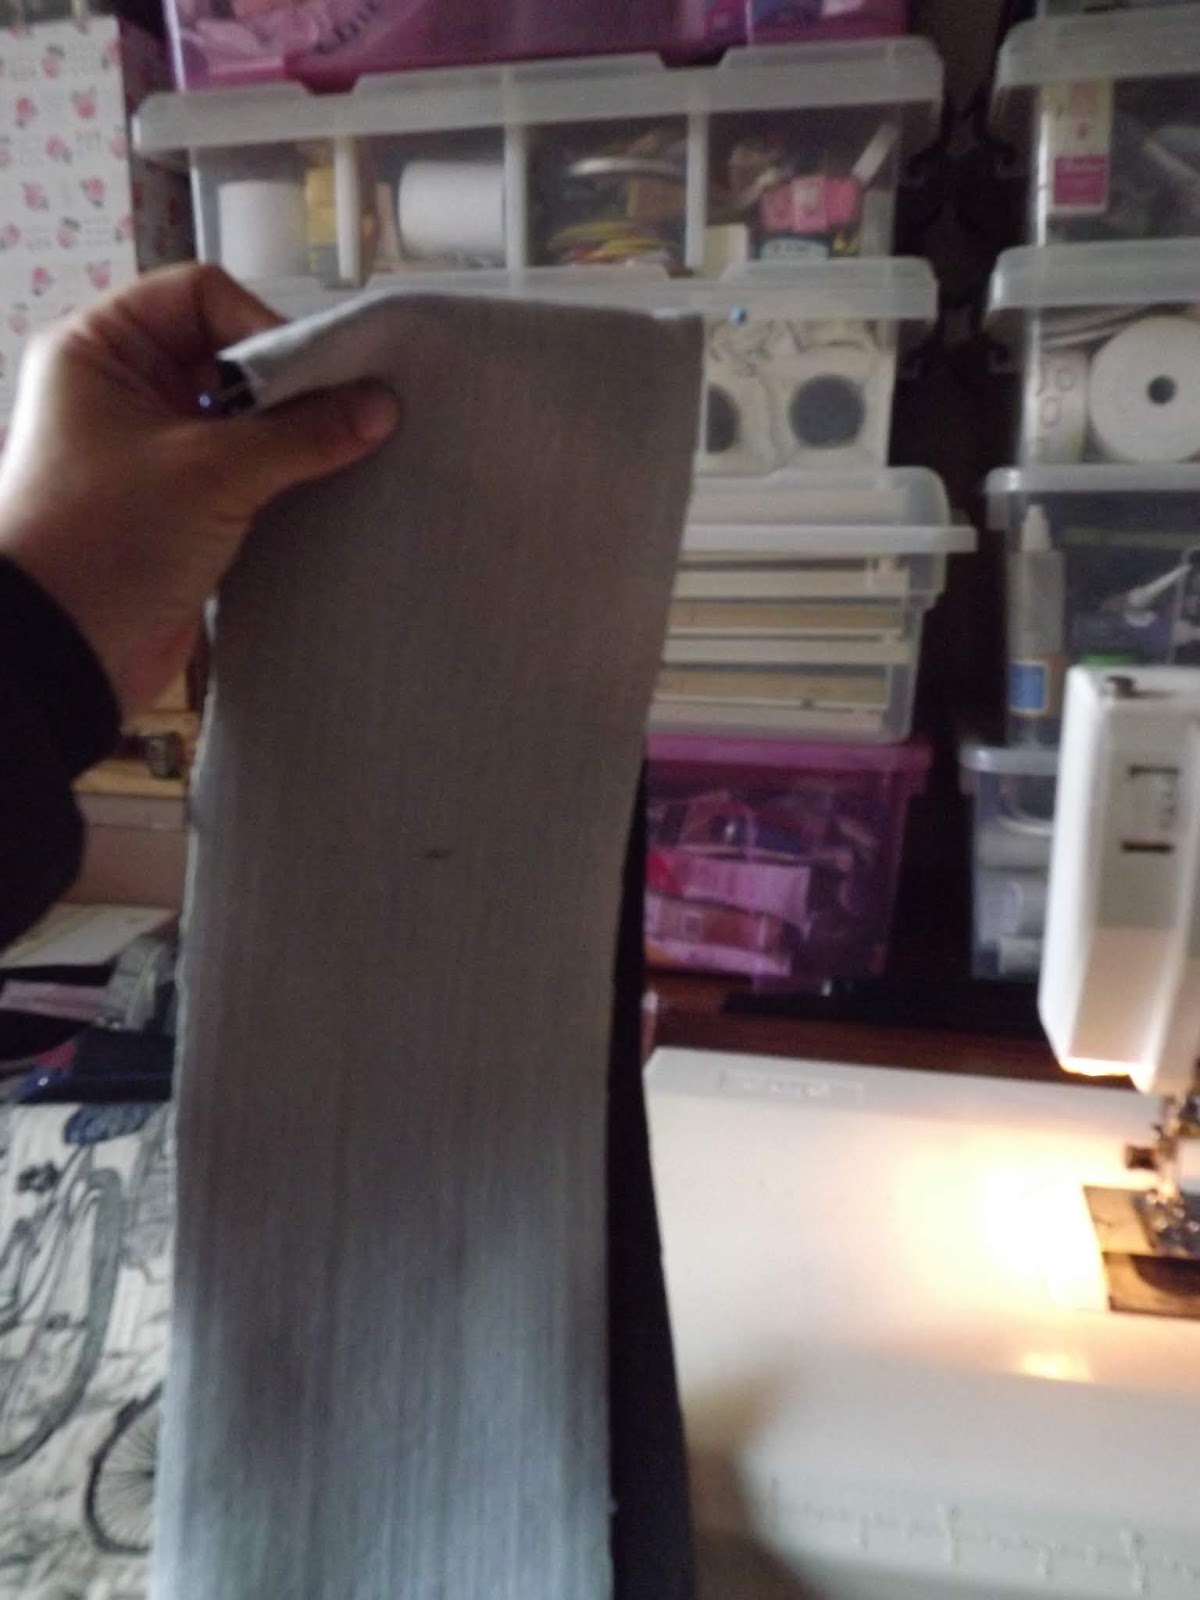
The Sling
The fabric for the sling is black on one end and white on the other.

Fold the sling in half and iron.

Open the sling.

Fold one end in to the centre.

Fold the other end in as well and iron flat.

Whenever I do top stitching, I set my stitch length to be a little longer than usual.

Sew down one side of the sling.

Sew down the other side of the sling.

The Pockets
You will need a 15 cm long zipper for the zipper pocket.

Sandwich the zipper between the two bottom pieces of the pocket.

Sew as close as possible to the zipper.

Sandwich the other side of the zipper between the two top pieces of the pocket.

Sew as close to the zipper as possible.

For the cellphone pocket, lay the two pieces on top of each other and sew around three sides of the pocket.

Trim the corners.

Fold the open end in and pin. Iron both pockets flat before continuing.

Fold the bottom part of the zipper pocket away and pin.

Pin the top part at the sides.

Sew.

Trim the corners.

Do this on all four sides of the pocket. Iron flat once done.

Pin the pocket to the lining. The top and bottom of the pocket will disappear into the lining.

Sew down both sides of the pocket.


Pin the cell phone pocket to the lining.

Sew along three sides of the pocket.

Both pockets are now attached.

The Lining
Fold the base in half to find the centre on both sides.

Fold the lining in half to find bottom centre on both pieces.

Line up the bottom centre with one of the lining centres.

Pin all the way around.

Sew around the three pinned sides of the lining.

Pin the other side of the lining to the base in the same fashion.

Sew around three sides of the bag.

The lining is now constructed and ready to be inserted into the bag later on.

The Zipper
You will need a 30 cm zipper for the bag.

Sandwich the zipper between the fabric and the lining of the zipper flaps.

Sew as close to the zipper as possible. Do this on both sides of the zipper.

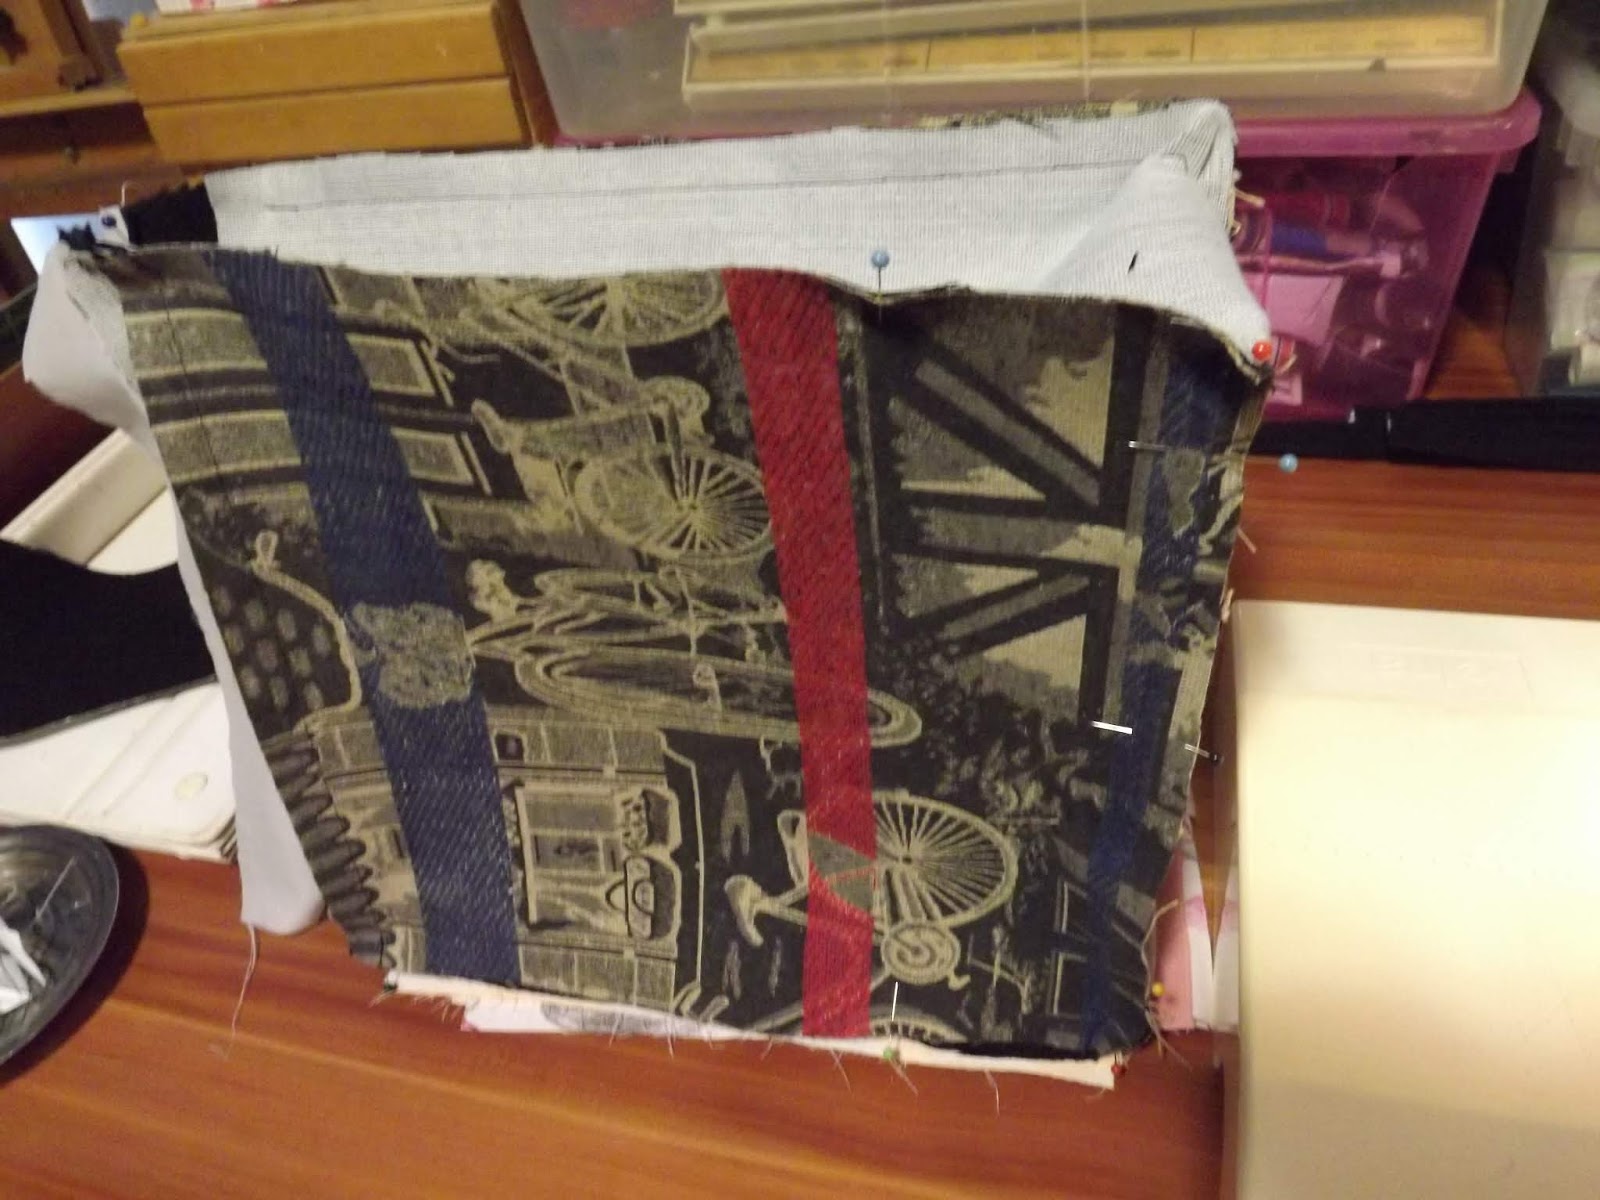
The Bag
Pin one side panel of the bag to one of the zipper flaps.

Sew.

Do this on the other side as well.

Fold the side panels of the bag in half to find the centre on both sides.

Fold the base of the bag in half to find the centre on both sides.
Pin the centres together.

Pin the base to the bag all around the three remaining sides.

Do not sew into the seam allowance.

Start just underneath the seam allowance and sew all the way around to end at the same spot on the other end.

Your bag should now look like this.

Pin the other side of the bag to the base in the same way.
Sew all around.

Trim the corners of the bag.

Attaching the Sling
Slide the sling into the closed side of the zipper and line it up with the zipper.

Pin all the way across.

Sew from side to side.

Tuck the sling into the bag and line the other end up with the zipper.

Pin in place.

Again, sew from seam allowance to seam allowance.

This is what the base should like like once you have sewn the sling in place.

Attaching The Lining
Turn the bag right side out.

Tuck the lining into the bag.

Fold the ends of the lining in and pin it to the bag.

Sew by hand.

This is what the bag looks like on the inside once it is finished.

One side of the bag.

The other side of the bag.

Marietjie Uys (Miekie) is a published author. You can buy my books here:
You can purchase Designs By Miekie 1 here.
Jy kan Kom Ons Teken en Verf Tuinstories hier koop.
Jy kan Kom Ons Kleur Tuinstories In hier koop.
Jy kan Tuinstories hier koop.
You can follow Miekie's daily Bible Study blog, Bybel Legkaart, here in English & Afrikaans.
You may prefer to follow the traveling blog, A Pretty Tourist.
For more crafty ideas and great product reviews, visit A Pretty Talent on Facebook.
If you are in a literary mood, follow Miekie's musings, stories and poetry on A Pretty Author - Miekie.
Remember to keep nurturing your TALENT for making life PRETTY.
You can subscribe to any of these blogs and receive regular updates by email. Simply register your email address at the top of the applicable blog.
No comments:
Post a Comment