
This is what the carry case looked like before I started the revamp process.

The inside of the case did not look any better than the outside.

I started by removing all of the hinges, fasteners and handles from the carry case.

These were all neatly put aside in a plastic container with a lid to prevent any of the small parts from getting lost.

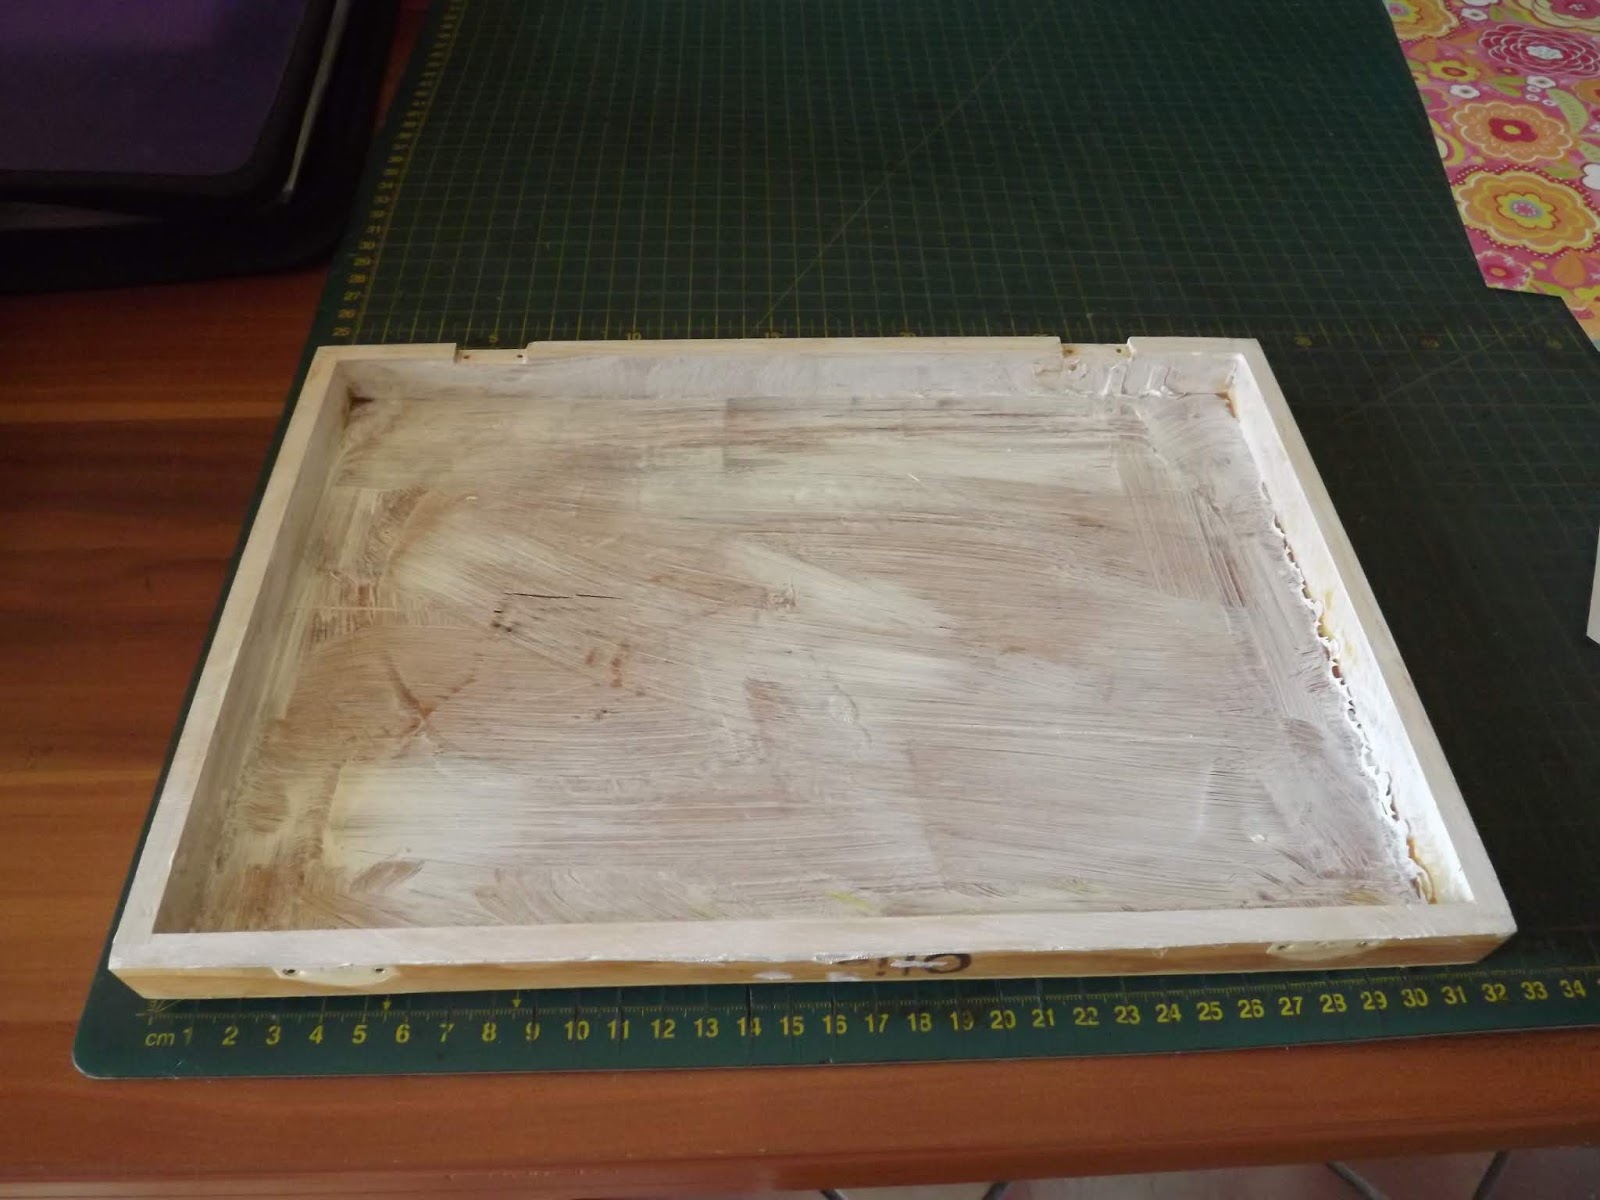
I then applied a coat of gesso to the box to prepare the surface.

I then measured the box in order to cut the papers to size.
I carefully recorded the measurements on a piece of paper.

I then cut the papers to the desired sizes.

I applied a coat of pink paint to the lid of the box. Normally I would use craft paint, or chalk paint, but as mine is still in storage, I used acrylic paint instead.

I also covered the inside of the lid in a layer of pink paint.

The outside of the bottom of the case was painted sea green.

The inside was painted the same colour.

Once the paint was dry, I covered the lid with a coat of Dala Acrylic Gel Medium.

I carefully laid the paper in place, making sure to keep any air bubbles from getting caught underneath. I then sealed the paper by painting another layer of Acrylic Gel Medium over the paper.

I did the same thing with the strip of paper on the side.

The bottom of the case received a similar treatment.

I then decoupaged the sides of the bottom half of the case.

Afterwards, I decoupaged the sides of the lid.

I carefully cut the paper away from the openings for the hinges, once the project was dry.

I then screwed the hinges back in place.

I used an awl to help me find the existing holes under the paper. Then I screwed the fasteners and handle back on.

The completed project!
Marietjie Uys (Miekie) is a published author. You can buy my books here:
You can purchase Designs By Miekie 1 here.
Jy kan Kom Ons Teken en Verf Tuinstories hier koop.
Jy kan Kom Ons Kleur Tuinstories In hier koop.
Jy kan Tuinstories hier koop.
You can follow Miekie's daily Bible Study blog, Bybel Legkaart, here in English & Afrikaans.
You may prefer to follow the traveling blog, A Pretty Tourist.
For more crafty ideas and great product reviews, visit A Pretty Talent on Facebook.
If you are in a literary mood, follow Miekie's musings, stories and poetry on A Pretty Author - Miekie.
Remember to keep nurturing your TALENT for making life PRETTY.
You can subscribe to any of these blogs and receive regular updates by email. Simply register your email address at the top of the applicable blog.
No comments:
Post a Comment