
The Sling
Fold the sling in half in its length and iron it.

Open up and fold the two sides in. Iron again.

Fold over so that the open ends are inside and iron again.

Set your stitch length to be slightly longer for top stitching.

Sew along the open side of the sling.

Sew along the opposite side of the sling.

This is what the sling should look like when it is finished.

The Zipper
Pin the zipper flap to the zipper, right sides facing.

Pin the lining to the back of the zipper.

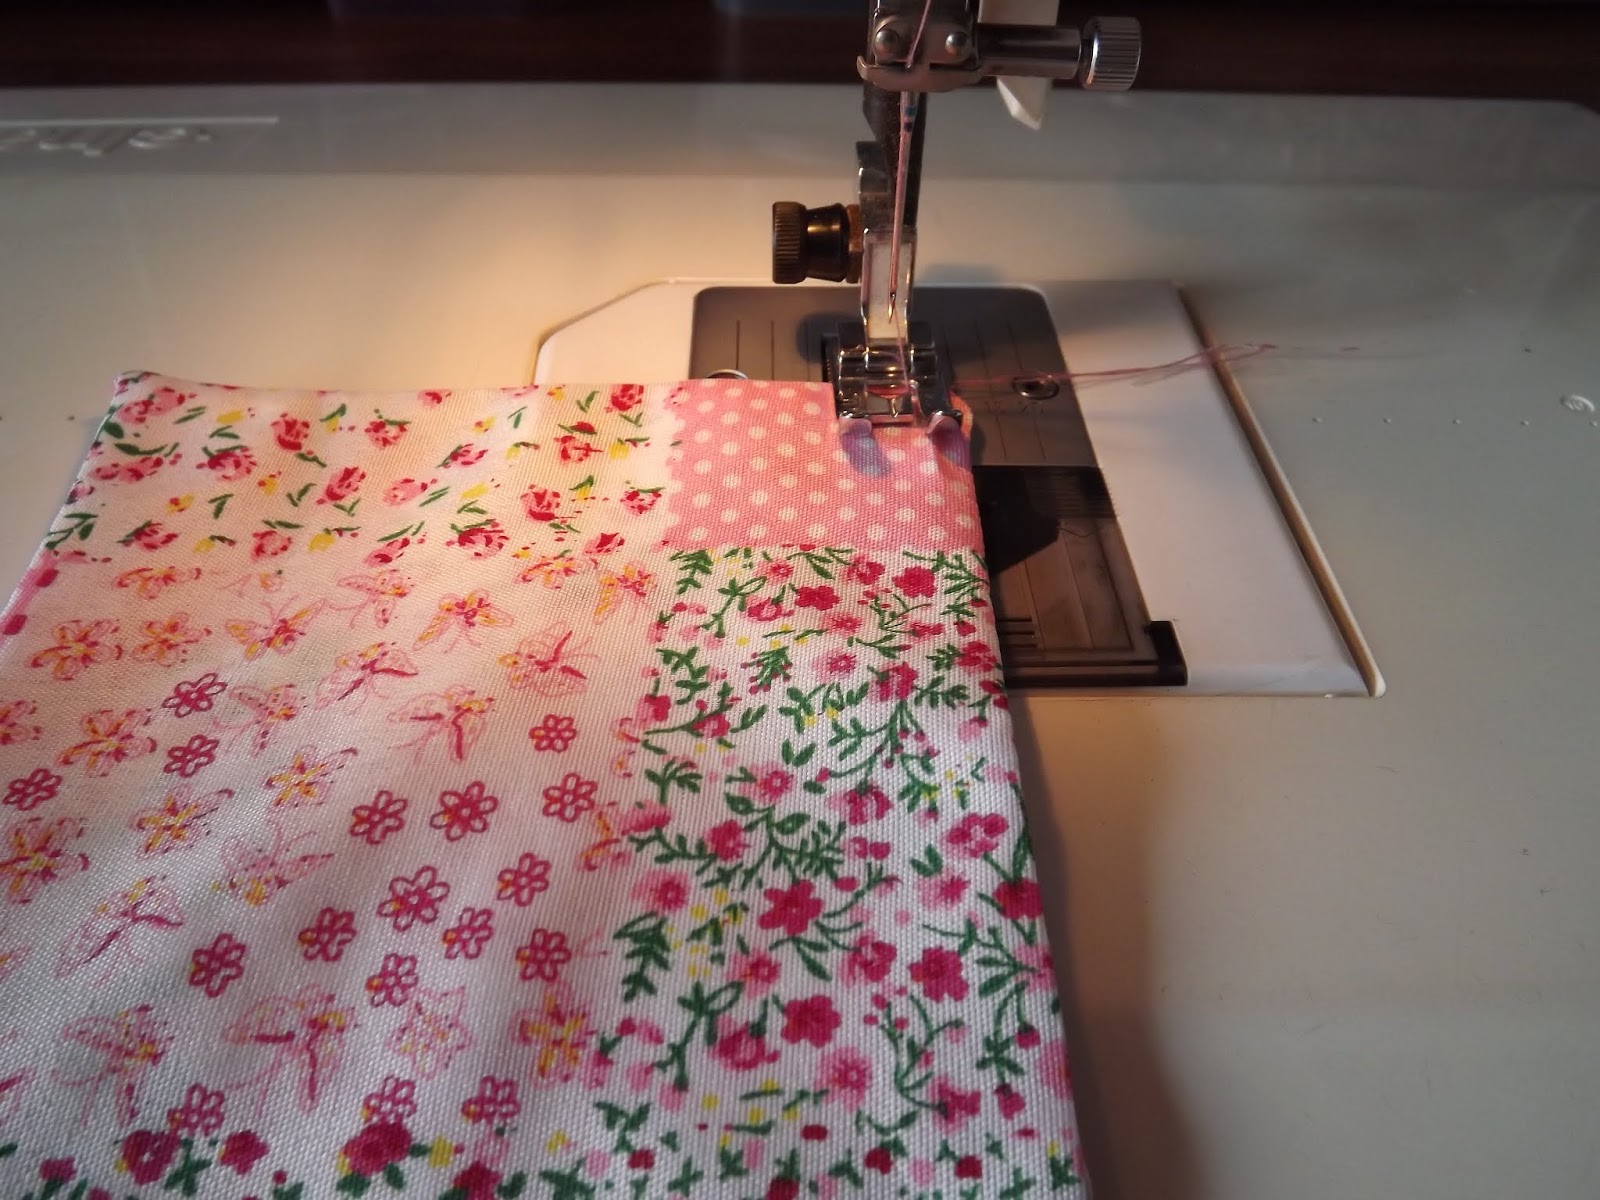
Sew as close as possible to the zipper.

When you fold the fabric and the lining back, your zipper should now look like this.

Sandwich the other side of the zipper in the same way between the lining and the fabric. Sew this side as well.

The finished zipper should look this when opened up.

The back of the zipper.

One of the pockets also get a zipper.

Pin one end of the zipper between two layers of lining.

Sew as close to the zipper as possible.

Open up by folding the fabric back.

Sandwich the other side of the zipper between the two smaller pieces of the pocket.

Sew as close as possible to the zipper.

This is what the zipper will look like when opened up.

Iron the zippers open.

Ironing between sewing is essential to creating a neat bag.

Open the zipper up. On the closed end of the zipper, fold the large bottom pieces back as far as possible and pin in place.

The Pockets
Pin the top flaps together with right sides facing.

Sew along the short pinned side.

Pin and sew the other end as well.

Turn the top of the pocket over. This is what it should look like at this stage.

Pin and sew the two long ends for the bottom of the pocket in the same way.

Fold the open ends of the pockets in and pin in place. Iron the pocket flat before proceeding.
Pin the pocket to one of the side panels cut from the lining.

Open the zipper half-way. Start at the top left hand zipper and sew right around the pocket to the bottom left hand zipper.

One pocket is now completed.

For the second pocket, cut a piece of elastic 10 cm long.

Lie the two pieces of the pocket on top of each other with right sides facing. Sew along the top of the pocket.

Leave a 5 cm gap on the side and sew all around the pocket, leaving a 1 cm gap at the top of the other side.

It is essential to leave the gaps at the top of the pocket.

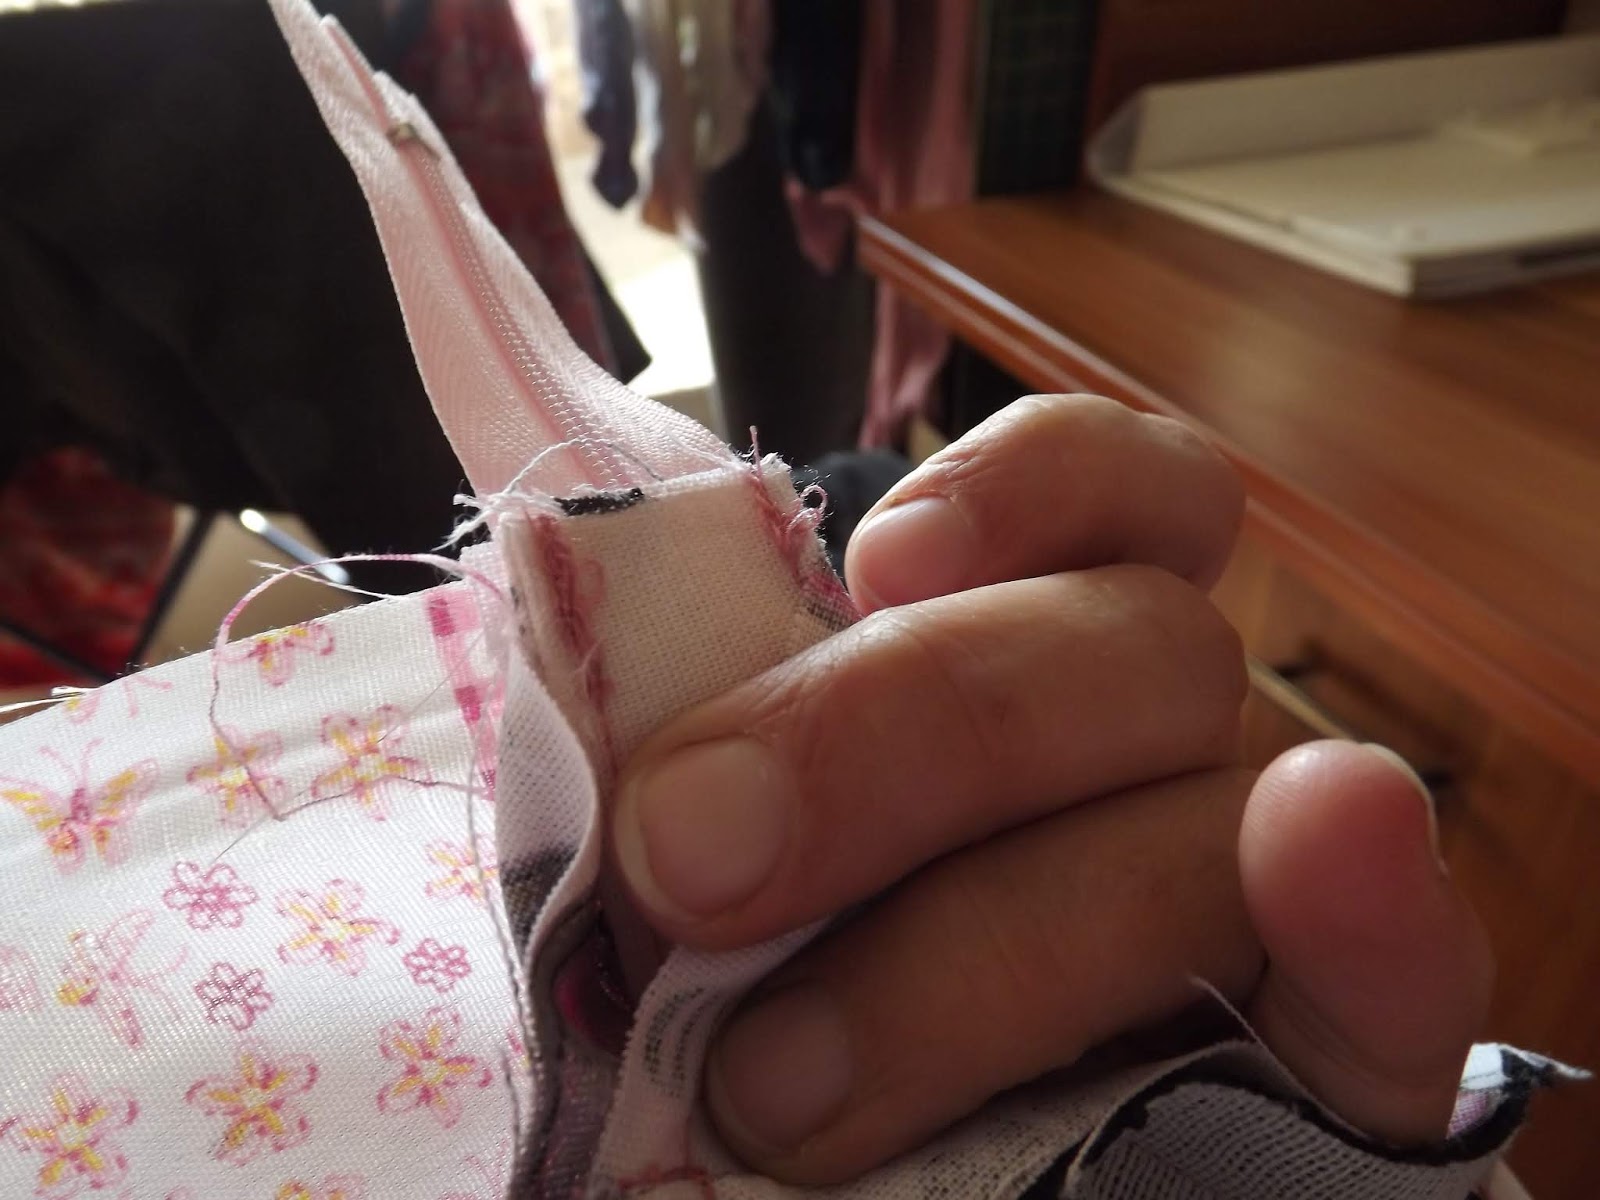
Trim the corners before turning the pocket right side out.

Fold in the open ends of the pocket. Iron the pocket flat before continuing.

Sew a tube at the top of the pocket where the openings are, approximately 1 cm wide.
Pull the elastic through this tube.

Fold a pleat at the bottom of the pocket.

Pin the ends of the elastic to the back of the pocket.

Pin the pocket to the remaining lining of the side panel of the bag.

Sew along the sides and bottom of the pocket to attach it to the side panel of the bag.

This is what the pocket should look like when you are done.

The Lining
Lie the two side panels cut from the lining on top of each other with right sides facing. Make sure the pockets face to the top of the bag. Pin the sides and bottom together.

Sew along the sides and bottom of the bag.

The lining is not turned inside out, which means that you are now done with this part of the bag for the time being.

The Side Panels
Each side panel of the bag consists of three pieces.

Pin these pieces together and sew with seam allowance 1,5 cm.

The two side panels should look like this when you are done.

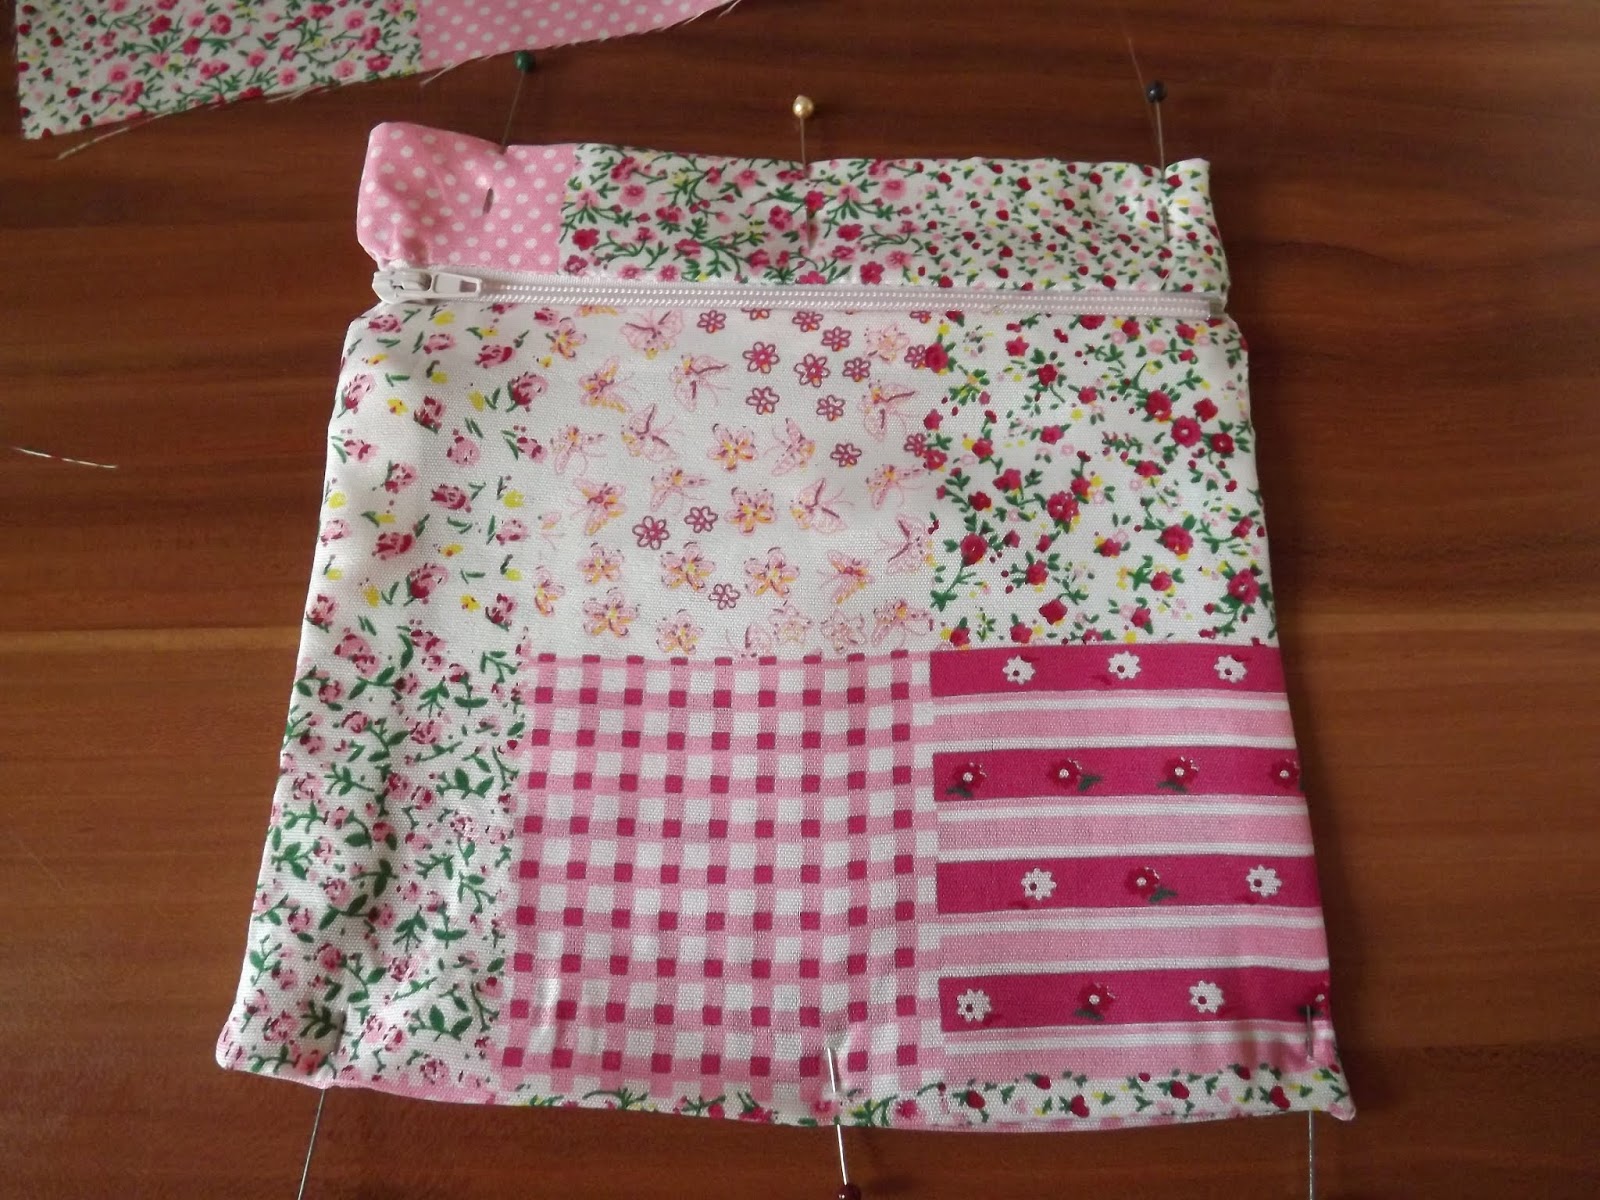
Attaching the zipper to the bag
With right sides facing, pin the fabric of the zipper to the top of the side panel of the bag and sew. Pin the other side panel to the remaining side of the zipper. Sew at 1,5 cm seam allowance.

Lie the side panels on top of each other with right sides facing and pin the sides and bottoms to each other.

Starting at the bottom of the zipper panel, sew all along the sides and bottom of the bag.

Trim the corners of bag.

Attaching The Sling
It is now time to attach the sling to the bag.

The closed end of the zipper: Slide the sling into the bag so it lies right next to the zipper, sandwiched between the zipper panels.
Pin the zipper panels together. Lining to lining and fabric to fabric.

Sew right across the zipper, from lining to fabric.

The open end of the zipper: Insert the sling inside the bag and line it up with the side of the bag.

Pin this side the same way you had done the other side, and sew.

Turn the bag right side out.

Inserting the lining.
Slide the lining into the bag.

Fold the ends in and pin the lining to the zipper panels cut from lining.

Sew all along the pinned panels by hand.

The inside of the bag once it is finished.

The outside of the bag once it is finished. In the coming blogs, I share with you ideas for painting your own ideas on the centre panels of this bag.

Marietjie Uys (Miekie) is a published author. You can buy my books here:
You can purchase Designs By Miekie 1 here.
Jy kan Kom Ons Teken en Verf Tuinstories hier koop.
Jy kan Kom Ons Kleur Tuinstories In hier koop.
Jy kan Tuinstories hier koop.
You can follow Miekie's daily Bible Study blog, Bybel Legkaart, here in English & Afrikaans.
You may prefer to follow the traveling blog, A Pretty Tourist.
For more crafty ideas and great product reviews, visit A Pretty Talent on Facebook.
If you are in a literary mood, follow Miekie's musings, stories and poetry on A Pretty Author - Miekie.
Remember to keep nurturing your TALENT for making life PRETTY.
You can subscribe to any of these blogs and receive regular updates by email. Simply register your email address at the top of the applicable blog.
No comments:
Post a Comment