
I start on a sturdy blank sheet of paper, using a pencil to do my initial drawing in.

I draw a large circle in the centre of my page, with a slightly smaller one overlapping it. A much smaller circle is drawn to the side and bottom of the page. The small circle will become the Stegosaurus' head, while the two larger ones will form the body.

Connect the head and body.

Draw the top of the tail and the tops of the closest two legs.

Draw the bottom of the dinosaur's body and tail. Draw the snout of the dinosaur and then draw the first row of fins on his back. Remember the 'horns' on the end of the tail.

Add the facial detail and continue the legs.

Add the second row of 'scales/fins' on the back.

Add the detail to the legs.

Use a pen to redraw the lines of the Stegosaurus. I used a Faber Castell Pitt Artist's Pen with a brush tip.

Erase all of the pencil lines.

I have a large collection of pencils made up of a wide assortment of pencils. Most of these are normal pencils you can buy at any stationery store, with only a small number being more expensive 'artist's' pencils.

I use a light green to shade the body of the dinosaur. Note how I do not colour solidly, but allow the white of the page to show through substantially. I also do not colour in one direction. Instead, I follow the lines of the body and change direction so that my pencil lines follow the direction of the imagined muscles underneath the skin.

I then use a very yellow green to add highlights to the dinosaur where the sun would reflect off the body.

I use a dark green to add depth to the areas in the shadows. Remember that the fins would also cast shadows on the Stegosaurus's back.

I continue the dark green shading.
I colour the back row of scales. The bottom of the tummy is coloured in this same shade.

Then I colour the front row of scales. I lightly touch the bottom of the tummy in this shade.

I then use a third colour to colour over both the front and back rows of scales. I also use this colour on the bottom of the tummy, as well as in the deepest shade areas and folds of the body.

Finally I colour the back spikes on the tail.

I use two shades to colour the ground where the dinosaur is standing. The darkest colour is used to create the illusion that the dinosaur is casting a shadow on the ground.

I then use my pen to add pebbles and unevenness on the ground.

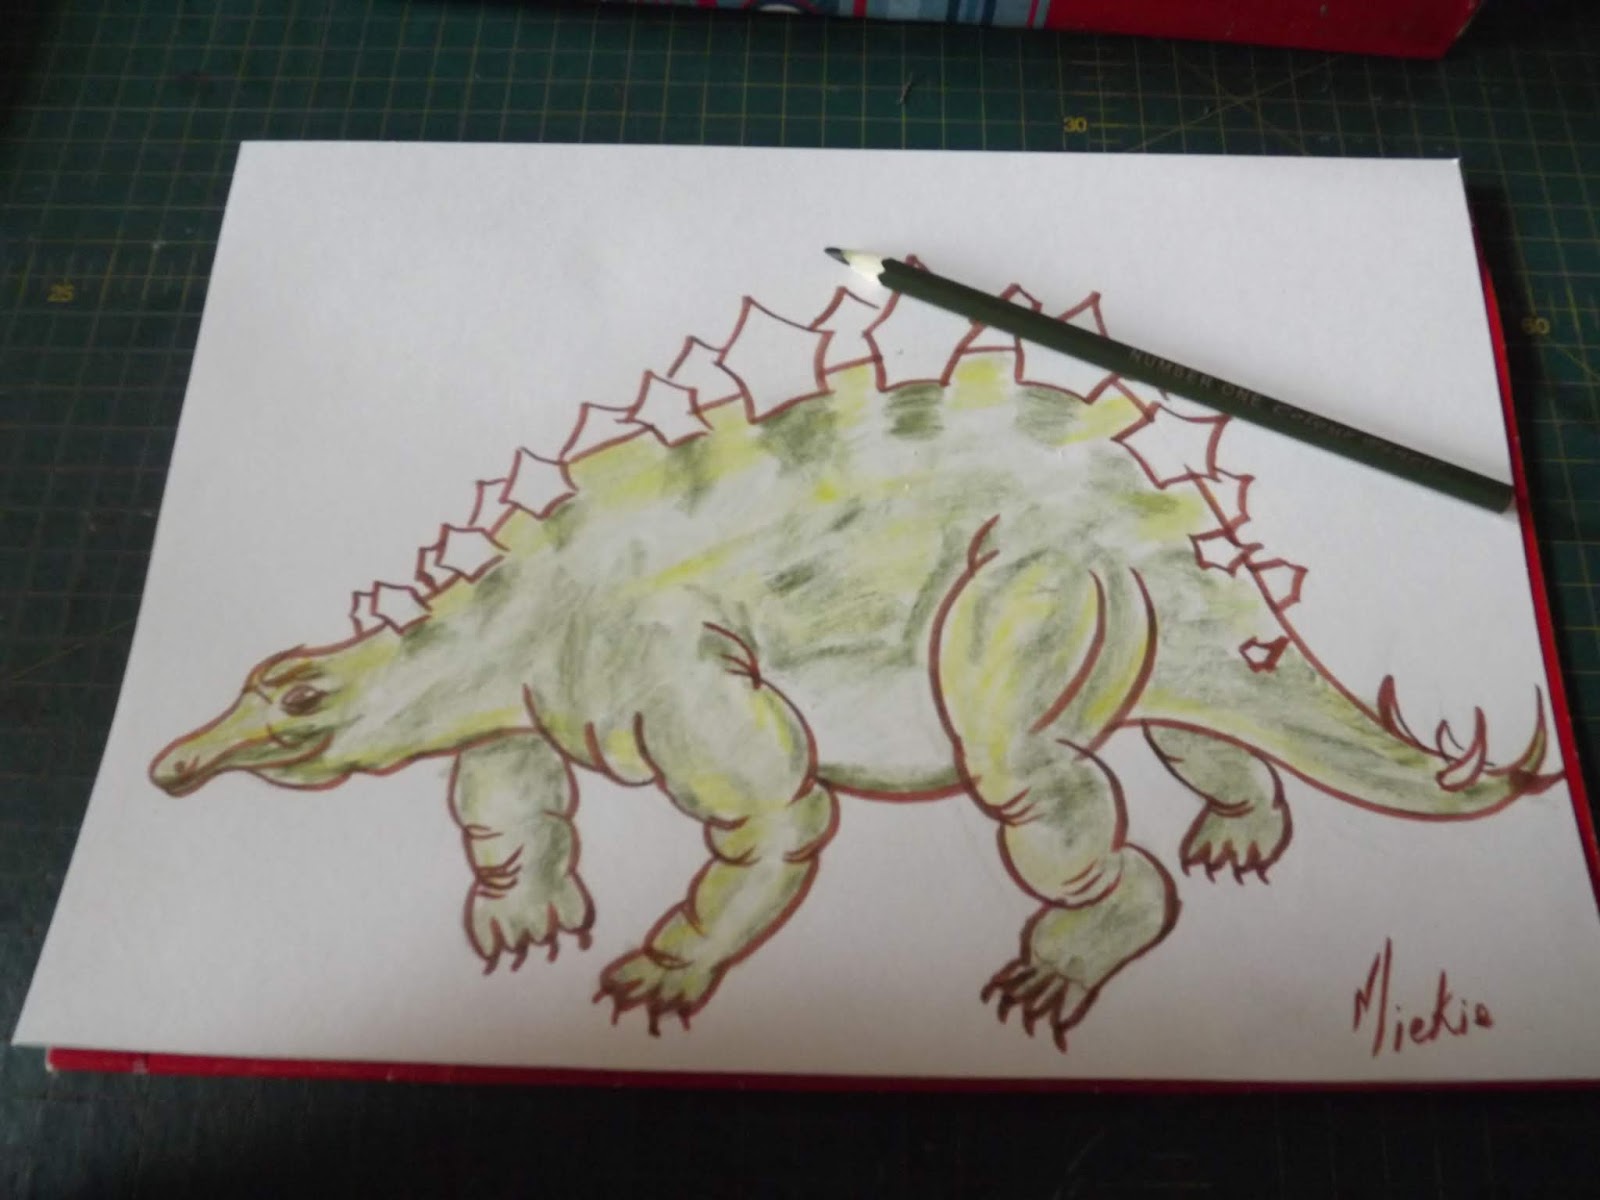
The completed Stegosaurus.

Marietjie Uys (Miekie) is a published author. You can buy my books here:
You can purchase Designs By Miekie 1 here.
Jy kan Kom Ons Teken en Verf Tuinstories hier koop.
Jy kan Kom Ons Kleur Tuinstories In hier koop.
Jy kan Tuinstories hier koop.
You can follow Miekie's daily Bible Study blog, Bybel Legkaart, here in English & Afrikaans.
You may prefer to follow the traveling blog, A Pretty Tourist.
For more crafty ideas and great product reviews, visit A Pretty Talent on Facebook.
If you are in a literary mood, follow Miekie's musings, stories and poetry on A Pretty Author - Miekie.
Remember to keep nurturing your TALENT for making life PRETTY.
You can subscribe to any of these blogs and receive regular updates by email. Simply register your email address at the top of the applicable blog.
No comments:
Post a Comment