
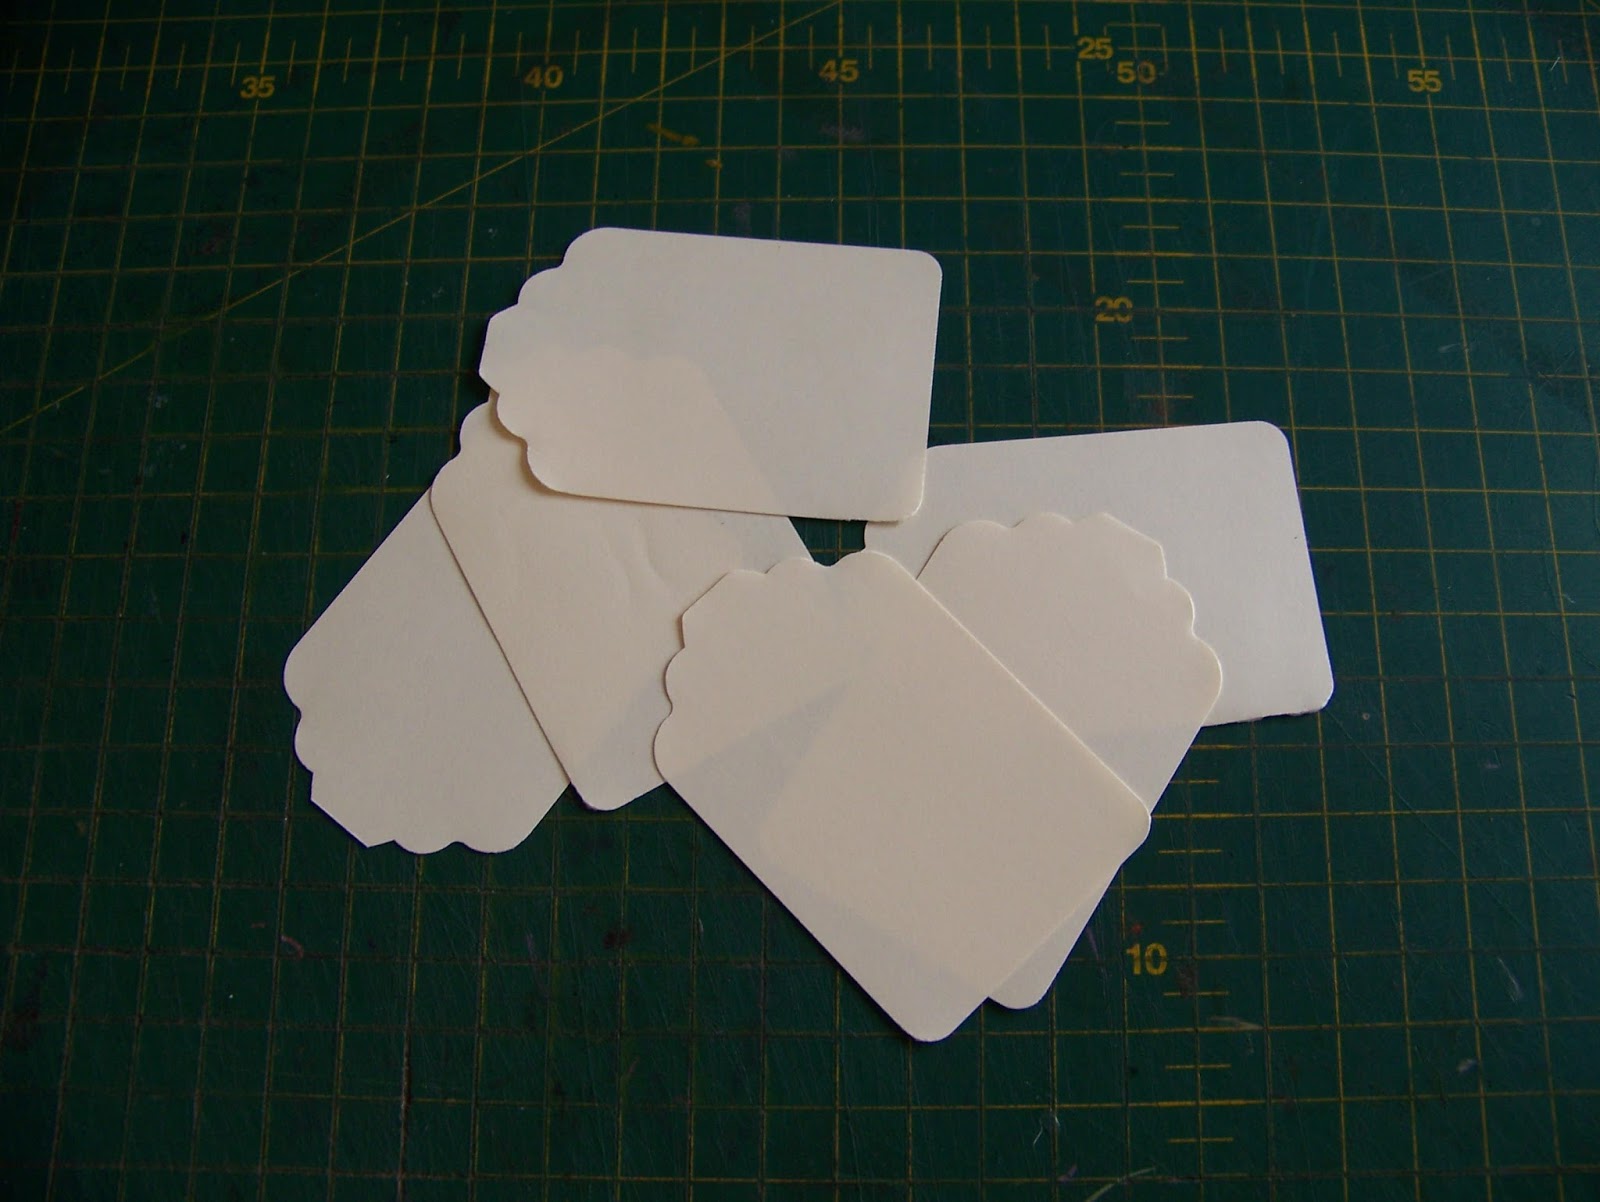
There are a number of die-cut machines on the market with which to cut tags. You can also use a punch, as I do, or you can trace a tag from a template/stencil and cut it out. Or perhaps you opt for buying a set of plain tags and decorating them yourself. The options are certainly plentiful. I used my punch and some off-cut paper I had left over from cutting frames for a scrapbooking project.

I will be showing you six different ideas, rather than creating a set of six tags.
Tag 1
For this label I need an ink pad and a stencil. This is actually one from the kitchen, intended for making pretty pictures on the thick froth of a specialty coffee, but it works well in the craft room as well.

I turn the ink pad upside down and press it onto the stencil.

I then use an earbud, which I dab onto the ink pad, to get into the small nooks that I could not reach otherwise.

Carefully lift the stencil away and wipe with a damp towel to clean it.

I then use a fine-liner fiber tipped pen to draw a frame around the tag.

Tag 2
I use the ink pad again, but this time with some stamps, which is perhaps more traditional.

Normally I would mount the clear stamp on its base, but this time I refrain from doing so as I want you to be able to see more clearly what I did. Note how the strawberry on top of the cupcake rests on the red cushion, the icing on the pink and the wrapper on the orange. I positioned it this carefully on purpose.

When I now press the stamp down on the paper, it gives a much more appealing finish, because I was careful in selecting the colors.

I added a second stamp, using the same technique.

This time my 'frame' does not go all the way around the tag, but it rather accentuates it.

Tag 3
For the third tag, I draw a rather silly cock with a pencil.

I then use a Black Posca Marker with a brush tip to redraw the pencil lines.

Then I color the drawing very loosely with Derwent Inktense pencils.

Finally I paint the pencils to bring out their natural bright colors, using a Pentel Aquash Brush.

Sitting back I realize that the drawing seems to be floating. I add some corn on the ground with a Black Fine-Liner fibre tipped pen to anchor the drawing to the ground.

Tag 4
I use yet another stencil in this tag, but this time I fill it in with a thick layer of Dala Fabric Liner. Be very careful when lifting the stencil away, as the thick paint can easily smudge. Wipe the stencil clean with a damp cloth.

While the paint is still wet, I use the point of a palette knife to draw quick lines through it. This gives it a more edgy finish.

In my final step, I spray Dala Fabric Spray onto the tag and set it aside to dry.

Tag 5
This time I use three rolls of Washi Tape and stick this onto the tag.

I turn the tag over and use the guidelines at the back to crop the tape.

Done!

Tag 6
I use another one of those kitchen stencils on this tag.

This time I use my Sharpie markers to color the stencil. I carefully get my Brown in place.

This is followed by Pink. Pay attention to the directional coloring.

I then lift the stencil away and add a few more lines, completely changing the original design from a blotch to a ballerina!

This one is a great take on alternative art, don't you think?

And there you have it. Six widely different tags in the blink of an eye. I bet everyone has a favorite here. Which one is yours?

For more crafty ideas and great products, visit APrettyTalent.com.
Remember to keep nurturing your TALENT for making PRETTY things.
You can subscribe to this blog and receive regular updates by email by simply registering your email address at the top of the current blog.
No comments:
Post a Comment