It is very rare that I
will go back to a design once I have finished with it, but this time I liked
the idea of the suggested changes and decided to apply them. Besides which, it
came with an order! My mom saw the vanity bag I had made and fell in love with
the idea. I had no idea she was in the market for a vanity bag and this one
came at the right time. She only had one request; she wanted a pocket or two on
the outside of the bag for the things she wants quick access to. Then my
sister-in-law suggested a pocket in the lid to keep things like razors in,
which posed potential harm if kept in among the rest of the contents of the
bag. At first I did not like either of the suggestions, but the more I thought
about it, the more it grew on me. Finally I succumbed. You can download the pattern for the bag here from APrettyTalent.com.

Pattern design
The pattern was
already in place and I merely needed to add a few pieces to the existing
pattern. I started by sketching the new concept using Daler-Rowney’s Pitt Pens
on a 100 gsm sketchpad.


I added a pocket for
the lid which would have a zipper running through the centre of the circle
where it is at its widest and would provided the best entry point for objects
and/or hands. I designed a pattern piece that would create a series of pockets
right around the circumference of the bag.

All that was left to
do, was to transfer the design onto A4 paper so I could convert it to pdf and
make it available for download on APrettyTalent.com.

Pattern Layout
I decided to use 2
different fabric designs and a lining for this version of the bag. From Fabric
1 I cut the Handle x1 and the Pockets, x 1 to stretch around the bag.

From Fabric 2 I cut the
Lid Side x 1, the Top & Bottom x 2, the side x 1 and the Lid Pocket x 2.

From the lining I cut
the Lid Pocket x 2, the Pockets x 1, the Side x 1, the Top & Bottom x 2 and
the Lid Side x 1.

Construction – support elastic
Exactly as with the
previous bag, I decided to add an elastic support to the lining that would
assist in keeping bottles upright. I cut some wide elastic to the same length
as the panel. I pinned it to the middle of the panel. I placed pins at regular
intervals where I wanted to stitch to make the elastic compartments.

I secured the elastic
in place with stay stitches on the sides.

I then stitched at 8
cm intervals through the elastic to create smaller ‘pockets’.

Construction – the zippers
I started with the
zipper in the lid which was a new addition to this bag. You will need a zipper
of 20 cm for this purpose.

Pin the zipper to the
fabric of the Lid Pocket, right sides facing.

Pin the lining to the
other side of the zipper, right side facing the back of the zipper, sandwiching
the zipper between the lining and the fabric

Sew as close as
possible to the zipper.


I put the lid pocket
aside and concentrated on the bag zipper.

I sandwiched the
zipper between the Bottom Side Fabric and Lining and sewed as close as possible
to the zipper. Make sure that you do not sew any further than the metal stops
of the zipper, i.e. only sew along the openings of the zipper and not all the
way through form one side to the other. These small pieces need to be left open
to attach the lid to the bottom of the bag.


I then repeated the
same steps with the other side of the zipper, sandwiching the zipper between
the fabric and lining of the Lid Side, sewing as close as possible to the
zipper.


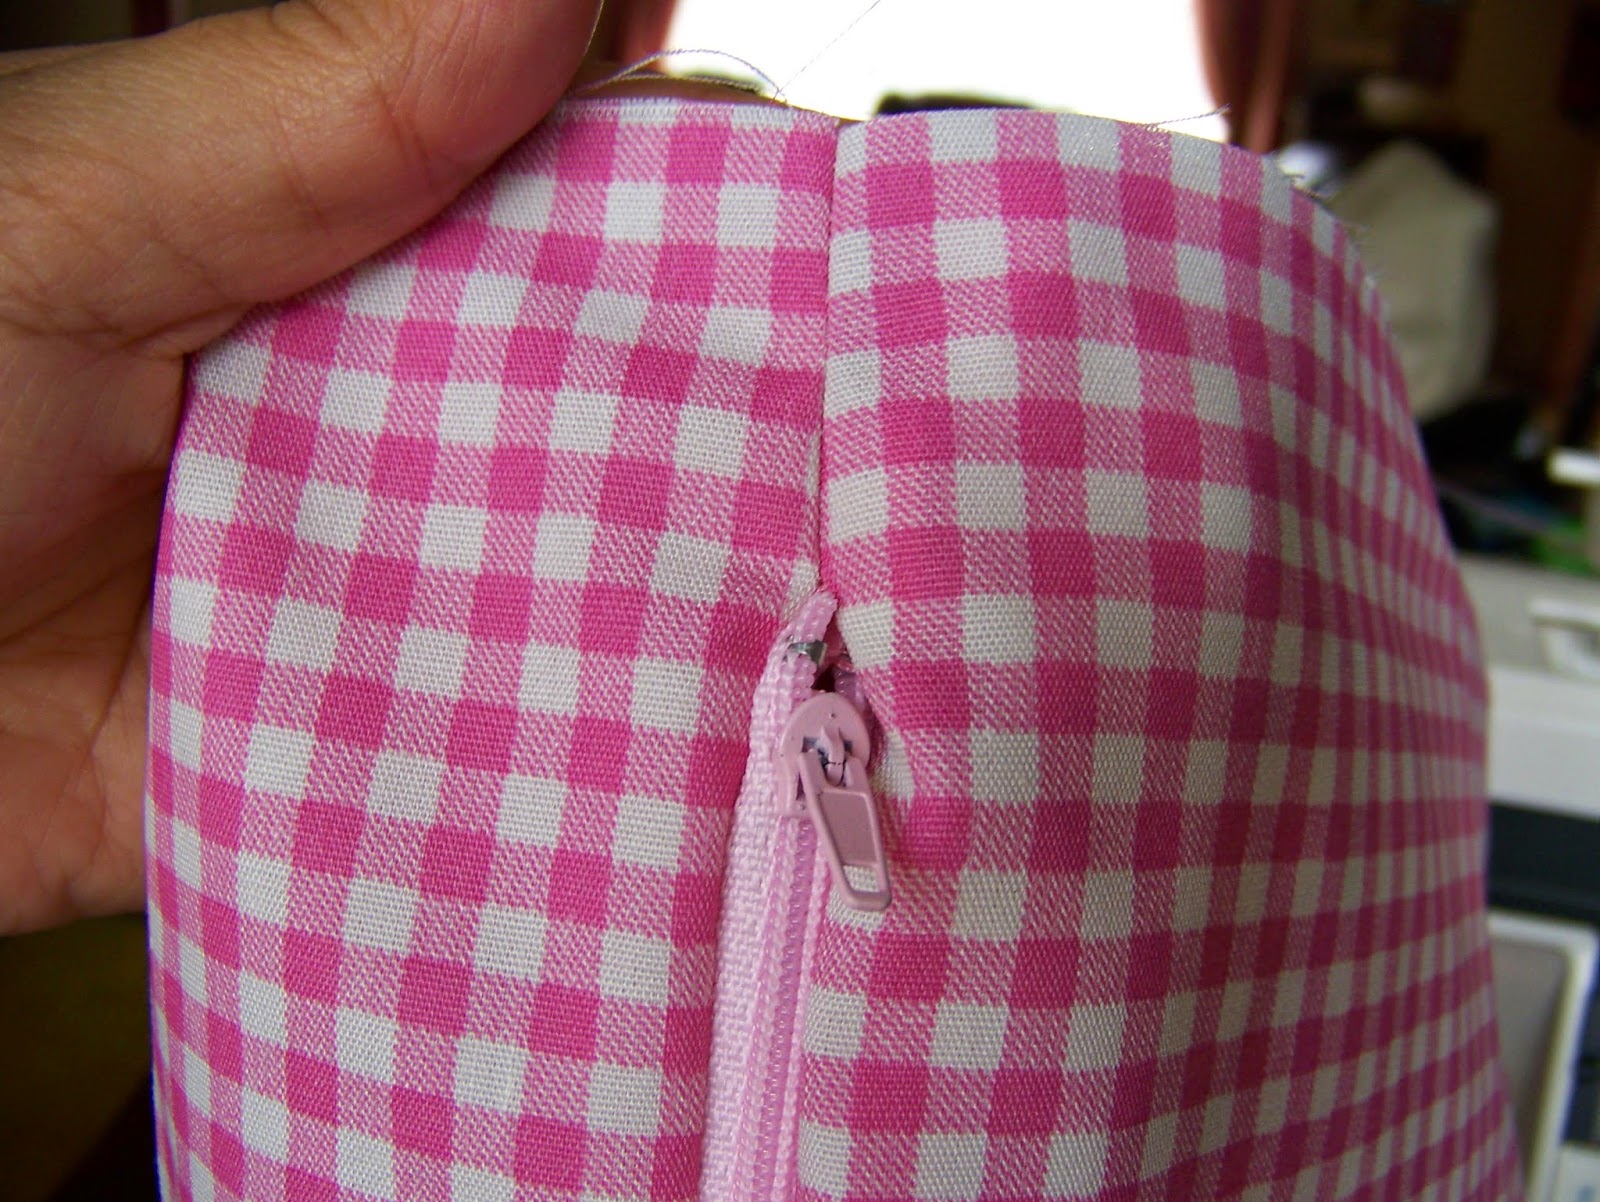
Pin the small openings
before and after the zippers, lining to lining and fabric to fabric, right
sides facing. Fold the zipper and other fabric away and sew from the side into
the zipper stitching.


Both ends of the
zipper should look like this on the outside as well as the inside.

Iron the small seams
open as well as both zippers.


We will continue with the bag in the next blog and finish it the day after.
For more
crafty ideas and great products, visit APrettyTalent.com.
Remember to
keep nurturing your TALENT for making PRETTY things.
You can
subscribe to this blog and receive regular updates by email by simply
registering your email address at the top of the current blog.
No comments:
Post a Comment