
Although it is not entirely necessary to do so, I like to paint the inside of the tissue box cover so that I will have a more finished product. I use a palette knife to mix Cadmium Red and Titanium White acrylic paint. I use a large dollop of white and only a small drop of red, since I want to mix a very pale pink.


I apply the paint with a wide flat or filbert brush.

Once the whole inside of the box is painted, I leave it to dry in the sun.

I want to finish the edges with Ivory Black and use a small flat brush to apply the paint.

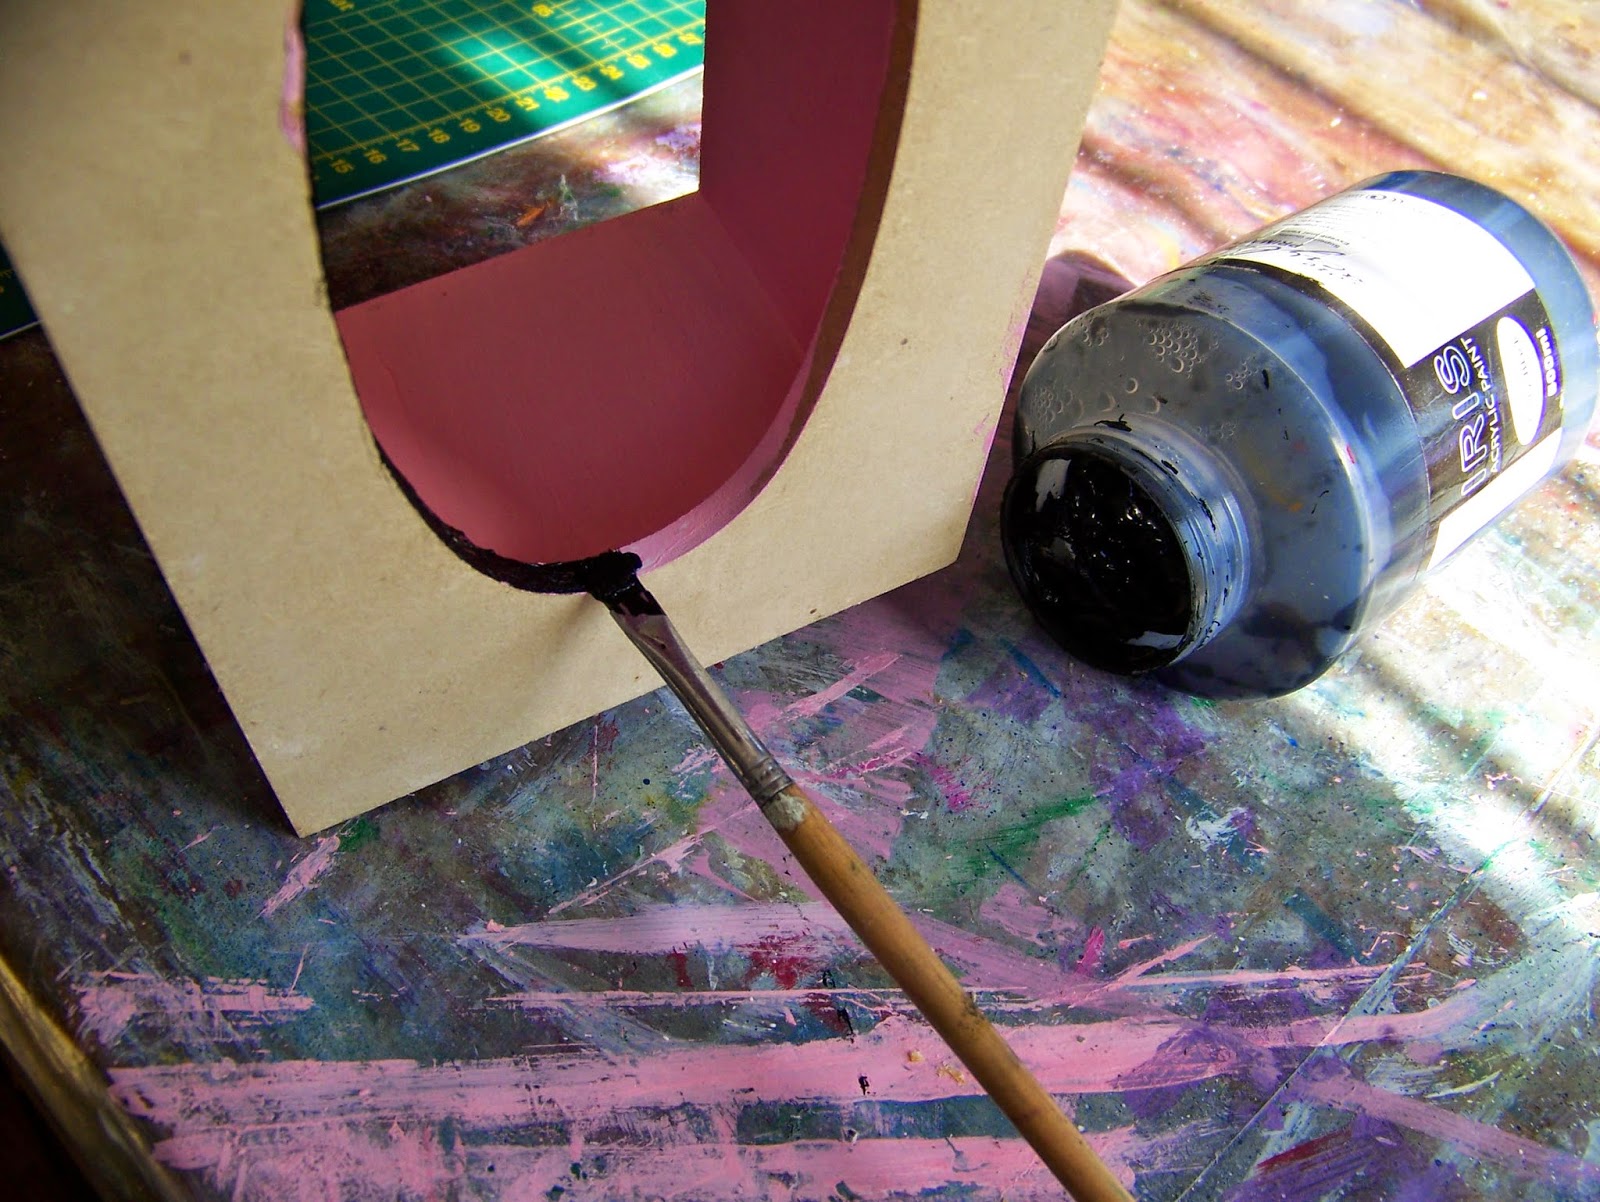
The box is once again left to dry completely before I continue.

While I'm waiting for the paint to dry, it is the perfect time to start gathering the materials I am going to need to mosaic the box. The main component for today's project are the glass tiles I've made in the decoupage project and I use these as a starting point. I visit my stash to see what I have available that will compliment my selection of decoupage tiles. This is what finally settles me on the lilac tiles of the decoupage collection. I will be adding some mirror squares, mother-of-pearl and a shades of purple.

I start by laying out the pattern on the lid of the tissue box. This is the side of the box that will draw the most attention and that is what makes this the obvious starting point. I also discovered three word-tiles leftover from a previous projects that I will be able to use with great success in this project. Once I am satisfied with the layout of the tiles, I apply glue to each tile and stick it down in its place.

I now have a rough idea of how many tiles will be required to fill a side and try to distribute the rest of my tiles evenly between the four sides. The two shorter sides receive half the tiles each of the longer sides. This will not be an exact division, but it will assist me in achieving an even distribution of mirror to picture to purple to mother-of-pearl ratios.

When the tiles are glued down, I wait only a short while before continuing on the next side. The glue is quick drying, making it possible for me to turn the box over in no time to continue working on another side.

I lay out the second side and glue the tiles in place.

The third side is arranged and glued down.

This is the fourth side glued down.

I finally reach the last side and glue the tiles in place. You will note that I have needed to cut the minimum of tiles. Strictly speaking I would have been able to play around with the arrangement and that would have made it unnecessary to cut any tiles, but I liked the idea of including smaller tiles. The choice is yours in this particular project.

I leave the glue to dry completely before I start on the grout. I used dove grey grout. Put a small amount of grout in a container and add water in small amounts until you reach the right consistency, a thick-ish paste. The grout mixes very easily and clumps can easily be dissolved in water.


Spread the grout evenly over the tiles. Use your fingers to work the grout into the grooves and to smooth-en the edges.

The excess wet grout can be wipes off, but don't bother with cleaning the grout too much. We will wipe it clean once it is a bit drier, but before it is set hard. If you clean too much now, you run the risk of wiping the grout out of the grooves. Leave the grout to dry for an hour or three.

Use an old rag or sponge to wipe away the dried grout. I start with a dry cloth and then use a wet sponge to do the final cleaning,


This is what the tissue box cover looks like in its final setting. Brighten up the flu season by adding a bit of beauty to the room ;-)

For more crafty ideas and great products, visit APrettyTalent.com.
Remember to keep nurturing your TALENT for making PRETTY things.
You can subscribe to this blog and receive regular updates by email by simply registering your email address at the top of the current blog.
No comments:
Post a Comment