For some strange
reason I always feel more challenged when I need to make a card for a man. I
always feel as if I need to make a real mind shift to incorporate all kinds of
macho ideas. This is not really true. I can use the same ideas and techniques
as I do for women. The only things that will change is the palette (sometimes)
and the themes (also not only sometimes). Let me walk you trough this card I
made for my Rugby Enthusiast father.

I start with a 12” x12” craft paper which has been cut in half for a previous project. This is a
very nice size for a card, because when I fold it in half in the length, I will
have a 6” x 6” card, which is all the rage these days.

I gather a small
collection of knickknacks that I think I will be able to use. I believe there
are crafters who plan everything in detail before they start, and although I
sometimes work like that, I find that I more often prefer to allow the creative
process to shape itself as I go. For this reason all the materials gathered
will not make it into the project. It also means that some will be added later
on. What can be said with certainty is that I make a point of using off-cuts
from previous projects when making cards, rather than cutting up whole sheets
of paper.

The rugby theme was an
obvious choice for my dad’s card, but I don’t want to exaggerate the theme. He
is also very keen on news and loves earth tone colours. I believe it is
extremely important to design around the recipient’s likes and dislikes. Neither
a card, nor a gift should be a reflection of you, but it should always show
consideration for the person it is presented to. With this in mind, I start
layering the bits and pieces on top of each other until they form a unity that
appeals to me.
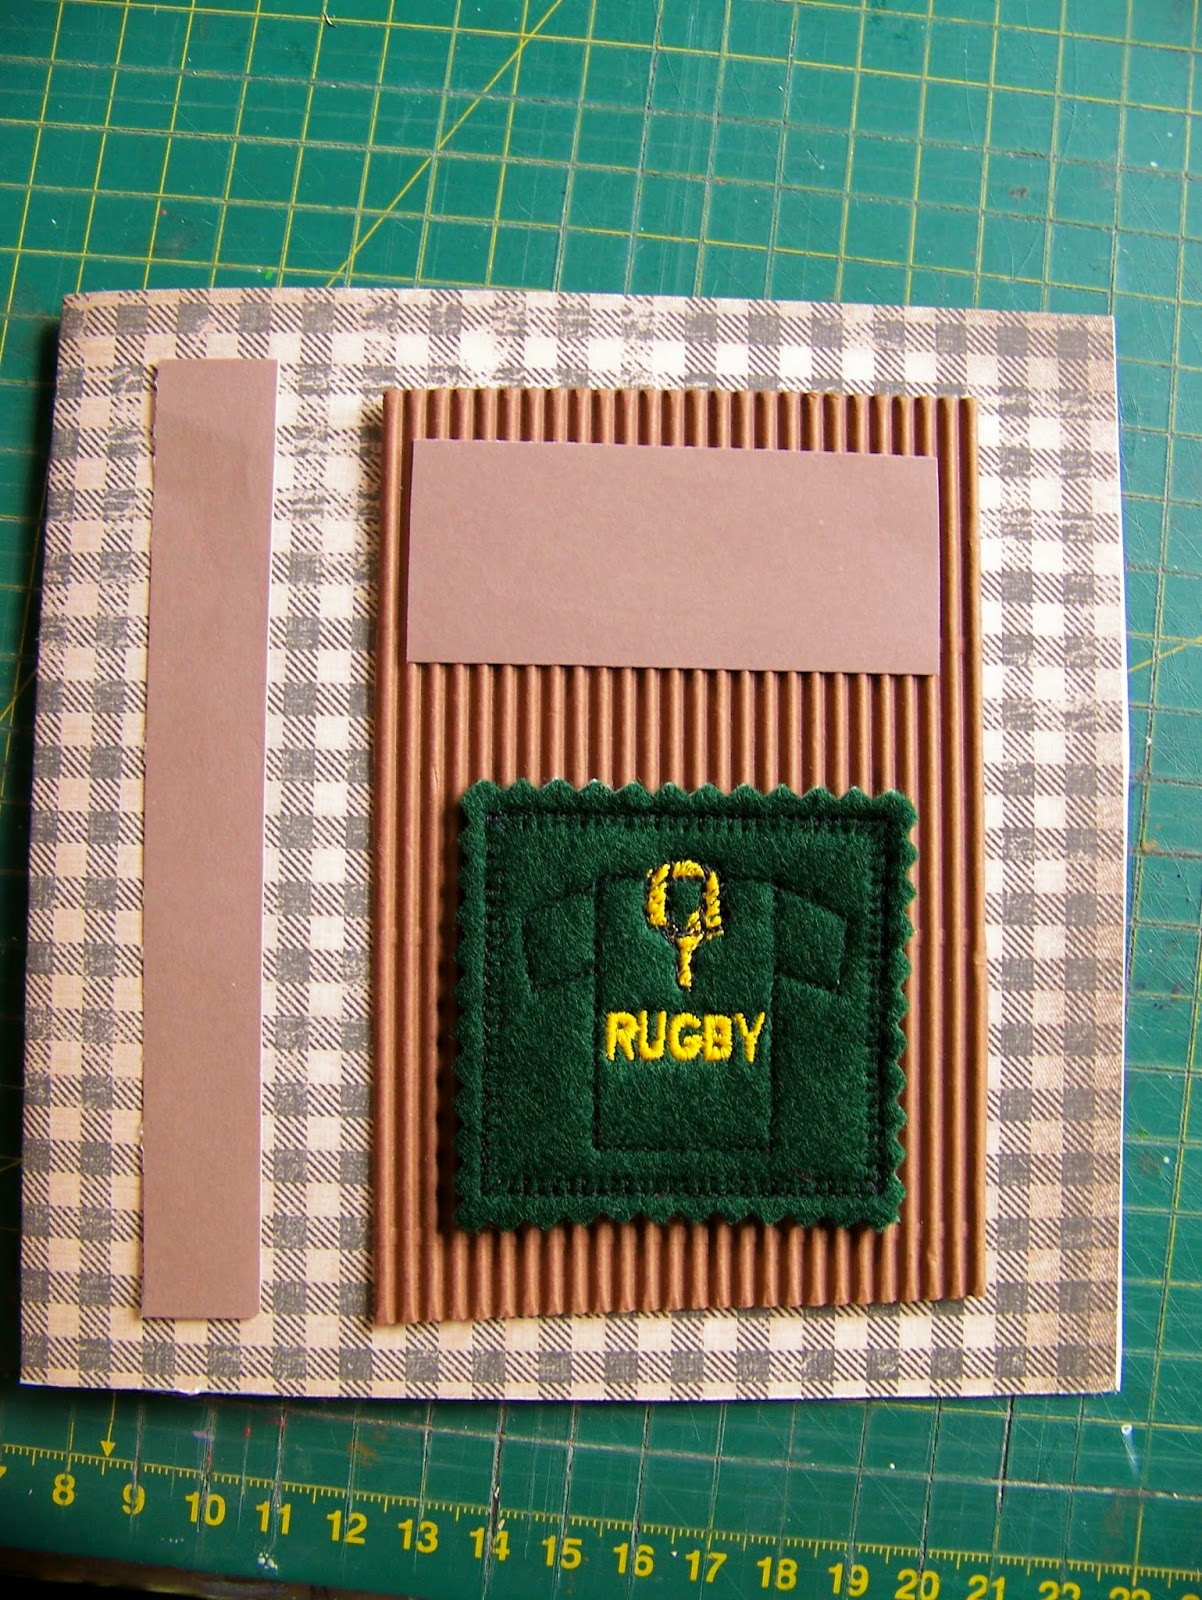
Once I am satisfied
with the layout, I use double-sided tape to stick the pieces down.


I use Tombow glue to
paste the embroidered piece, wanting to make sure it will stay in place and
foreseeing that this will be the piece that will be handled and touched.


Knowing that I am
going to work with dimensional objects to complete the front, I turn to the
inside first. I love the print, but it will be a little difficult to read if
the writing is added on top of the print. For this reason I add some blankcardstock to the centre of the card. I attach these with double-sided tape.

I use a couple of
stickers and embellishments to convey the message of the birthday card. I don’t
want to fill the space up too much, because I like writing thoughtful personal
messages in the card and want enough space to do this in. Any occasion where it
is appropriate to give a card, is an excellent opportunity to let people know
how mush you appreciate them.

I turn back to the
front and spell my dad’s name in alphabet gel stickers in the space I left open
for this.

I use the Tombow glue
to make dots for the buttons I want to add. I am not sure that he will
recognize these, but they are all buttons that my mom had taken off some old
shirts he used to wear.

In a couple of simple
steps I have created a birthday card that cost next to nothing but has so many
personal elements that no shop-bought card can compare. I want to point
something out to you which might make it easier for you to design cards for men
in the future. I could easily have used this same design and layout for a woman
by simply changing the colour scheme to pink or purple or something. I could
even have kept the rugby theme if I only added some flowers instead of buttons
to make it a little less macho. OR, I could have kept the colour scheme, but
change the theme. Imagine for instance an embroidered embellishment with a
sewing machine for a seamstress or cake for a baker, etc. The colours would not
have mattered. Once you realize this, you will find it much easier to design
past the mental block we sometimes experience when designing for the opposite
sex.
There are some great
books available on the market that have wonderful ideas for card making, such
as this one, available from APrettyTalent.com, titled Celebrate with Cards.

For more
crafty ideas and great products, visit APrettyTalent.com.
Remember to
keep nurturing your TALENT for making PRETTY things.
You can subscribe
to this blog and receive regular updates by email by simply registering your
email address at the top of the current blog.
No comments:
Post a Comment