Part 1 of this blog can be found here.
Part 1 of this blog can be found here.

Constructing the Bag – The Zippers
You will need two
zippers for this bag. The zipper for the top of the bag will need to be about
35 cm long. I used one of 40 cm and simply cut it shorter. The zipper for the
pocket will need to be about 20 cm.

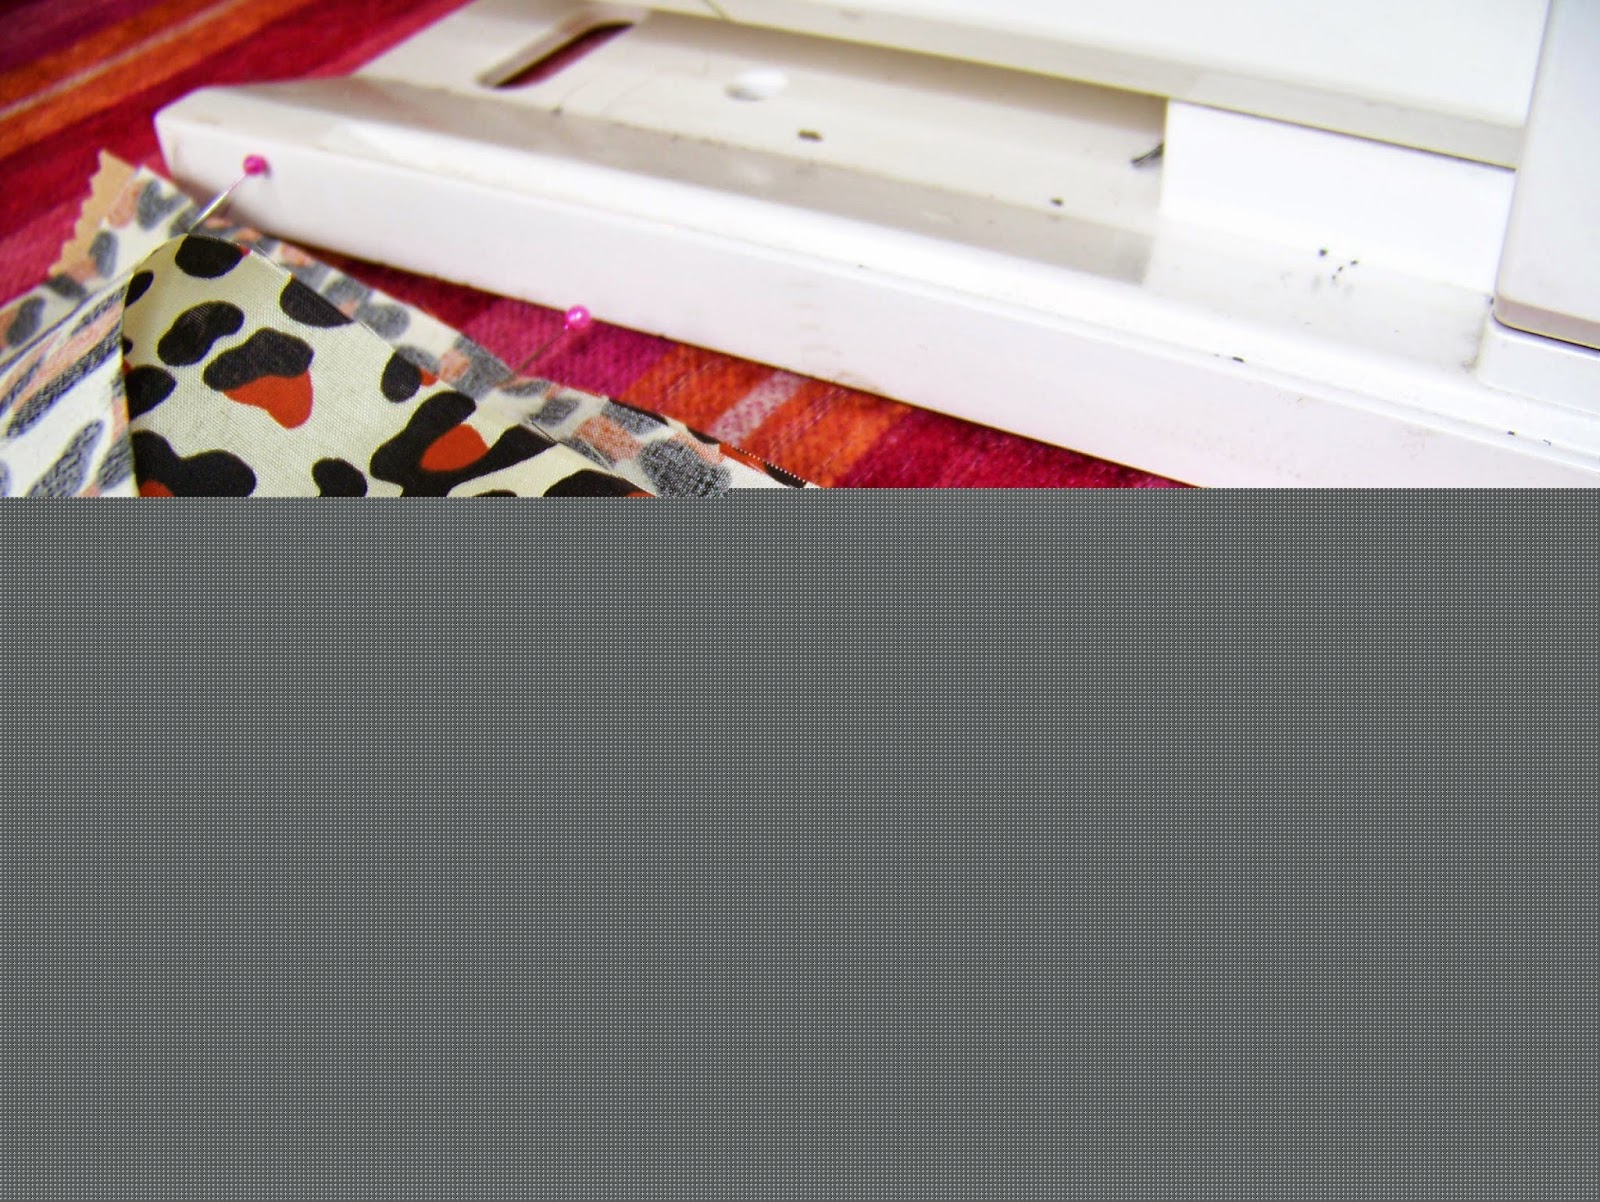
To attach the zipper to the top of the bag, you have to sandwich the zipper between the fabric and the lining. The right side of the zipper should face the right side of the fabric and the right side of the lining should face the wrong side of the zipper (in other words, the fabric and lining should lie on top of each other with right sides facing). Sew as close as possible to the zipper. Repeat the steps with the other side of the zipper and the remaining two zipper flaps.


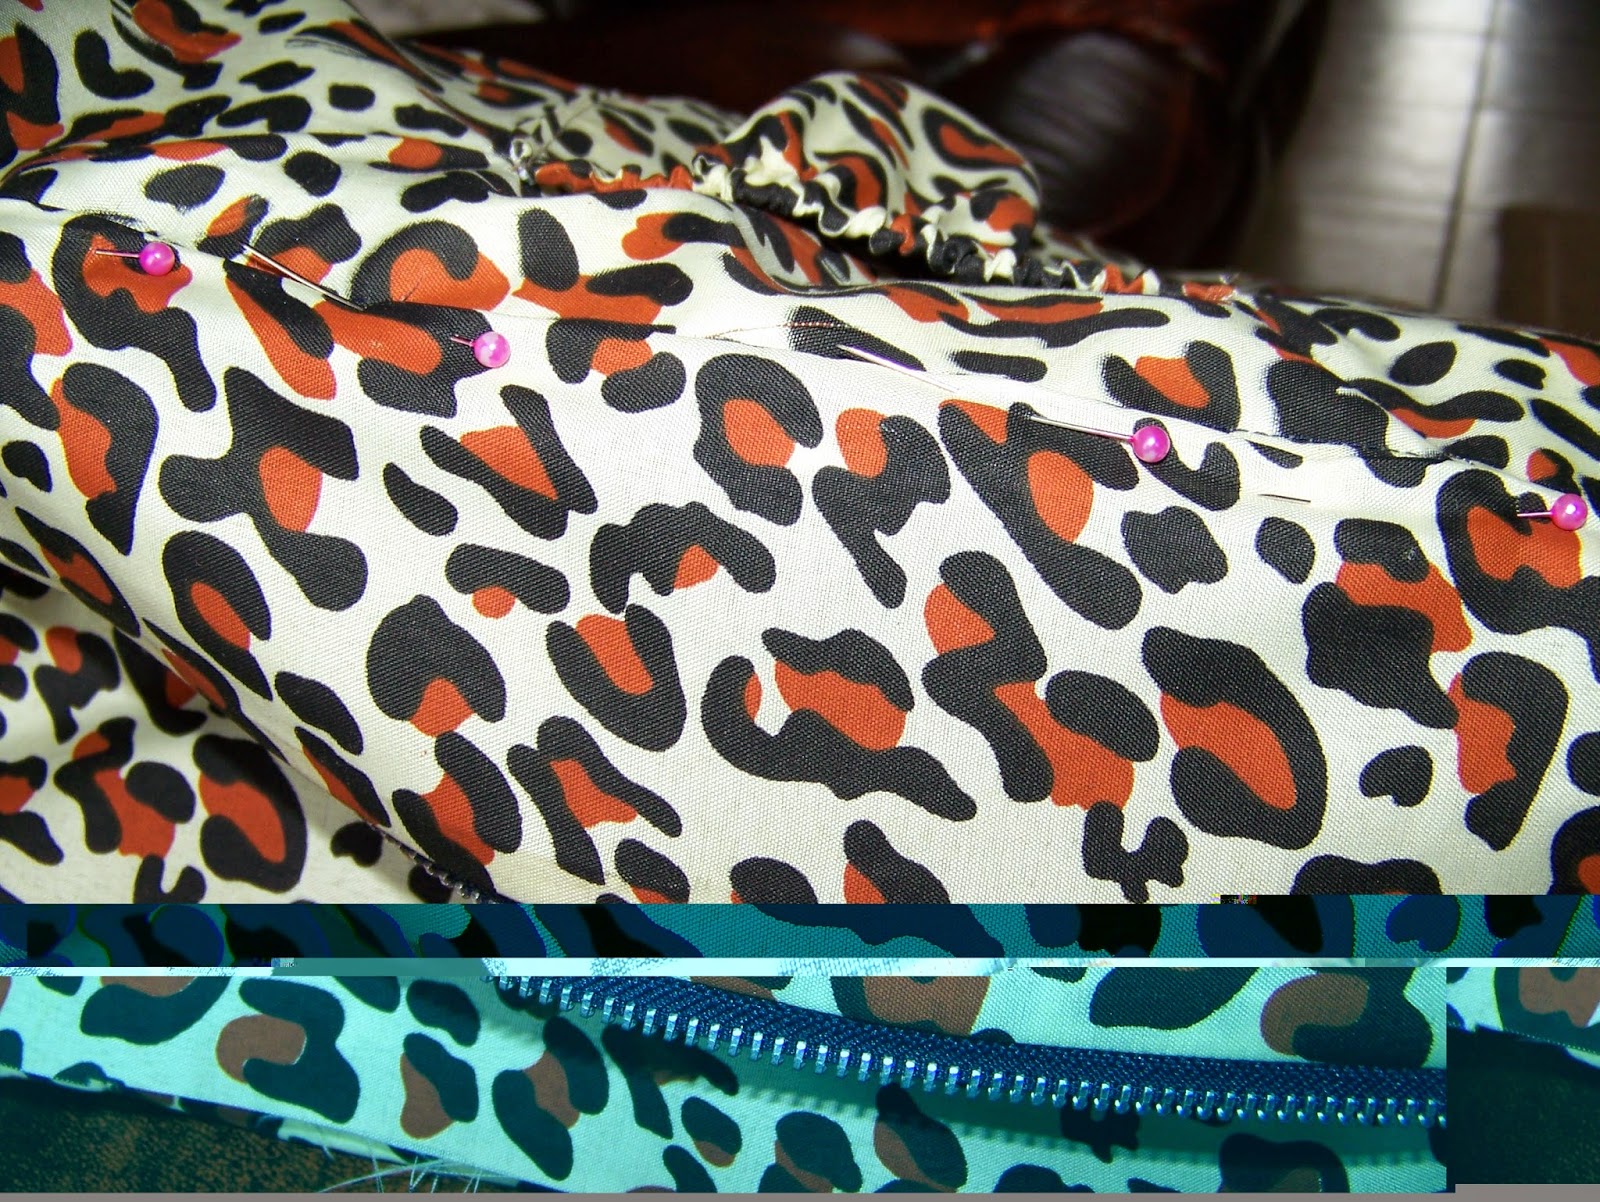
Starting on the bottom of the zipper pocket, pin the zipper between the panel pieces as described above. Sew as close as possible to the zipper. Repeat this with the top of the zipper pocket.

We now turn our attention to the open pocket. Fold the fabric on the fold line. Leaving a small space of approximately 2 cm at the fold on both sides, sew the pocket leaving a 1 cm seam allowance. Drop the needle when you reach the corners to make it easy to turn the fabric.


Cut the excess fabric away at the corners to make it easy to turn the pocket inside out and still get a neat corner. Use a pin or needle to pull the corners out if they are a little stubborn.


Iron both pockets flat before continuing.


We are going to put a pleat at the bottom of the open pocket. Fold the open pocket in half from top to bottom. Mark the halfway mark with a pin.

Fold both sides of the pocket back with the pocket still folded in half. See the photo. Pin the folds in place.

Unfold the pocket on the halfway mark and repin the folds so the pins will go through all the layers of fabric.


Sew a tube for the elastic to go through at the top of the open pocket. I worked on 1 cm. Adjust your tube to accomodate your choice of elastic.

Thread the elastic through the tube and pull the elastic in so that the top and bottom of your pocket are the same width. Pin the sides of the elastic in place.


Position the pocket in the centre of the lining panel. Pin it in place.

Sewing as close as possible to the side of the pocket, sew it onto the lining. Drop the needle on the corners. Fold the elastic in under the pocket and cut the excess elastic away once the pocket is in place.


Fold the top zipper pocket flaps so that they lie right side to right side. Sew the sides with a 1 cm seam allowance. Do the same with the bottom zipper pocket flaps.


Iron the pocket flat.

Position the pocket so that the top of the pocket lines up with the top of the lining. If the bottom is slightly longer, trim the excess away so that it will fit perfectly at the top and bottom. Pin the pocket in place.

Sew the sides of the pocket in place, sewing as close as possible to the sides of the pocket.


Sew the panels allowing 1,5 cm for the seam.

Iron the seams open.


Slide the handles into the tubes. Pin the tubes in place.

Position the tubes to the centres of the bag.

Using the side of the foot to guide the seam width, attach the tubes to the panels with a stay stitch. This will make sure that the heavier handles won't slide out when we are working with thicker layers a little later on.


Sew all along the outside of the bag with a 1 cm seam allowance. Leave only the top open.

Trim the excess away at the bottom so the seam will make a smooth line once the bag is turned right side out.


This is what the bag should look like at this stage (although turning it inside out is a bit premature at this stage and was only done for illustrative purposes).

Pin the lining panels down, right sides facing.

Sew the lining the same way you did the fabric panels, allowing 1,5 cm for the seam.

Find the centres of the bag and the zipper. Pin the zipper to the bag. Sew the zipper flap to the bag. Leave approximately 1,5 cm open. this will go into the side seam later. Repeat for both sides of the zipper.


Shove the lining inside the bag and position it in place. Pin it properly.


Turn the bag inside out so that the lining is on the outside.

Pin the lining and the bag to the fabric of the zipper flaps. Sew all of this together. Sew the two long sides fisrst, followed by the shorter sides. Make sure that you do not catch the lining for the zipper in the seam.


Cut the excess zipper away if necessary.

Fold the lining of the zipper flap in and pin in place.
Sew the lining by hand all the way around.

Here are 3 different views of your finished product.


For more
crafty ideas and great products, visit APrettyTalent.com.
Remember to
keep nurturing your TALENT for making PRETTY things.
You can
subscribe to this blog and receive regular updates by email by simply
registering your email address at the top of the current blog.
No comments:
Post a Comment