The main aim of
today’s project is to show you how to use the mouth atomizer with ink. I am
going to make a page for my art journal commemorating a painting I have done
repeatedly for clients (albeit every time with small changes). The scene is of
the Knysna heads in the Western Cape province of South Africa

I start by preparing a
sheet of paper with gesso. Gesso will allow just about any paper to take paint.
This is a normal 80 gsm paper. Simply paint 2-3 layers of gesso on the paper. You can learn more about strengthening paper with Gesso from an earlier blog by clicking here.

I will need the mouth atomizer, ink and newspaper for the project. I use Dala’s Acrylic Ink for
today’s project, since it is not something I intend to sell (in which case I
recommend using Daler-Rowney’s FW Acrylic Ink). Since Dala’s ink is much
cheaper than its counterparts I am less worried about the ink that will
necessarily be wasted. This is because the mouth atomizer has a high velocity
spray that will send the ink flying all over. Make sure you cover your work
surface to protect it before you start.

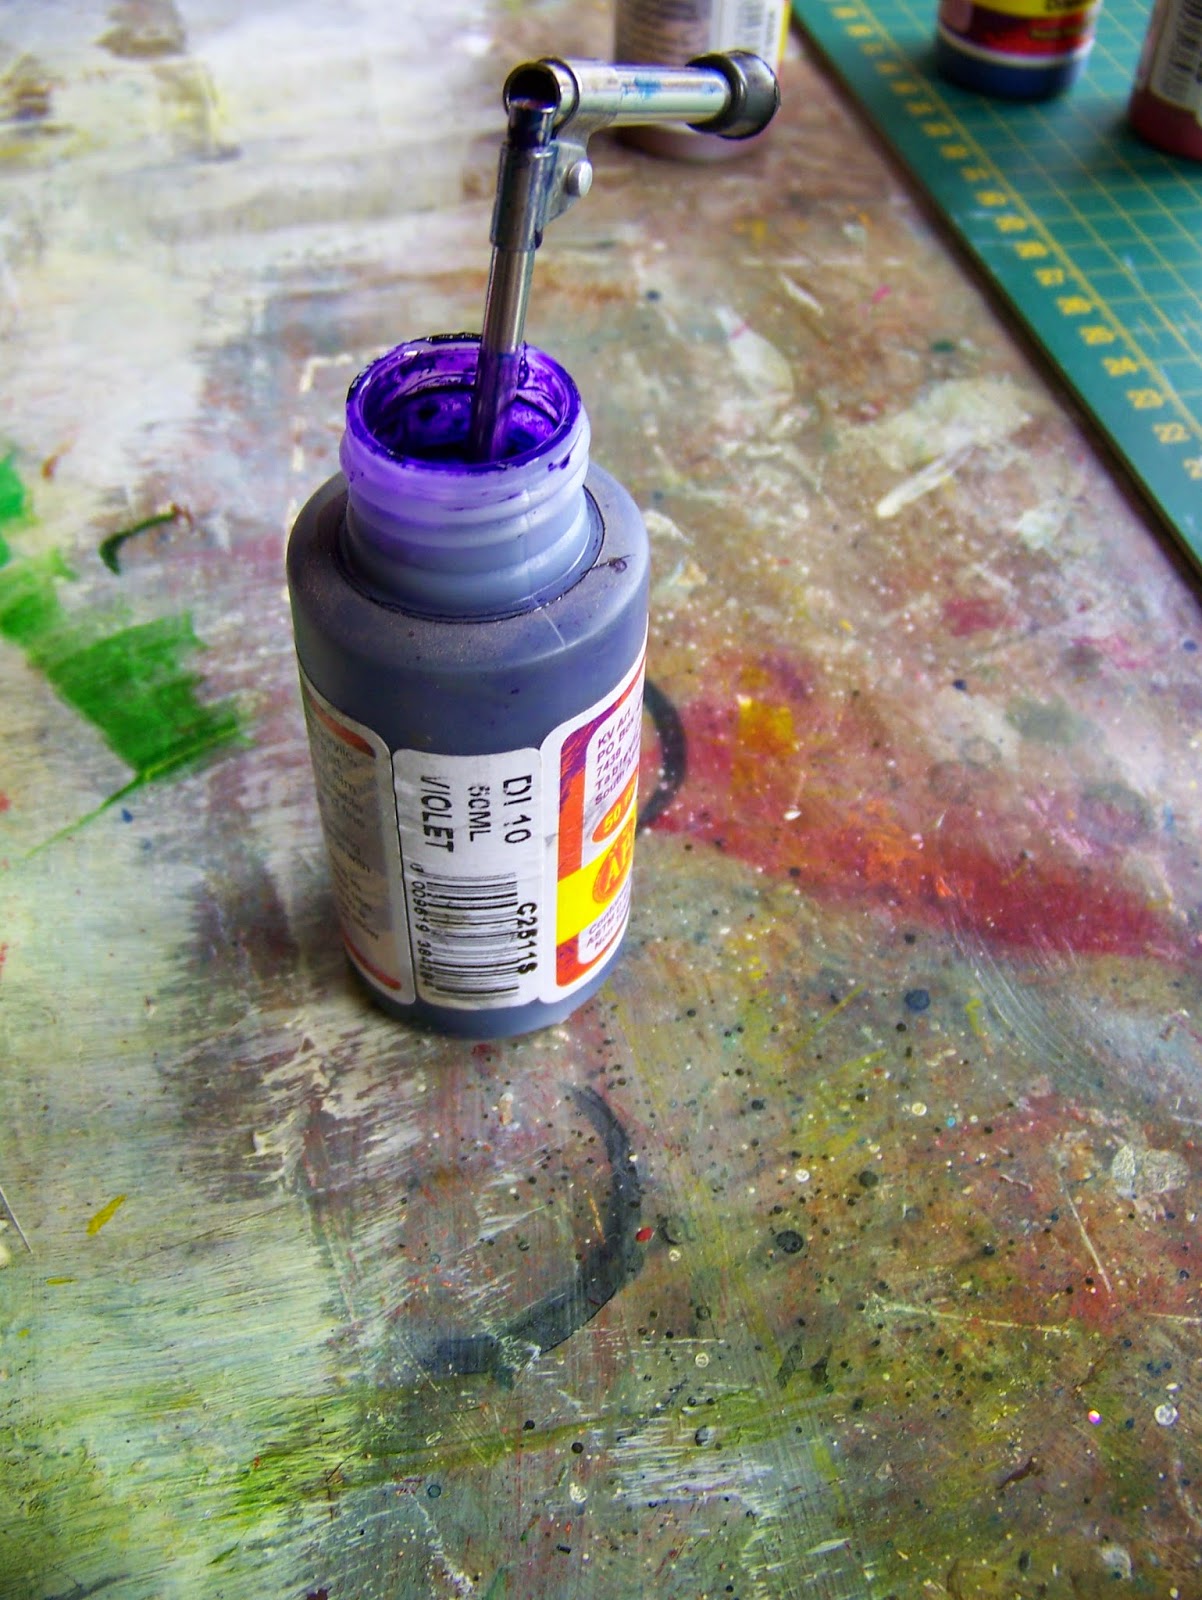
Put the thin end of
the atomizer in the ink. Open the atomizer to a 90° angle. Hold the atomizer so
that the angle is aimed at the spot you want to paint. Take a deep breath and
blow hard. The ink will shoot up the tube and your breath will push the spray
on to the spot that the angle is aimed at. I used a newspaper to cover the
parts of the paper I wanted to leave unaffected. The first colour I sprayed was Sepia.


I moved the newspaper
up a bit and put the atomizer into the blue ink. I sprayed this onto the paper,
not minding that the colours to the bottom would mix.


I repeated the process
using Magenta ink.


The last section was
sprayed with violet ink.

I then ‘dirtied’ this
section with the colour I started with, Sepia, to bring it together.


Since I worked quite
hastily, none of the sections had had time to dry. I now lifted my paper,
allowing the ink to run down. When I was satisfied with the effect, I put it
aside to dry completely before I continued.

While the ink was
drying on the paper, I made a point of cleaning the atomizer very quickly. Wet
acrylic ink is very easy to clean, whereas dry ink is tremendously stubborn to
come out. To clean the atomizer you can simply wipe the outside down, or wash
it in clean water. Then hold the atomizer in the water and spray the water onto
a newspaper, the same way you sprayed the ink earlier. Once the water comes out
clean, the atomizer’s tube is also clean. (Did you notice how dirty my hand got
from holding the newspaper down so I wouldn’t blow it away while spraying the
ink?)

Once the background
had dried completely, I used a small filbert brush to paint the rest of the design onto the
page. I started with Sepia again to paint the mountains and land areas.


I used white ink to
paint the buildings and sailboats with their reflections.


I used magenta to put
roofs on the buildings.

Finally I signed my
name with a feather and black ink. If you don't like the idea of using a feather, you can also use a dip pen.

I waited for the ink
to dry completely before I added the journaling with a metallic marker to the
project.

Here is what I wrote:
“Most places are reached when you physically show up to fill a space. Knysna is
different. This is a place you reach with your soul. Here you will linger long
after your body has already reached a new destination.” Because Knysna is
memory in my soul, I opted to do this page in the manner it was done, which is
much more an illusion of the paintings I’ve done than it is a replica of it.

For more
crafty ideas and great products, visit APrettyTalent.com.
Remember to
keep nurturing your TALENT for making PRETTY things.
You can
subscribe to this blog and receive regular updates by email by simply
registering your email address at the top of the current blog.
No comments:
Post a Comment