I printed on paper and traced the pattern on cardboard. There are three little ones I needed to make baskets for and I chose three different colours of cardboard to work on.
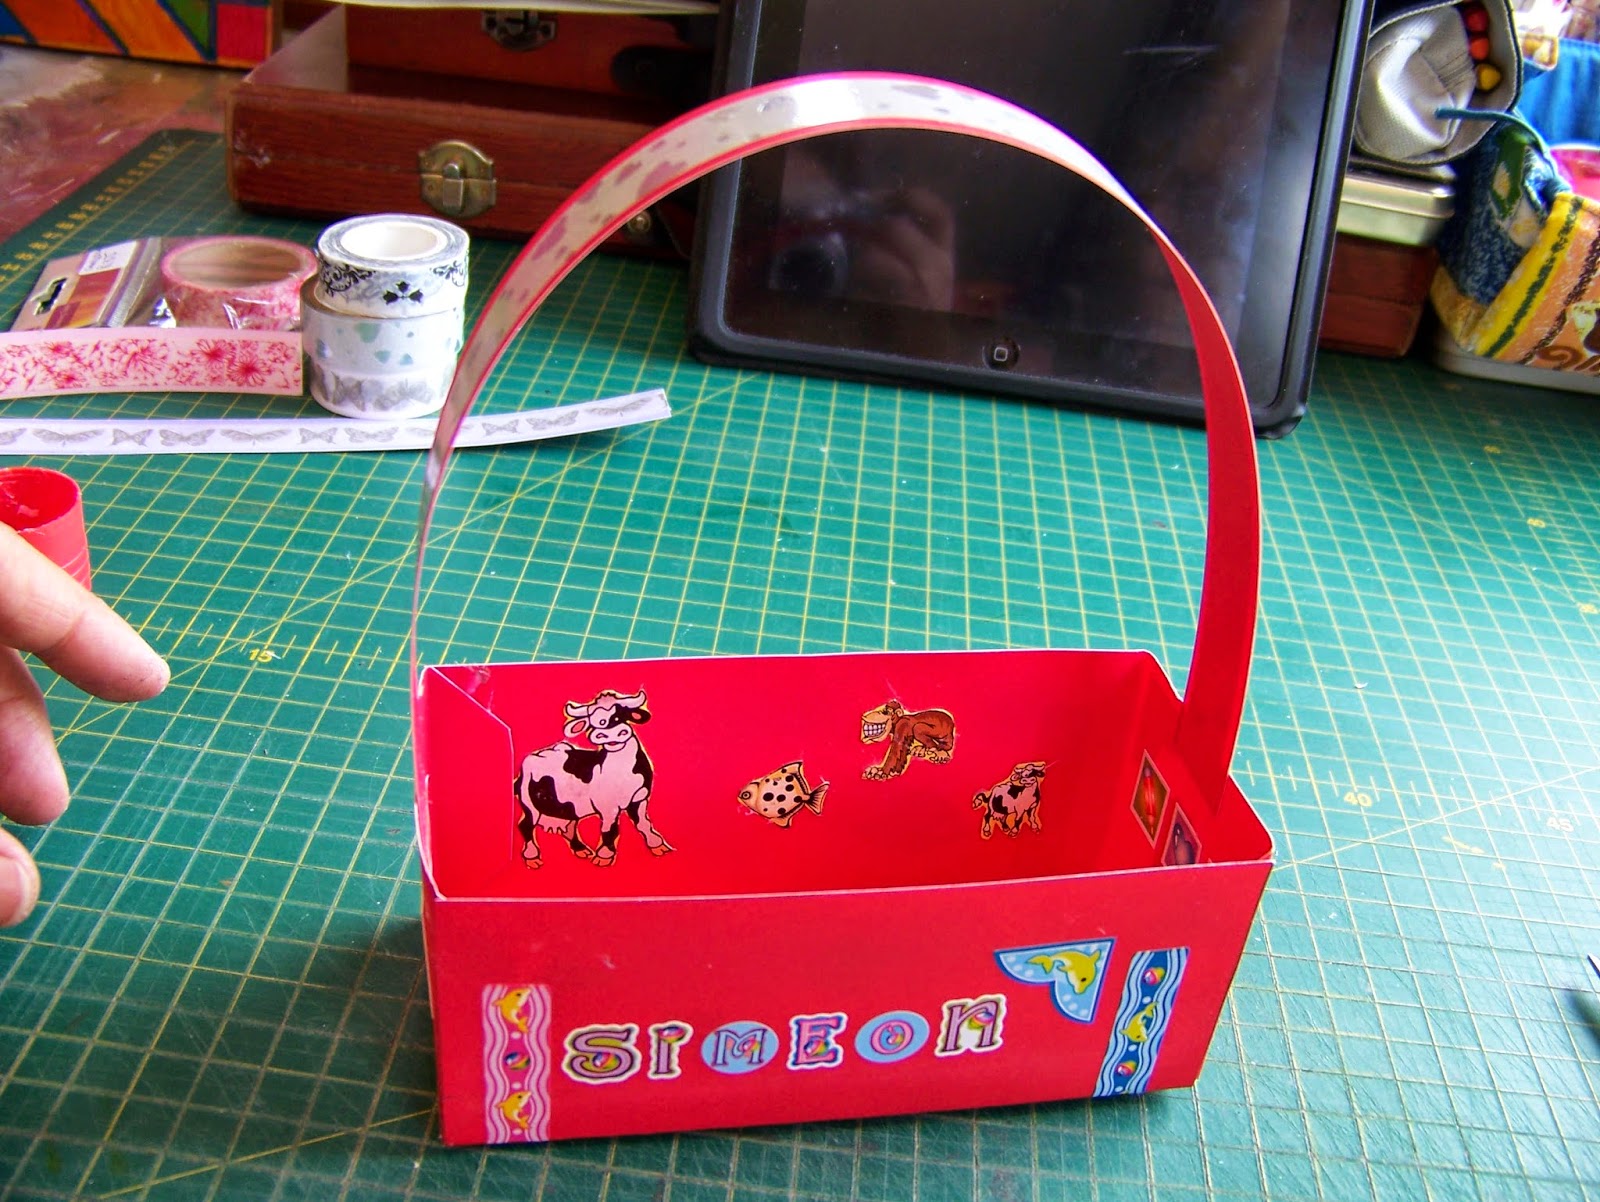
Since the baskets are very temporary and will be discarded by the end of the day, I use this opportunity to use any mediocre stickers lying around the house. These are stickers I have used in other projects and I found that after a while they came loose from where they were stuck. I have dropped these ranges from the store and now only use these on projects of a temporary nature. This is the ideal project to use such stickers. Do you also have stickers like that around?
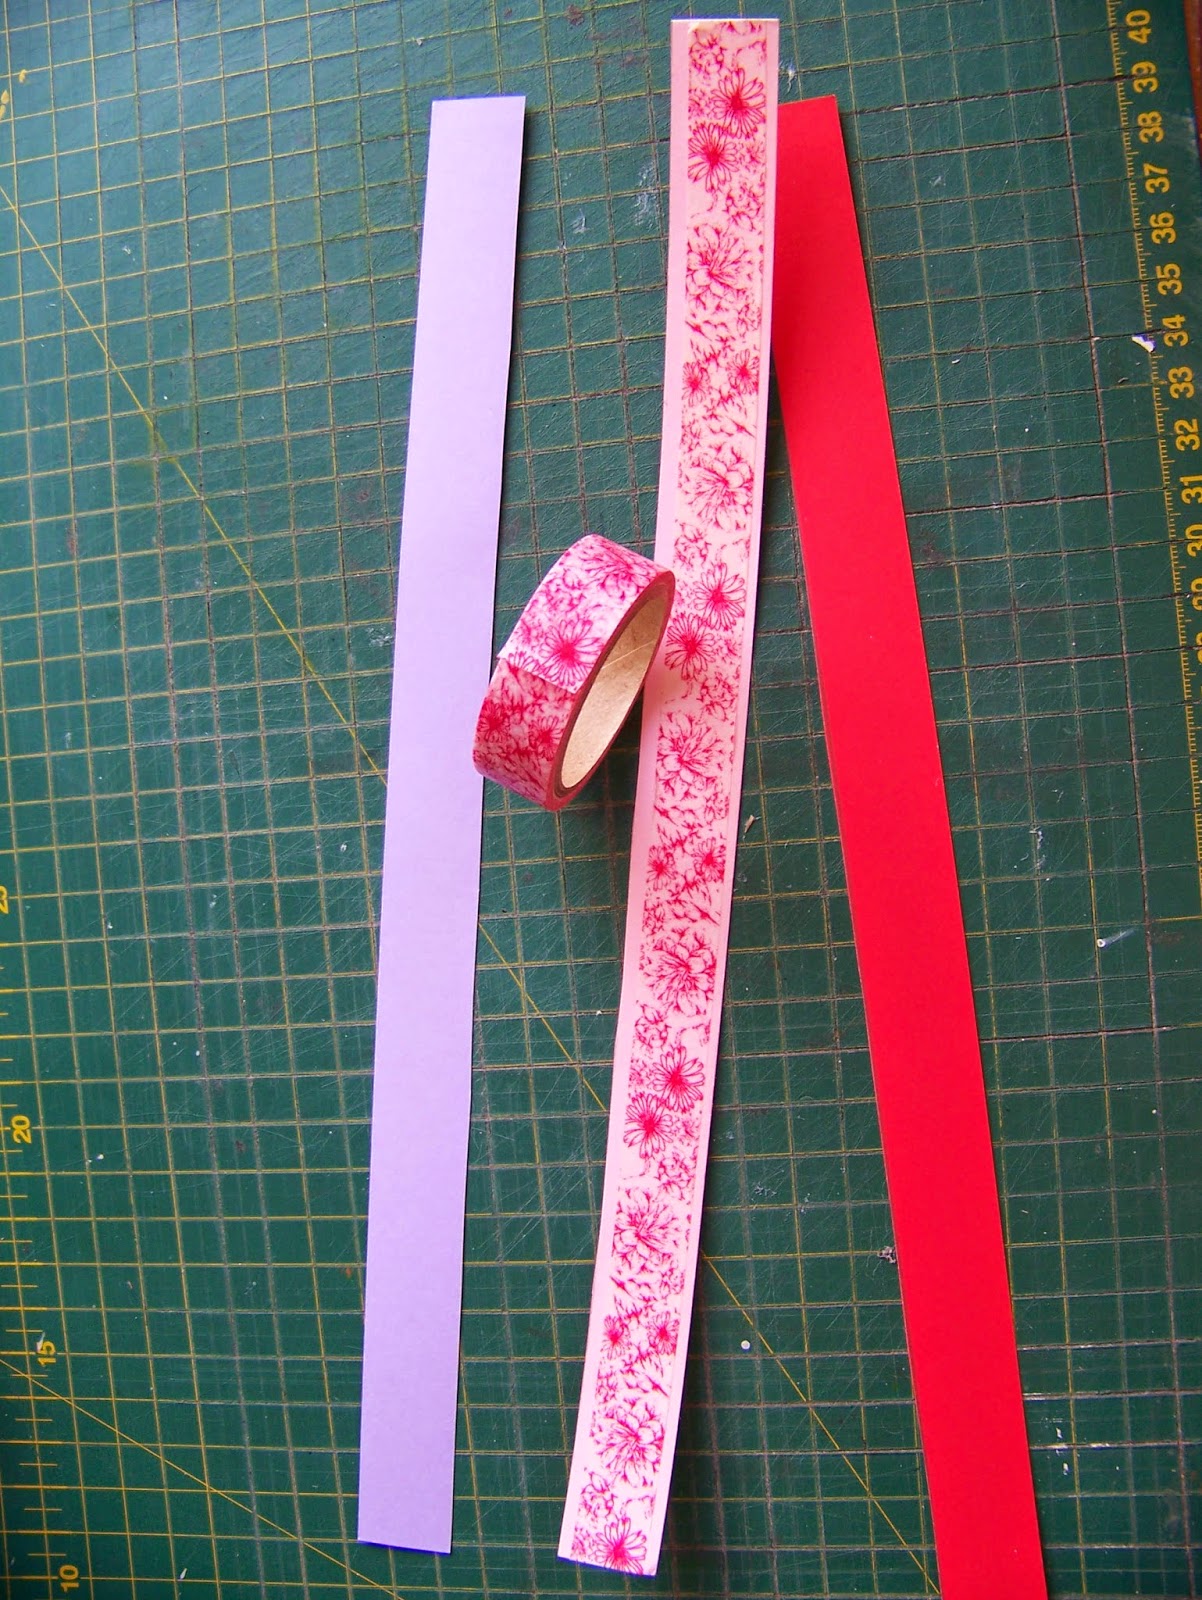
Use a pair of sharp scissors to cut out the cardboard pattern. I also cut a 2 cm wide strip from the length of the cardboard which I will use for a handle for the basket.
Decorate the baskets as you wish. I used stickers and paper cut-outs. I moved a little away from the Easter theme when it came to the inside of the baskets and added a lot of animals that I knew the kids would enjoy. I could have stayed with the theme as well. The choice is yours. Here are photos of the insides and outsides of the three baskets.
I now move to the handles. I don't want to do too much here since the kids will be handling this and anything extra will simply come off. That is why I choose to use washi tape only. I could have used Fabric Tape with as much success.
I stick the washo tape the full length of each handle. No glue is required here, becase the tape is already glued.
It is time to start folding the baskets. Fold all along the fold lines.
Glue the flaps and stick them down.
Lastly, glue the handles on.
Fill the baskets with sweets and treats and use them as decorations on the table, or give each child a basket and let them loose to go hunt for hidden Easter Eggs in the garden.
For more crafty ideas and great products, visit APrettyTalent.com.
Remember to keep nurturing your TALENT for making PRETTY things.
You can subscribe to this blog and receive regular updates by email by simply registering your email address at the top of the current blog.
You can subscribe to this blog and receive regular updates by email by simply registering your email address at the top of the current blog.


No comments:
Post a Comment