
We start off on a masonite canvas, measuring 400 x 400 x 20.

The whole canvas is prepared with a coating of gesso.

I then paint the edges of the canvas a shade of blue that I like.

I treat the surface with a coat of Dala Acrylic Gel Medium.

I lay a sheet of art paper on top of the wet gel medium and paint yet another coat of gel medium over the paper to seal it.

Once the surface is dry, I use a dry brush with hard bristles to paint streaky Buff Titanium all around the edges of the paper, on the canvas.
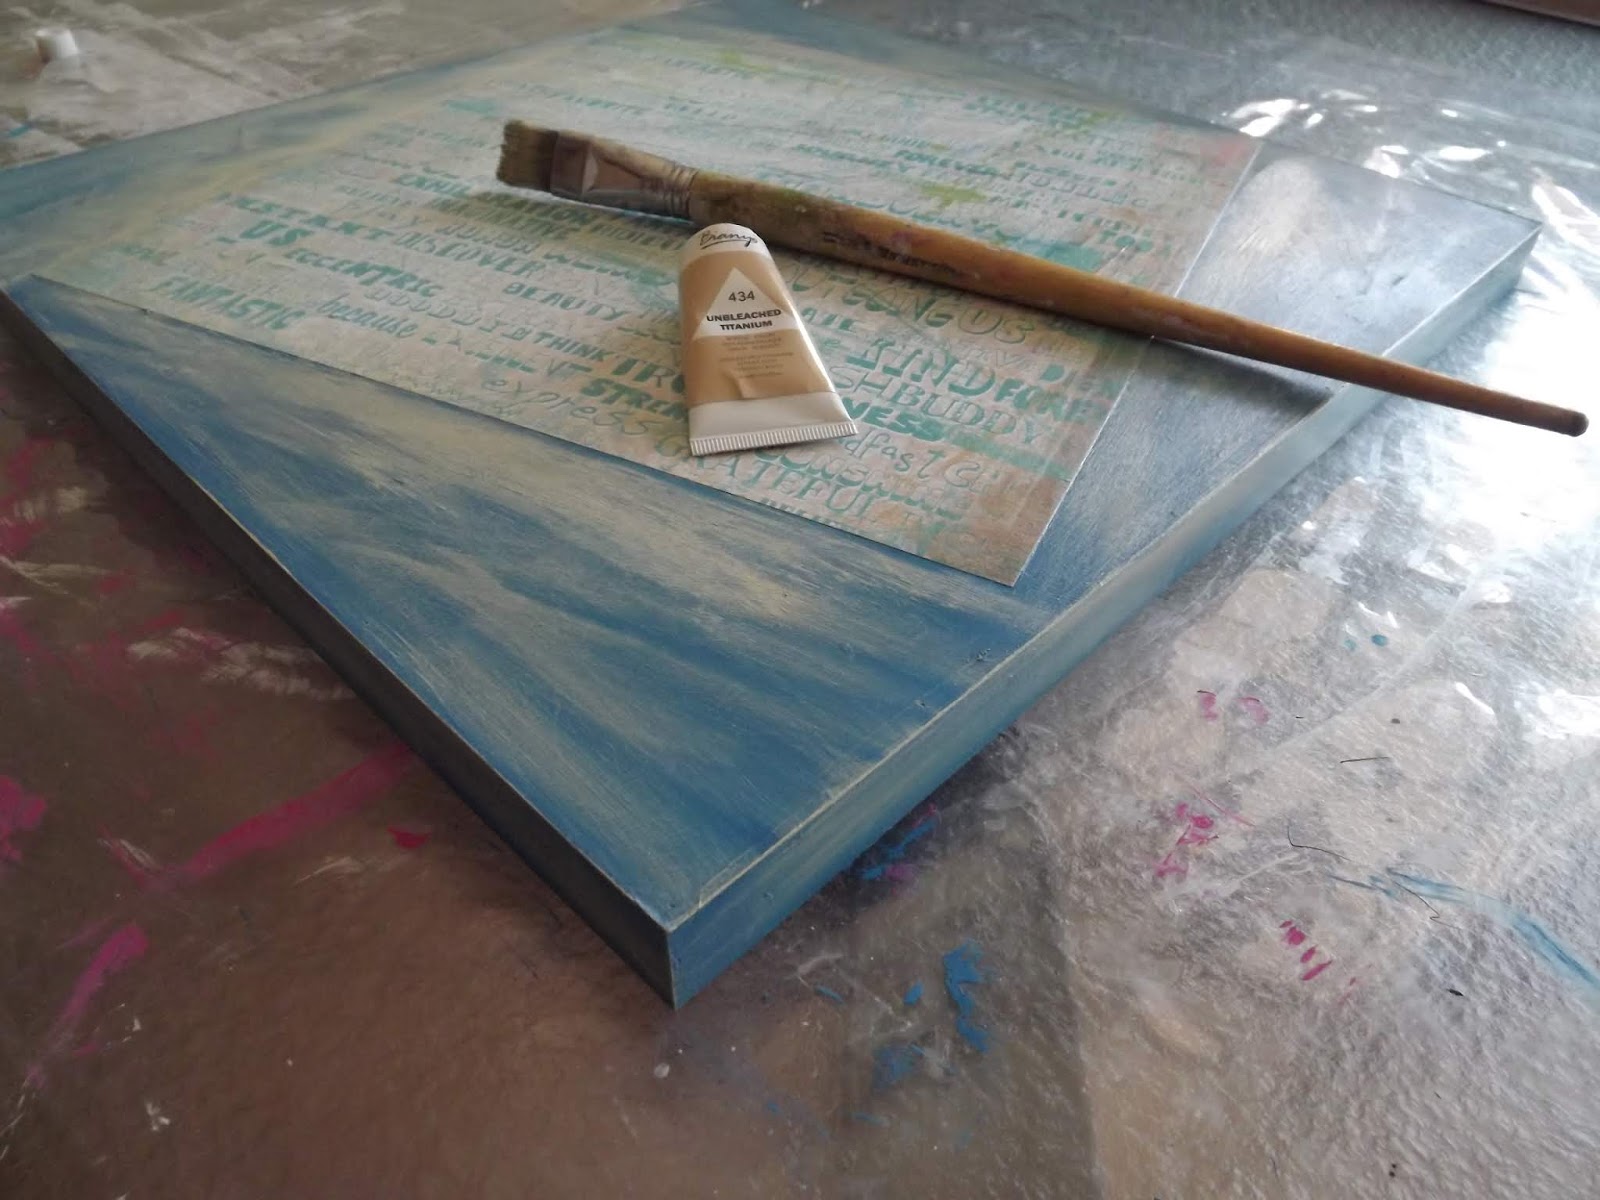
This is followed by touches of red.

This, in turn, is followed by streaks of yellowish green.

I wait for the paint to dry so that I can do a pencil sketch of the scooter on the paper.

I then redraw the picture with a black marker, making it much easier to see the lines.

I then paint the whole picture white to allow the colours I will paint over it to appear at their best.

I use the same red as I've used in the background, to paint the scooter.

I add grey to some areas.

Yellow is used on the indicators, while blue is used on the rest of the lights.

I then add Mars black to the remaining areas that need to be painted.

It is now time to add the shadows, which I do with Ivory Black.

The highlights are added in Titanium White.

To paint the basket, I simply dab the tip of a flat brush in diagonal lines to create the weave.

I add shadows under the wheels and stand of the scooter.

I then go in search of some flowers that I had cut from craft paper. These were left over from a previous project.

I decoupage each flower individually and lay them in place on the canvas.

They are also sealed after being stuck down.

I use a rigger to sign my name with.

The final picture is proof that I am not the world's best technical artist, with a wheel that is way too skew. I love the picture anyway, not for its accuracy, but rather for the nostalgia it evokes in me. Besides, I loved the process of creating it, and sometimes that is all the reward I need from a project.

A close-up of the final picture.
You can also watch a short compilation video of the photos posted above, here: https://youtu.be/uBO63jwASjU
Marietjie Uys (Miekie) is a published author. You can buy my books here:
You can purchase Designs By Miekie 1 here.
Jy kan Kom Ons Teken en Verf Tuinstories hier koop.
Jy kan Kom Ons Kleur Tuinstories In hier koop.
Jy kan Tuinstories hier koop.
You can follow Miekie's daily Bible Study blog, Bybel Legkaart, here in English & Afrikaans.
You may prefer to follow the traveling blog, A Pretty Tourist.
For more crafty ideas and great product reviews, visit A Pretty Talent on Facebook.
If you are in a literary mood, follow Miekie's musings, stories and poetry on A Pretty Author - Miekie.
Remember to keep nurturing your TALENT for making life PRETTY.
You can subscribe to any of these blogs and receive regular updates by email. Simply register your email address at the top of the applicable blog.
No comments:
Post a Comment