
This is the tray that I was donated. I could see that there were oily spots on the tray and made sure to scrub it thoroughly under warm soap water before I started to get rid of the fatty residues on the surface. I then left it out in the sun for a couple of hours to dry completely. Always start your painting on a clean surface.

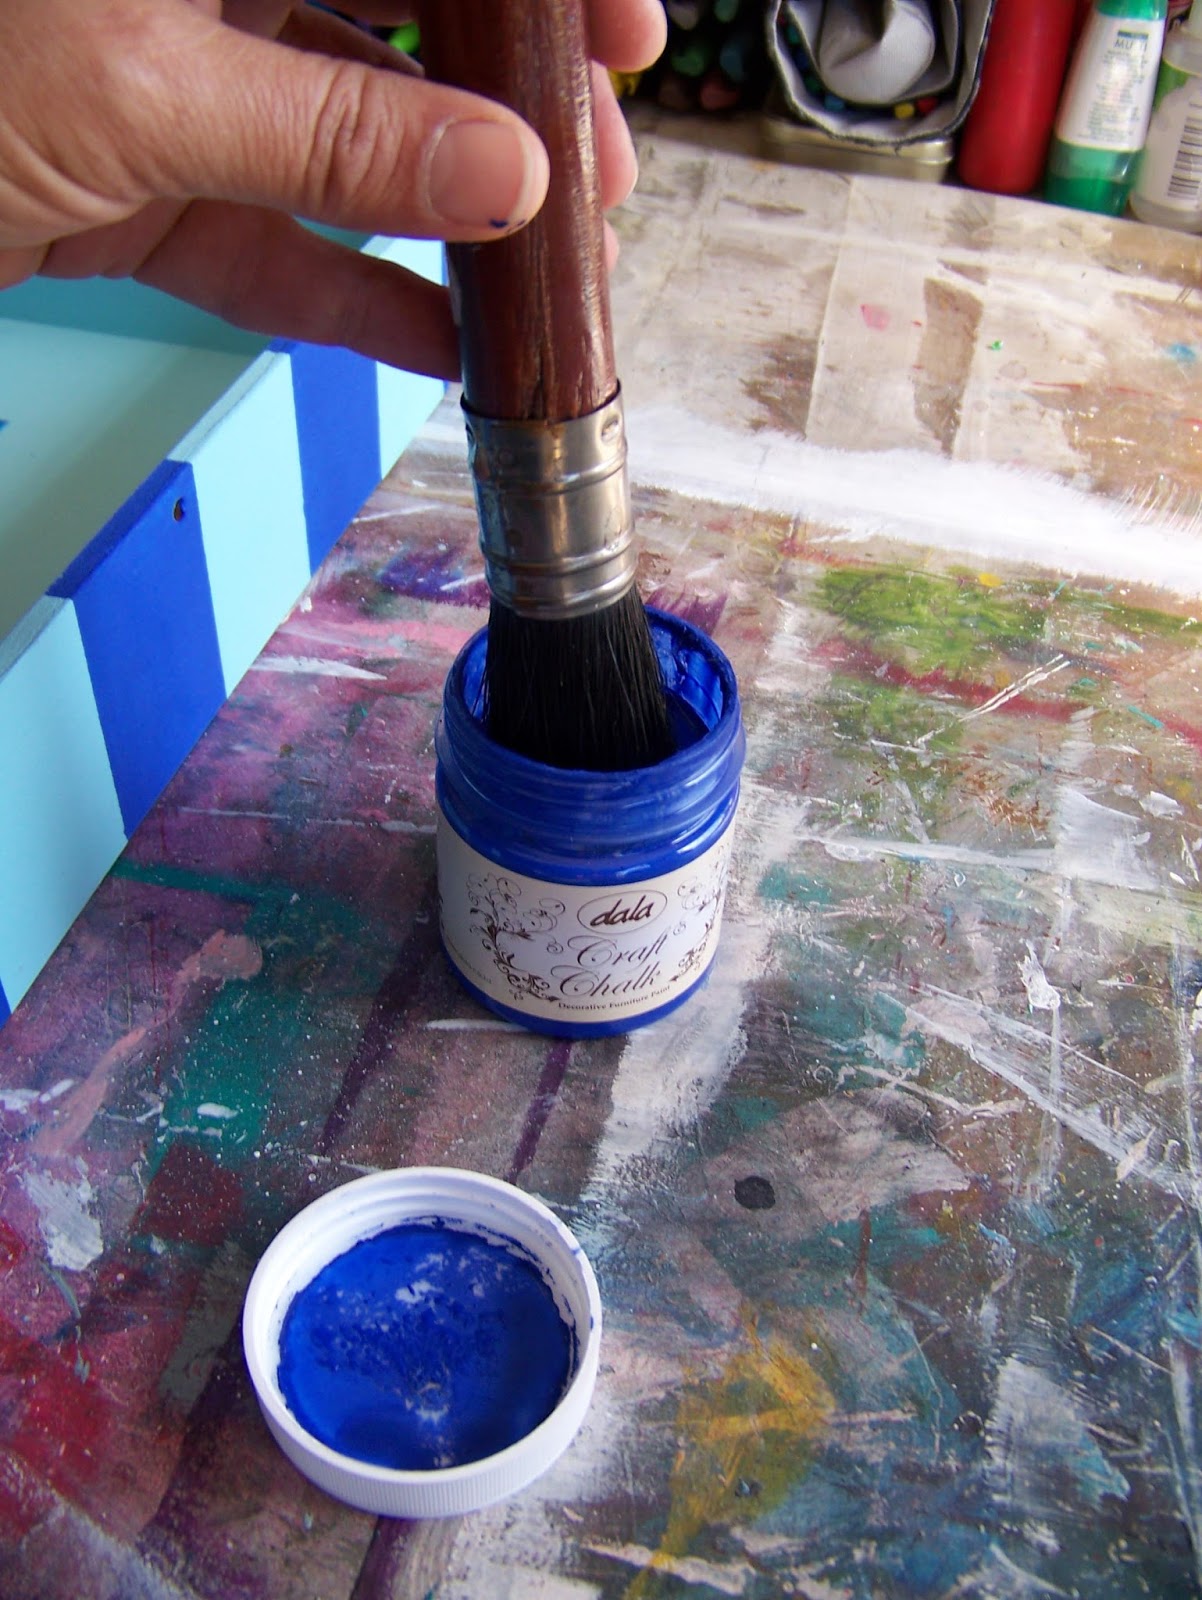
I was going to be using a lot of blue with this theme and decided that a nice neutral shade to start the base coat in would be Dala Churchaven. I tested this on the outside of the tray.

I liked this and continued to paint the whole of the outside of the tray.

I then moved on to the inside of the tray and painted it with Dala Churchaven as well.

All that was left to do, was to paint the edges of the tray.

The tray was then left to dry thoroughly.

The next day I used a softer brush, applying the paint more smoothly, to give the inside of the tray a second coat of Churchaven.

I used the same brush to apply a second coat of Churchaven to the outside of the tray as well.

I stick wide masking tape onto the completely dry paint.

I measure the width of the tape and mark the spot.

Leaving one tape width open, I stick a second piece of tape down. I use a craft knife to cut the tape where necessary.

The corners are also measured in tape widths. This corner is left blank.

Another corner was actually taped down.

For the taped corner, I had to cut the fold-over of the tape on the edge.

This allowed me to neatly stick the tape down on the edge of the corner.

I used a soft brush and Paternoster Dala Chalk Paint to paint the un-taped spaces.

I painted the edges on top.

Then I painted from the tape into the open space on the one side.

I did the same thing on the opposite side. Painting from the tape in, prevents the paint brush from pushing paint under the tape, resulting in a clean crisp line.

I then finally filled the centers in.

I continued this all around the outside of the tray and then waited for the paint to dry.

When the paint was dry, I removed the tape.

This is exactly the effect I wished to achieve.

I then found a stencil to suit my theme and laid it in place in the center of the inside of the tray.

I would once again use Paternoster, but this time I would apply it with a stencil brush.

Touch the edges of the brush to the surface of the paint.
Dab the brush against the inside of the lid to rid it of excess paint. Stenciling is done with a very dry brush as wet paint can easily seep under the stencil, ruining the neat lines you hope to achieve.

Dab the dry brush to the stencil. You can rather do multiple layers than to overload the brush with too much paint.

I then stenciled the second light house as well.

Very carefully remove the stencil so as to not smudge your work.

Wait for the paint to dry. You can use various finishes for the tray. The most obvious would be to varnish it, but this is not an option I like. Another option is to apply two or three coats of Dala Furniture Wax. This is a great option, but as I planned to use the tray in the moist bathroom area, I opted to rather paint the tray with two coats of Dala Acrylic Gel Medium, which is great for sealing the project with a clear protective layer.

My tray was now ready to be put to use. My idea is to arrange all of the bottles and soaps and things in this tray. A neat and tidy solution for the bathroom clutter.

Marietjie Uys (Miekie) is a published author. You can buy the books here:
You can purchase Designs By Miekie 1 here.
Jy kan Kom Ons Teken en Verf Tuinstories hier koop.You can purchase Designs By Miekie 1 here.
Jy kan Kom Ons Kleur Tuinstories In hier koop.
Jy kan Tuinstories hier koop.
For more crafty ideas and great products, visit A Pretty Talent on Facebook.
Remember to keep nurturing your TALENT for making PRETTY things.
You can subscribe to this blog and receive regular updates by email by simply registering your email address at the top of the current blog.
No comments:
Post a Comment