
Memory wire are strands of permanently coiled wire. You can stretch them, but they will pop back into shape. It is only by bending them that you can alter the shape of the wire. This makes them perfect for use when making bracelets.

I have this selection of random glass beads left over from previous projects and decided to use them for today's project as well.

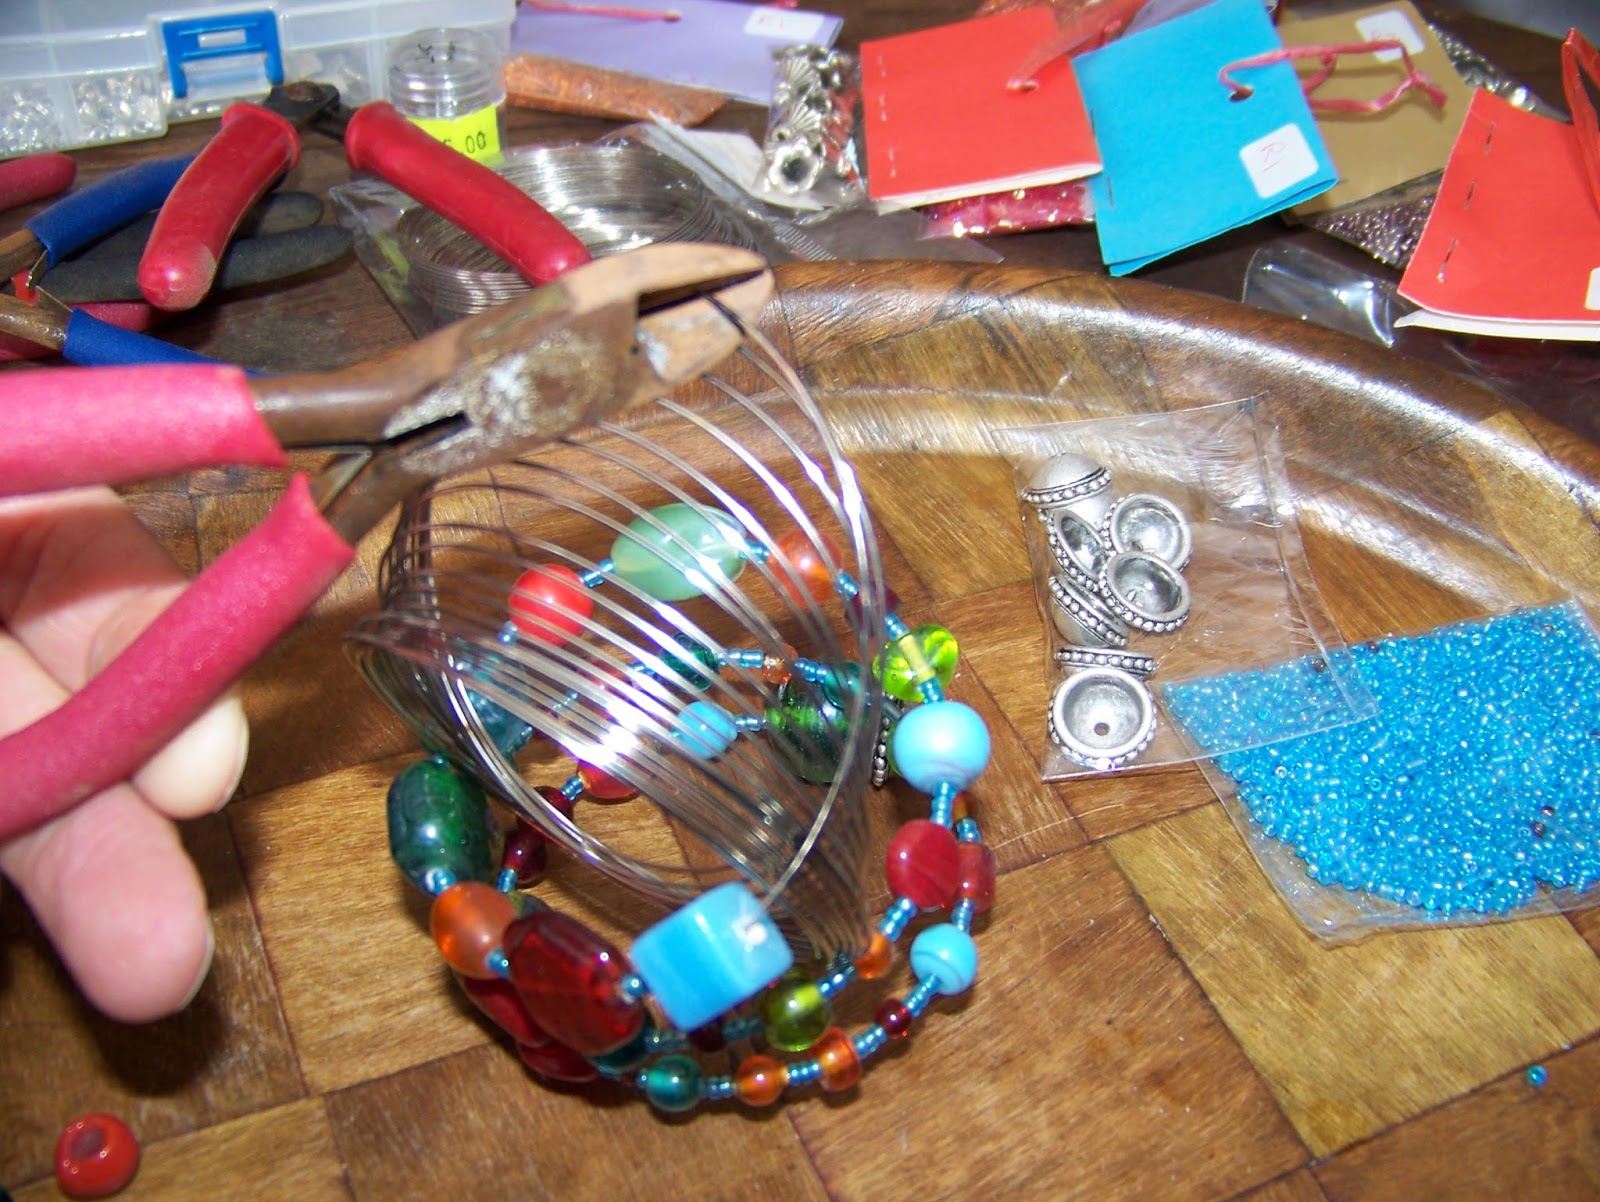
Simply string the beads onto the wire. At first I did not use any spacers between the beads, but soon realized that the bracelet would end up looking too chunky.

There are many options available on the market for use as spacers, but the common seed bead will remain brilliant for this purpose for many years to come. I found a packet that coordinated well with the colour of my glass beads.

I decided to slip three seed beads in between the sets of glass beads.

This is the result of adding the seed beads.

When making jewelry, you can either choose to make use of repetitive shapes and sizes, or you can go completely the other way, as I did in this project. I tried hard not to repeat any pattern as far as size, shape, or colour was concerned. The fact that all of the beads that I used were made of the same material, namely glass, would be the only common denominator in this bracelet, but it would be enough for the project to succeed.

When I had strung enough beads onto the wire, I pushed the beads deeper into the wire so that I was left with a long end.

I decided to use these metal spacers on the two ends of the wire to give it a more finished appearance. This is very much personal taste and you may very well choose not to include these.

This meant that I had to add a bog round bead at each of the ends to fit the spacer I wanted to use.

I then used my round nose pliers and twisted the end of the wire around the nose, bending it back. I removed the pliers and squeezed the end flat, making sure the sharp end was neatly tucked inside where it would not catch on any clothing.

I then pushed the beads back to the end that was folded back in the previous step.

I used the side cutter to cut the wire some small distance away from the beads.
I added the round bead and the spacer.

After trimming the excess wire with my side cutter, I used the round nose pliers to twist this end back, just as I did with the previous end.

A memory wire bracelet can simply be wrapped around your arm, or unwrapped to take it off. As soon as you take it off, it will return to its original shape. It is for this same reason that it will remain wrapped around your arm as well.

You should now have a pretty bracelet to cheer up any gloomy outfit.

Tomorrow, I'll show you how to make a pair of matching earrings for your bracelet.

Marietjie Uys (Miekie) is a published author. You can buy the books here:
You can purchase Designs By Miekie 1 here.
Jy kan Kom Ons Teken en Verf Tuinstories hier koop.You can purchase Designs By Miekie 1 here.
Jy kan Kom Ons Kleur Tuinstories In hier koop.
Jy kan Tuinstories hier koop.
For more crafty ideas and great products, visit A Pretty Talent on Facebook.
Remember to keep nurturing your TALENT for making PRETTY things.
You can subscribe to this blog and receive regular updates by email by simply registering your email address at the top of the current blog.
No comments:
Post a Comment