
This is what the caddy looked like before I started its makeover. The most important thing to do before I started with the makeover, was to scrub it thoroughly to get rid of all the dust and grime that had settled on it during the years of neglect.

I have fallen madly in love with Dala Chalk Paint, and even though I have Chalk Paint from other manufacturers in stock, my preference lies with Dala's product. I opt to use Dove Grey to paint the inside of the caddy with.

I am going to work with a vertical striped finish and therefore I need to make sure that my brush strokes reflect this right from the start.

Once the inside is painted, I step away from the project to allow it to dry, before moving on to the outside. This is because I will need to touch the inside to turn the caddy as I paint the outside.

With the inside dry, I start on the outside, This time, I use Dala Charcoal which is slightly darker than the Dove Grey.

With the first coat applied inside and out, I leave the caddy to dry thoroughly.

The next day I gave the caddy a second coat of Dove Grey on the inside. This time, I used a much softer brush, though, so that the paint would go on smoother.

I also used the softer brush to give the outside a second coat of Charcoal.

Take a wax candle and rub it over the surface of the outside of the caddy.

Wet your brush in water. Tap most of the water off so that the brush is moist rather than wet.

Dip the brush in White Dala Calk Paint.

Wash the paint over the waxed outside of the caddy.

You will now start to see a white-washed effect taking shape.

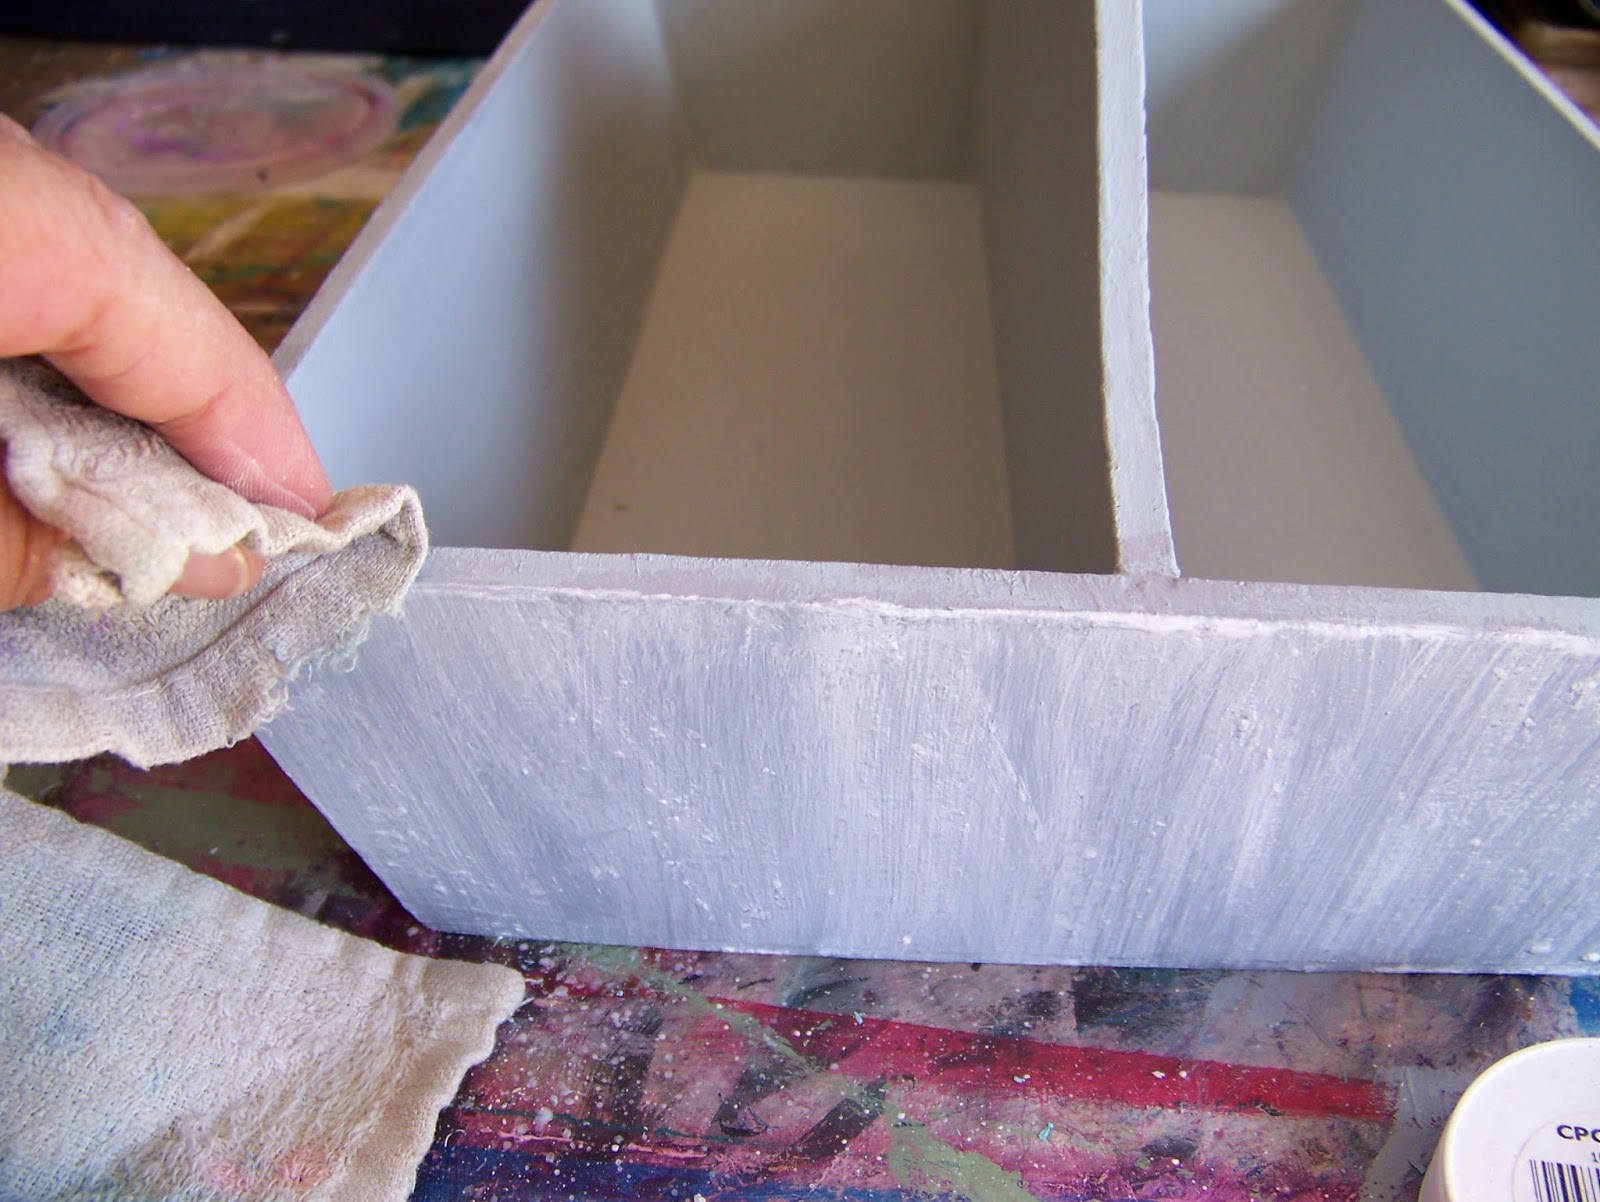
You may see these blotches forming on the edges.

Simply wipe the blotches away with an old rag.
Allow the paint to dry.

I wanted to paint the edges in a dark black, but did not have this in Chalk Paint. No worries. Dala Blackboard Paint has very good adhesive qualities in will do just perfectly in the place of a black Chalk Paint. I used a Deerfoot Stippler Brush to paint the edges with.

Again, I wait for the paint to dry.

I then measure the width of the stencil I want to use and mark the spots on the caddy where the stencil should be centered.

I line the stencil up with these marks.

I once more use the Dala Blackboard Paint in Black. This time I apply the paint with a stencil brush.

I dab the brush onto the paint in the lid as I want to work with a very dry brush.

I then dab the paint onto the stencil, choosing to apply multiple layers, rather than to work with a too wet brush that might cause paint to seep under the stencil.

Wait for the Blackboard Paint to dry.

I now have a lovely label that can be wiped clean and rewritten without any effort.

I also have a very convenient caddy to carry my Dala Chalk Paints in!

Marietjie Uys (Miekie) is a published author. You can buy the books here:
You can purchase Designs By Miekie 1 here.
Jy kan Kom Ons Teken en Verf Tuinstories hier koop.You can purchase Designs By Miekie 1 here.
Jy kan Kom Ons Kleur Tuinstories In hier koop.
Jy kan Tuinstories hier koop.
For more crafty ideas and great products, visit A Pretty Talent on Facebook.
Remember to keep nurturing your TALENT for making PRETTY things.
You can subscribe to this blog and receive regular updates by email by simply registering your email address at the top of the current blog.
No comments:
Post a Comment