
I will be painting this landscape on masonite board, as I want it to be much wider than it is tall, and masonite can easily be cut to size. Before I can start, I need to prepare the surface to take the paint. I do this by painting Dala Acrylic Gesso, mixed with Dala Acrylic Glaze Medium onto the surface. Do not be confused by the word Acrylic in the names of these products. It simply refers to the fact that these products are water-based, as most (all?) gesso's are. The actual painting will still be done in oil colours.

I cover the whole board in a coat of gesso and allow it to dry thoroughly.

Once the first layer of gesso is completely dry, I paint a second coat of gesso and wait for this to dry as well.

I waited a full two days without starting on the painting, knowing that something bugged me about it. Finally I figured out that I really did not like the excessive width of the painting. I decided to make the width twice the height of the painting and measured accordingly.

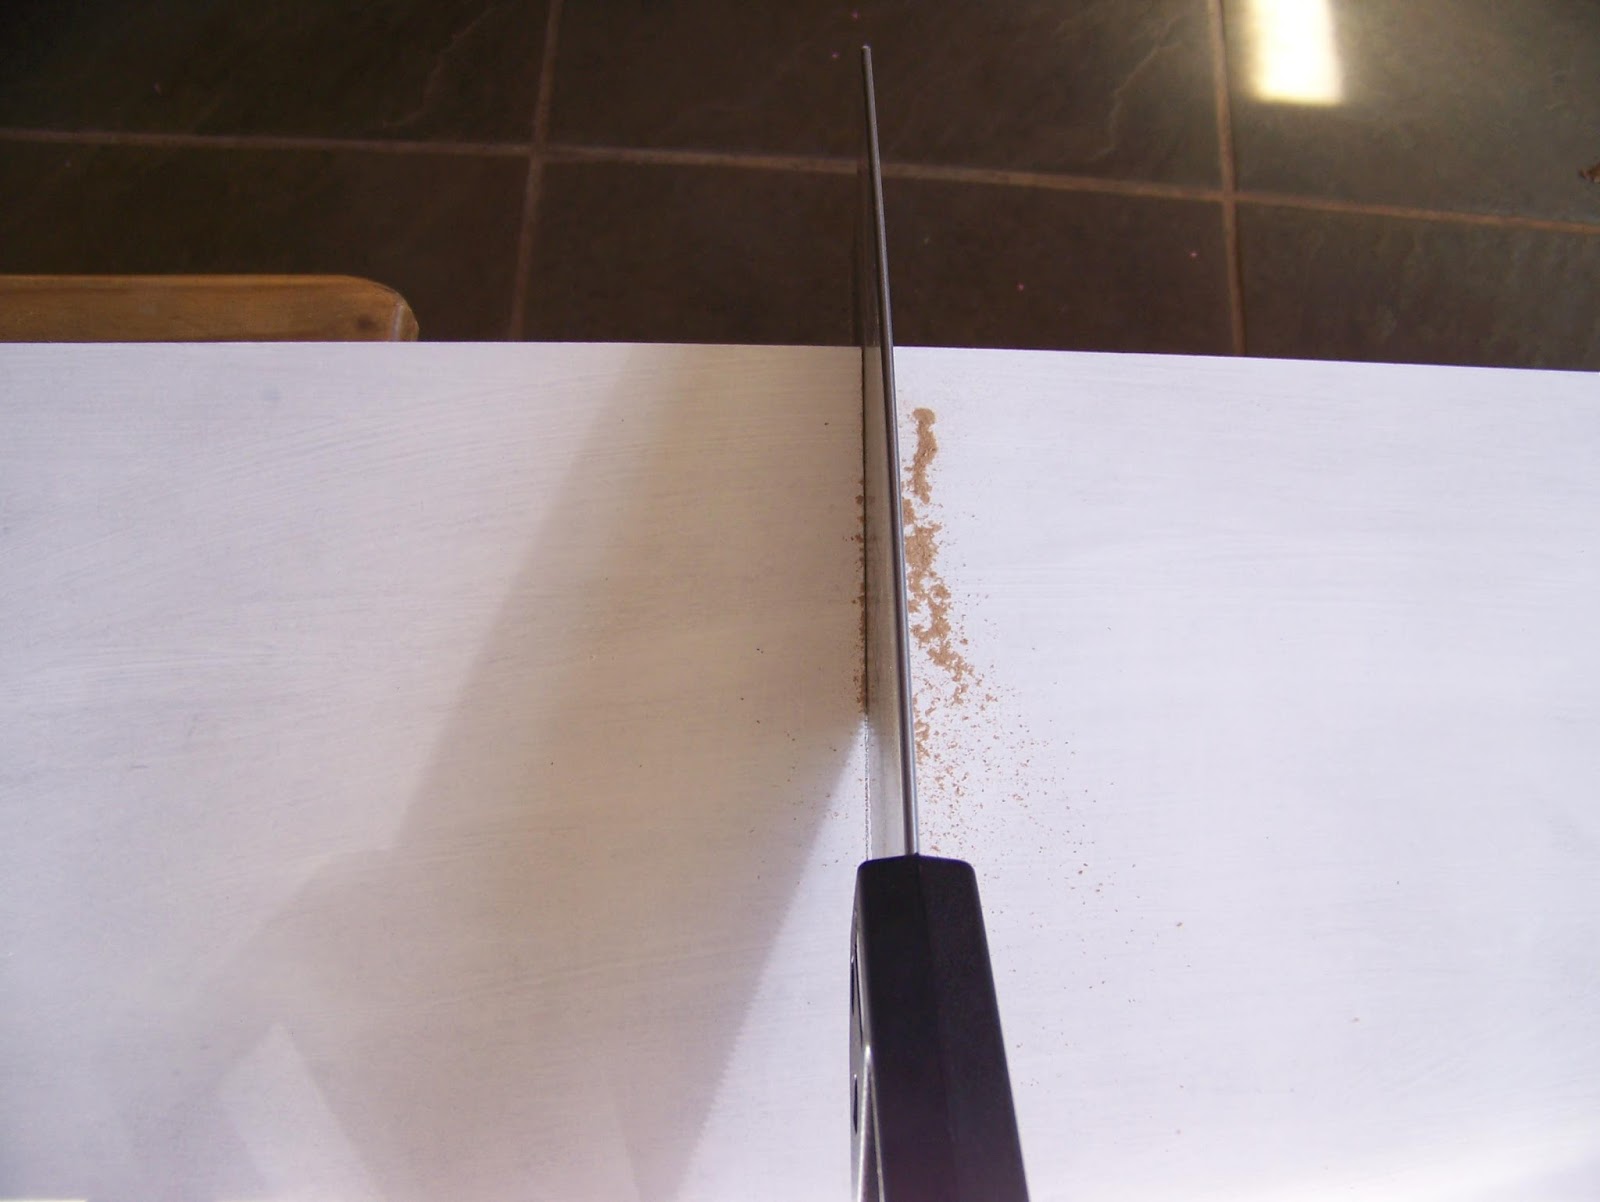
I then carefully sawed the excess length off, This would be kept aside for a later project.
Set your canvas upright on an easel and set the easel to the required height.

Prepare your palette. I work with a tear-off palette that allows me to tear the top sheet away and discard it when I'm done. I also keep a double dipper handy on my palette to hold my oils and thinners. If you are using a wooden palette, it is recommended that you rub linseed oil into the palette before you start.

Prepare your paints, brushes and palette knives.

Keep a kitchen towel handy to wipe brushes and knives on.

Prepare your thinners and oils.

I prefer drawing the rough sketch in charcoal. You may prefer pencils.

Green will be the dominant colour in this painting and I carefully select a range of greens.

I take as much care in selecting a range of browns.

I will also need blue and white.

I pour some linseed oil and thinners into the two bowls of my double dipper.

I have stopped printing photos years ago and these days I keep photo references open on the iPad next to me. I also usually have an audio-book playing on the iPad as well.

Wipe away the loose charcoal with a brush.

I mix the lighter shade of blue with some of the white to paint the sky, preferring to work from top to bottom. Most of this painting will be done with a single palette knife.

I then use plain white and work wet on wet to paint the clouds.

The distant mountain range is painted in the darker shade of blue.

I add a deep blue green directly below the mountain range.

I then smear some dark brown patches across the hill.

Working wet in wet, I bring a slightly lighter green into the bottom of the distant hill, blending it with the brown directly on the canvas.

Light shades of brown are smeared across the bottom hills in the middle ground and foreground.

I paint the yellowest green in the foreground, still working wet on wet.

A darker shade of green is added for a more distant field.

A blueish green is added where the homesteads will be. There will be lots of trees and shrubbery in this area.

A more yellowish green is then painted into the surrounding middle ground, still working wet on wet, allowing the colours to mix on the canvas.

A clearer view of what I did with the middle ground.

Time to stand back and assess how to proceed.

Detail is added at the pathway.

White blotches are added for the distant homestead and sheds. I also added a second road.

Blueish roofs are added, reflecting the sky.

I finally put the palette knife down to pick up a brush. I mix some blue and green to paint the shrubs.

Stand back for another assessment. I decide that the mountains seem too heavy. I will add both shadows as well as light to them. I then decide to touch the rest of the landscape up in the same way.

I decide that the mountains seem too heavy. I add both shadows as well as light to them. I then decide to touch up the rest of the landscape in the same way.

Adding my name is the last step and then the painting is done. Fertile Hills is availble from Miekie. Contact Marietjie Uys at uys.marietjie@gmail.com. Price: R1700. Dimensions: 38 x 74 cm. Oil on board. Unframed.

Marietjie Uys (Miekie) is a published author. You can buy the books here:
You can purchase Designs By Miekie 1 here.
Jy kan Kom Ons Teken en Verf Tuinstories hier koop.You can purchase Designs By Miekie 1 here.
Jy kan Kom Ons Kleur Tuinstories In hier koop.
Jy kan Tuinstories hier koop.
For more crafty ideas and great products, visit A Pretty Talent on Facebook.
Remember to keep nurturing your TALENT for making PRETTY things.
You can subscribe to this blog and receive regular updates by email by simply registering your email address at the top of the current blog.
No comments:
Post a Comment