
I start by dividing an A4 paper into 4, effectively working on an A6 size.

I will paint my picture with Masking Fluid.

Using a no 1 Round brush, I dip it in dish washing detergent first. This coats the bristles and will make it easier to remove the masking fluid afterward.

Dip the coated brush in the masking fluid and then paint the drawing on the paper.

Wash the brush immediately with water when finished. Do NOT give the masking fluid an opportunity to dry on the brush.

I use watercolor paints for this project. For this reason I get my Derwent Watercolour Pencils ready.

I will also be making extensive use of Derwent's Aquatone Pencils.

I start with a light shade of green from the Aquatone pencils. I sharpen this with a normal pencil sharpener, catching the sharpenings in a palette.

I use a dripper to add water to the sharpenings in order to dissolve the paint.

I now use a wide flat brush to pix the paint with the water, before using the same brush to paint the grasses.

Here you can clearly see the dried masking fluid in yellow and the green grass that were just painted.

I now use a light blue from the Aquatone pencils and again I sharpen it into a palette well.

I dissolve the paint with water and use the same brush to paint the sky blue.

Now you can clearly see that the paint does not take on the rubbery masking fluid. It can also not seep under the masking fluid.

I now select a darker shade of green from the Aquatone set to add depth to the grasses.

This time I will use a fan brush to paint very loose blades of grasses.

I dip the brush into the dissolved paint and then dab it on the flat surface of the palette to rid it of the excess paint.

I paint the shades into the grass with the fan brush.

I use my finger to rub the masking fluid away once the paint is dry. You can also use a soft rubber eraser to remove the masking fluid. Work carefully so the masking fluid does not tear a layer of paper off when you remove it.

Can you see how white my paper remained under the protective layer of the masking fluid?

I now switch to the Derwent Watercolour Pencils. I use a dark green to add detail to the stems of the flowers.

I use the same brush that I've painted the masking fluid on with to paint the flower stems with water.

I color the centers of the flowers a bright yellow.

They are also painted with water.

I use a very pale bluish green to add shadows to the petals of the leaves. Most of the petals will remain white, but the shadows will assist in shaping them.

Paint the shadows on the petals with water.

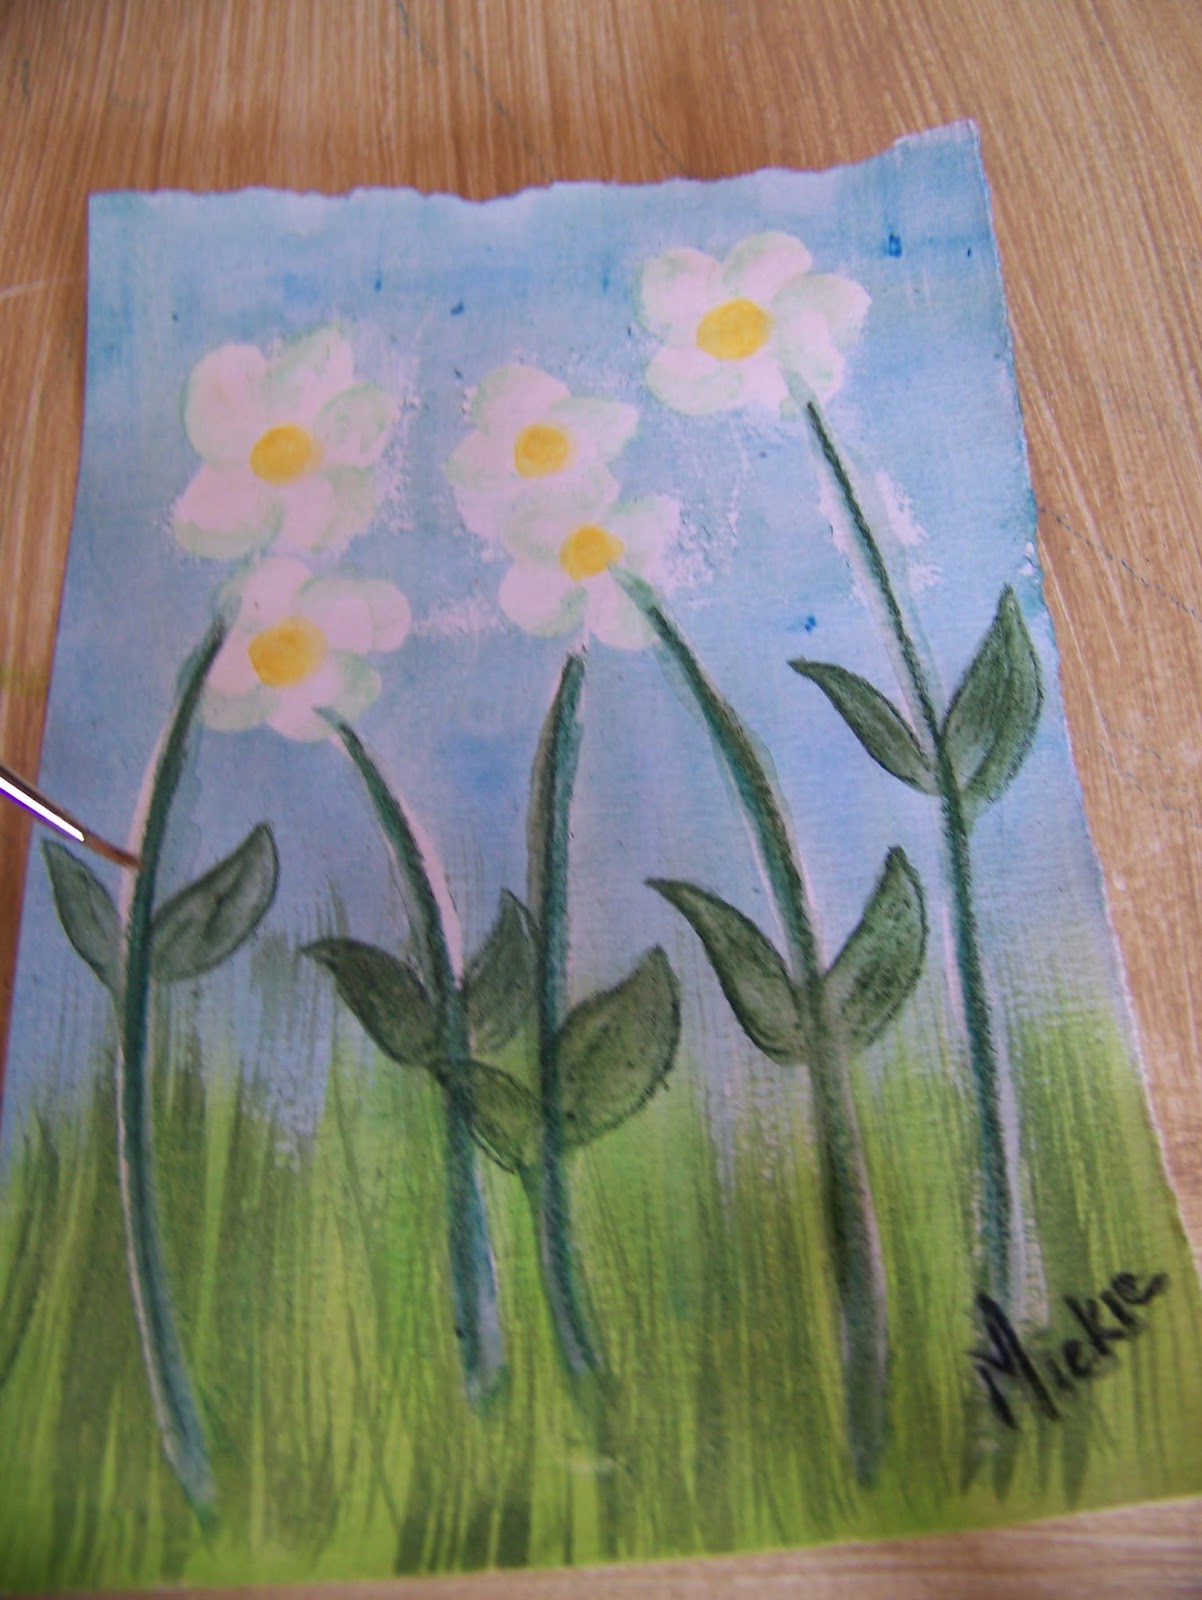
I sign my name with black and paint this with water as well.

Sitting back I realize that I never added the leaves. I quickly draw them in with yet another shade of green. I use this in the stems of the flowers as well, adding a little more definition to the painting.

This last color is also painted with water. The painting is then set aside to dry.
In the meantime I will start on the card. I fold an A4 cardboard in half.

I select a slightly darker shade of green to cut matting from for the painting.

Everything is secured to each other with double-sided tape.

The final product is a versatile card that can be used for mature birthdays, weddings, spring days, thanj you's, or even funerals. Very handy to have ready at hand.

For more crafty ideas and great products, visit APrettyTalent.com.
Remember to keep nurturing your TALENT for making PRETTY things.
You can subscribe to this blog and receive regular updates by email by simply registering your email address at the top of the current blog.
No comments:
Post a Comment