Here are the links to all of the blogs in the series:
Part 1
Part 2
Part 3
Part 4

Lay the quilted comforter flat on the floor (or on a table if you have one that is big enough). Lay the backing fabric on top of the comforter and cut to size.

Lay the quilted pillows on a table and cut the backing fabric for the pillow to size. (Remember that I am making a set of two and that is why you see two pillows in my photo).

I start with the pillows since these smaller pieces will prepare me better for working with the bigger ones. Lay the backing fabric and the pillow quilts right sides facing on top of each other. Pin three sides (2 long and 1 short).

Sew all along the three sides, staying right next to the batting. I learn that the heavy fabric threatens to pull out from under the needle. This means I need to reorganize my work space before I start with the bigger comforters.

Turn the pillows right side out when done.

ghjk
Lay the backing fabric and the quilt for the comforters right sides facing on top of each other. The fabric is too heave to hope to pin all three sides at once. I pin only one of the long sides.


I clear my work space of any clutter so that I have maximum table to lay the weight of the comforter on.

I again sew as close as possible to the batting. I recommend you set your machine to stop with its needle in the down position (if possible). This will help to keep the fabric in check while sewing.

I added this photo so you can see what it looks like when you are sewing so much fabric. You will now understand why it was necessary to cleat the table before I started.

Next, I pin one of the short sides.


Again, I sew as close to the batting as possible.

Lastly, I pin the leftover long side. Make sure that the backing fabric and the quilt lie flat before you start pinning.


This last time I once more sew as close to the batting as possible.

I allowed myself extra fabric and I now need to trim that away all around.


The last short side is still open. I fold the seam in and pin it.

I prefer sewing this side by hand as it is much neater.

It is time to add the stuffing to the pillows. Each pillow will take about a bag and a half of stuffing.
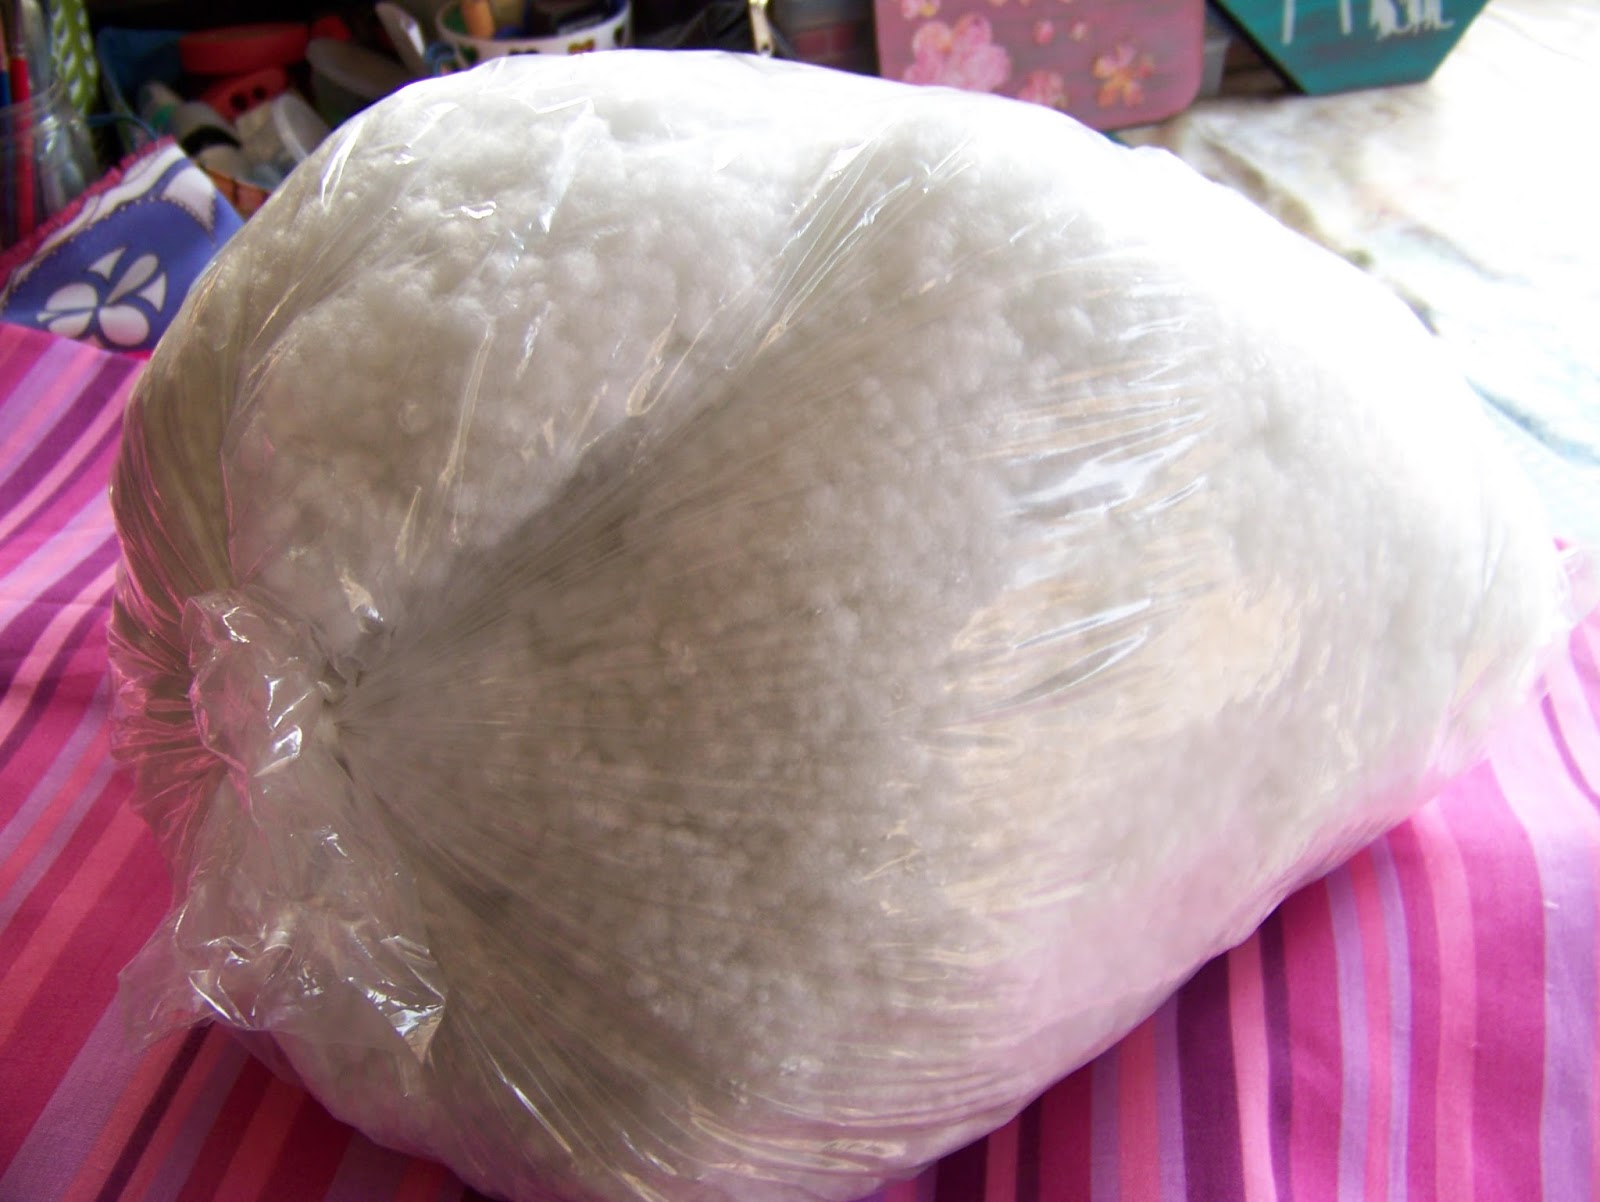
In order to avoid a mess, open the bag with the stuffing and push it into the pillow.

Push the stuffing out of the plastic bag into the pillow.

Carefully pull the plastic bag out and recycle it.

Fold the seams in and pin properly.

Sew the seam by hand to ensure a neat finish.

The comforter and pillow completed.

For more crafty ideas and great products, visit APrettyTalent.com.
Remember to keep nurturing your TALENT for making PRETTY things.
You can subscribe to this blog and receive regular updates by email by simply registering your email address at the top of the current blog.
No comments:
Post a Comment