
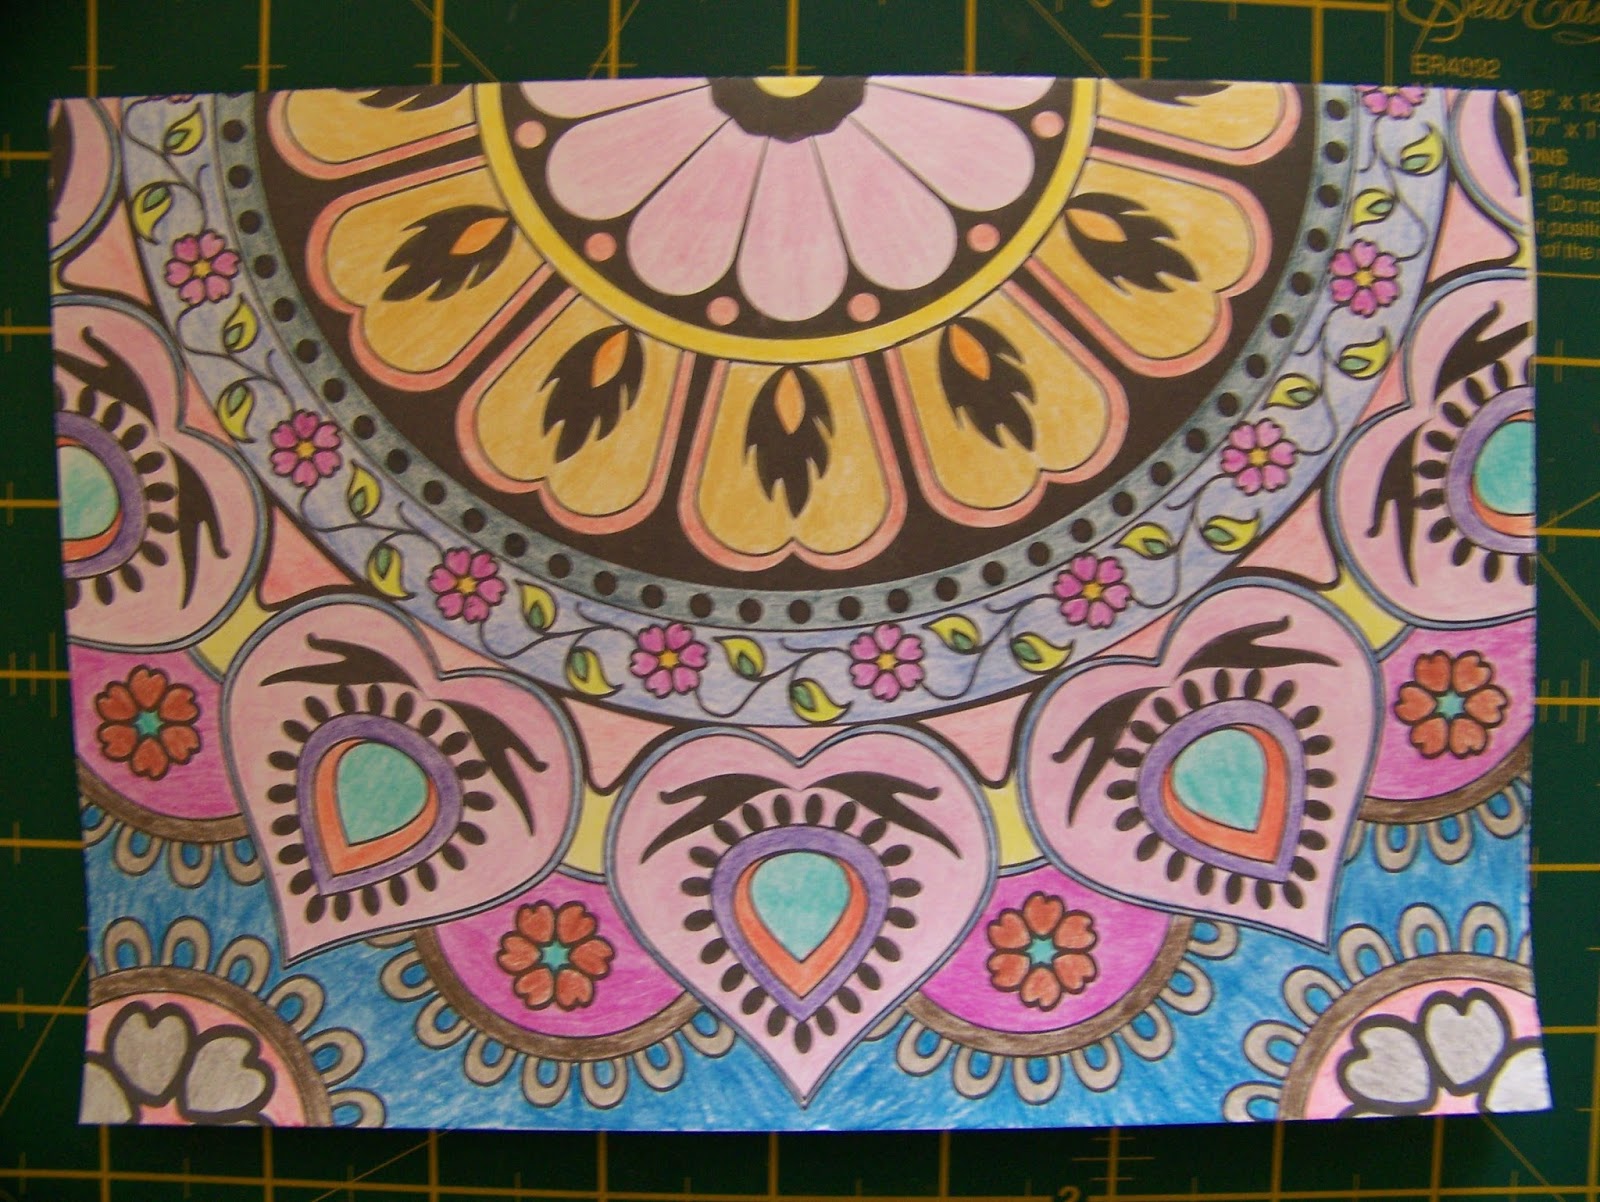
I tore this page from one of my adult coloring books. It was colored with Derwent Coloursoft Pencils.

I folded the page in half over a ruler so as to ensure a neat and straight fold line.

I then found a coordinating paper to fit inside the card.

If needed, crop this paper to the same size as the colored page. This paper was also folded double over a ruler.

I now used my Derwent Coloursoft Pencils to draw and color detail on the inside of the card. I started with Mid Green. Do not color solidly. Leave space to come in with two more shades of green.

I added Yellow Green to the grass.

I finished the grass in Lincoln Green.

I now found 6 similar buttons and one coordinating, but slightly different to form a worm in the grass. I stuck these down with Tombow glue.

I drew some flower stems and leaves in Dark Green.

The centers of the flowers were colored in Orange.

The petals of the flowers were done in Deep Red.

Once I had finished the first three flowers I decided to add a fourth.

I then used Petrel Grey to add antennae and feet to the worm.

I went back to the Dark Green and drew a border along the edge of the card.

I found a piece of off-cut red cardboard and drew a small mouth on it. This was cut out with a pair of scissors.

The mouth was stuck in place on the worm's head. The buttonholes would serve as eyes.

I places double-sided tape on the back of the inside of the card.

The inside of the card was inserted into the colored page and stuck in place with the double-sided tape. The intention here is a play on the words 'worming your way' into someone's life/heart as an expression of affection.

It was time to contemplate the outside of the card to decide how to decorate it.
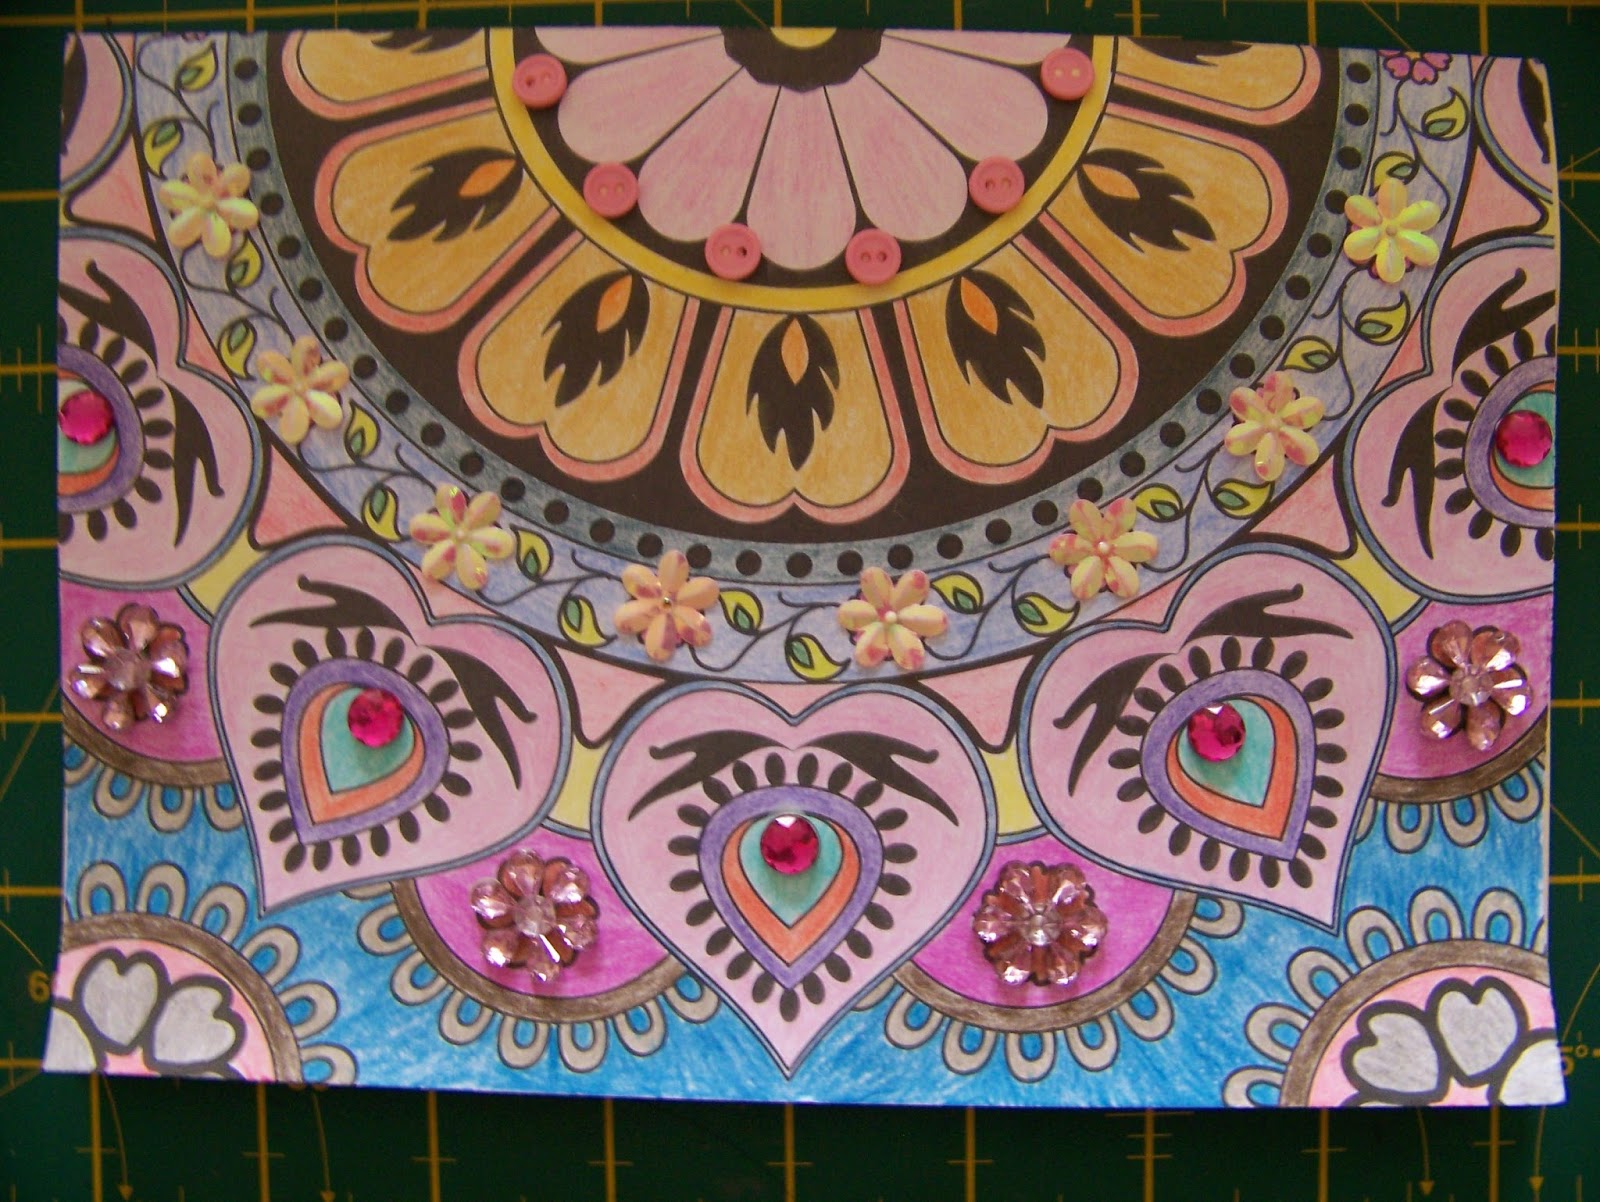
I decided to add some flower sequins to the flower patterns on the page. I stuck these embellishments down with Tombow glue.

Here is a close-up of the flower sequins.

I then added some flower bling to the other flowers on the design.

Here is a close-up of the second row of flowers added.

I decided to add a row of tiny buttons to the dots in the design. This would tie in very nicely with the inside of the card.

I sat back and studied the card carefully. I liked it, but decided that I would like to add something to the 'tears' as well.

These bright pink bling dots would attract the necessary attention and create a nice focal feature in sharp contrast to the paler embellishments.

I was finally satisfied with the card. Now to find the right person and occasion to present it to.

For more crafty ideas and great products, visit APrettyTalent.com.
Remember to keep nurturing your TALENT for making PRETTY things.
You can subscribe to this blog and receive regular updates by email by simply registering your email address at the top of the current blog.
No comments:
Post a Comment