
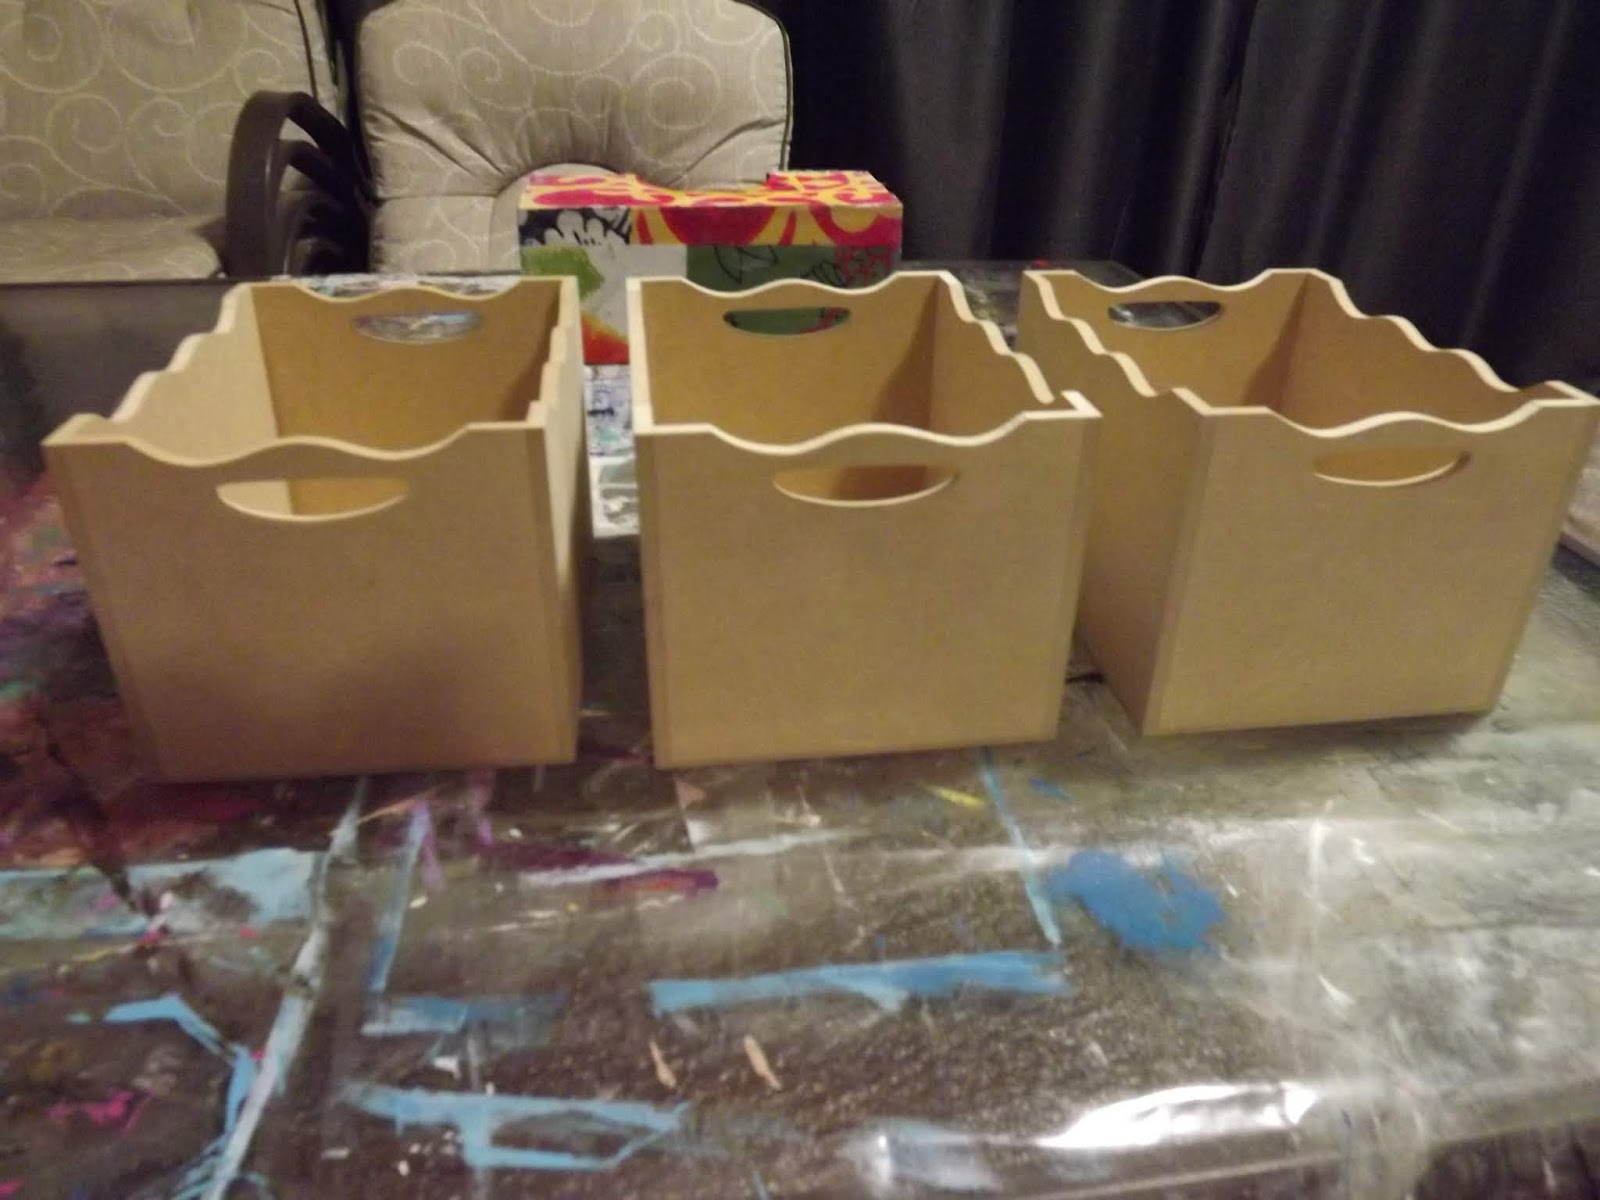
These are the three boxes I start out with.
I paint the boxes with a universal undercoat.

The boxes are painted on the inside as well as the outside.

They are then left to dry. I should wait 24 hours, but I am impatient and simply let them stand overnight.

The next day I am ready to continue with the project.

I will be painting the insides of the boxes with Dala Craft Paint.

I paint the undersides of the boxes as well. I then paint the corners in case the paper does not quite meet up when I decoupage it.

I use three different colours as I am going for a colourful trio.

Dala has some of the most beautiful and vibrant colours available in their Craft Paint range.

Once the paint is touch dry, I turn the boxes over and paint the insides of the boxes.

I then leave the paint to dry for an hour or more. Again, 24 hours would be recommended, but I have only a weekend in which to do this, so I do not wait that long.

Once the paint is dry, I use the boxes to measure the paper, marking the sizes directly on the paper I will be using. I take care to mark the wrong side of the paper, though.

I cut the paper to size.

I lather the side that will be decoupaged in Dala Acrylic Gel Medium.

I lay the paper in place on the wet gel medium, making sure not to trap any air bubbles underneath the paper. I then lather some more Dala Acrylic Gel Medium over the paper to seal it.

I like using more than one paper design on a single side, as this makes the boxes more visually interesting to look at. I do this on the shorter sides that will be facing the viewer.

On the longer sides, I use a single sheet of paper.

Again, I lather the box with the Acrylic Gel Medium.

I place the paper on top of the wet gel medium.

Then I lather the paper with the gel medium.

I then leave the boxes to dry completely. I have not yet cut out the intricate designs or the handles. This will follow later.

Once dry, I use a Dala Craft Knife to cut away the paper on a cutting mat.

The boxes look like this with the excess paper cut away.

The three boxes side by side.
These boxes make a welcome storage solution to my clutter problem in the studio.

You can watch a compilation video of the above steps on YouTube:
https://youtu.be/fqD6aMdfO8g
Marietjie Uys (Miekie) is a published author. You can buy my books here:
You can purchase Designs By Miekie 1 here.
Jy kan Kom Ons Teken en Verf Tuinstories hier koop.
Jy kan Kom Ons Kleur Tuinstories In hier koop.
Jy kan Tuinstories hier koop.
You can follow Miekie's daily Bible Study blog, Bybel Legkaart, here in English & Afrikaans.
You may prefer to follow the traveling blog, A Pretty Tourist.
For more crafty ideas and great product reviews, visit A Pretty Talent on Facebook.
If you are in a literary mood, follow Miekie's musings, stories and poetry on A Pretty Author - Miekie.
Remember to keep nurturing your TALENT for making life PRETTY.
You can subscribe to any of these blogs and receive regular updates by email. Simply register your email address at the top of the applicable blog.
No comments:
Post a Comment