
I started the project on one of these index cards.

I would be using my Gelli Plate for the surface preparations.

I was working with a friend who was visiting when making this card. She opted for two shades of blue, one by Iris, and one by Amsterdam.

After brayering the paint slightly, she used the ball tool to draw concentric circles in the wet paint.

Here is a better view of it.

She brayered a card onto the plate.

Then came the task of lifting the card away. Finally I could take a photo of how this is done, as normally my hands are occupied when I do this myself.

This is the print she pulled away from the plate.

The white was a little too stark for my liking and I rubbed the index card with Ranger's Archival Ink to soften the bright white into a pale blue.

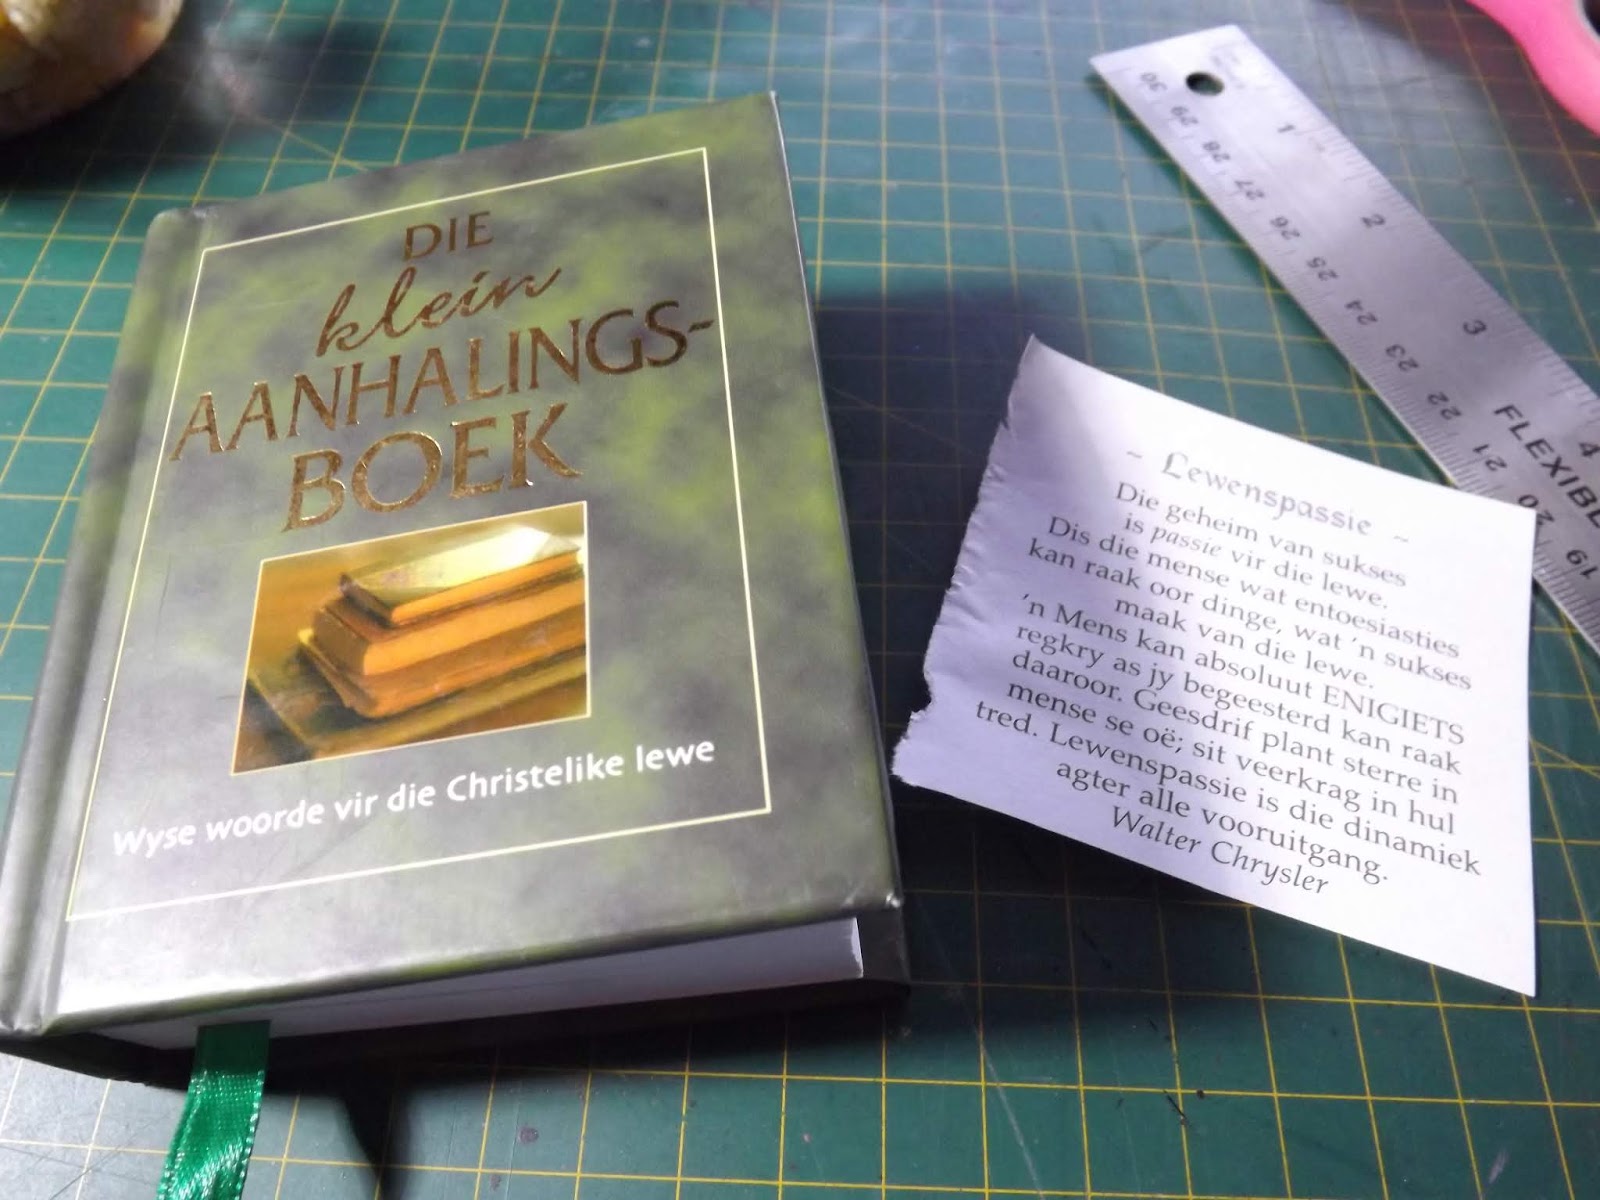
I took a sentiment from a book titled Die Klein Aanhalingsboek.
I cropped it with a scalpel and steel ruler.

I inked the edges with the Archival Ink and mounted it to the card with double-sided tape.

I then found some pretty die-cut embellishments in my stash, that I could use on this card.

I decided to mount these embellishments on an embossed background. I used this embossing folder, from my cake decorating tools (intended for use with fondant).

The folder looks like this on the inside.

I built the sandwich for my Go Cut & Emboss machine, having slipped the paper into the embossing folder.

The embossed paper looked like this.

I rub the embossed image with Ranger's Archival Ink.

I used double-sided tape and 3D squares to mount the embellishments on the card.

My completed index card looked like this.

I used a bone folder to fold an A4 sheet of cardboard in half.

I inked the edges of the card with Tim Holtz Distress Ink.

I drew a stitched border around the card with a Pentel Pen.

I mounted the index card to the white card with double-sided tape.

The completed card.
You can watch a compilation video of the above steps on YouTube:
https://youtu.be/WfnmSIXrIKA
Marietjie Uys (Miekie) is a published author. You can buy my books here:
You can purchase Designs By Miekie 1 here.
Jy kan Kom Ons Teken en Verf Tuinstories hier koop.
Jy kan Kom Ons Kleur Tuinstories In hier koop.
Jy kan Tuinstories hier koop.
You can follow Miekie's daily Bible Study blog, Bybel Legkaart, here in English & Afrikaans.
You may prefer to follow the traveling blog, A Pretty Tourist.
For more crafty ideas and great product reviews, visit A Pretty Talent on Facebook.
If you are in a literary mood, follow Miekie's musings, stories and poetry on A Pretty Author - Miekie.
Remember to keep nurturing your TALENT for making life PRETTY.
You can subscribe to any of these blogs and receive regular updates by email. Simply register your email address at the top of the applicable blog.
No comments:
Post a Comment