
I start the project on these index cards.

I will be using the Gelli Plate to pull a print onto the card.

I start on a dirty Gelli Plate, as I have been working with it already before starting this project. In the past I have found that this doesn't affect the projects negatively, but rather adds more interest to the final product. I place a dollop of Bianjo Acrylic Paint on the Gelli Plate and spritz it with water to thin it.

I brayer the paint onto the Gelli Plate.

I will be using one of the images from my fondant cutter set.

I lightly press the image onto the wet paint and wiggle it a bit to make the lines bolder.

I looks like this when I pull the cutter away.

I brayer the index card onto the image.

The index card looks like this when I pull it away from the Gelli Plate.

I find a quote in a tiny book I have, titles Die Klein Aanhalingsboek. I cut this from the book.

I ink the quote with Tim Holtz Distress Ink.

I then ink the index card with a sponge dauber, using Crystal Craft Ink.

I create a dotted border, using a Rolfes Metallic Marker.

I put a small line border around the quote as well.

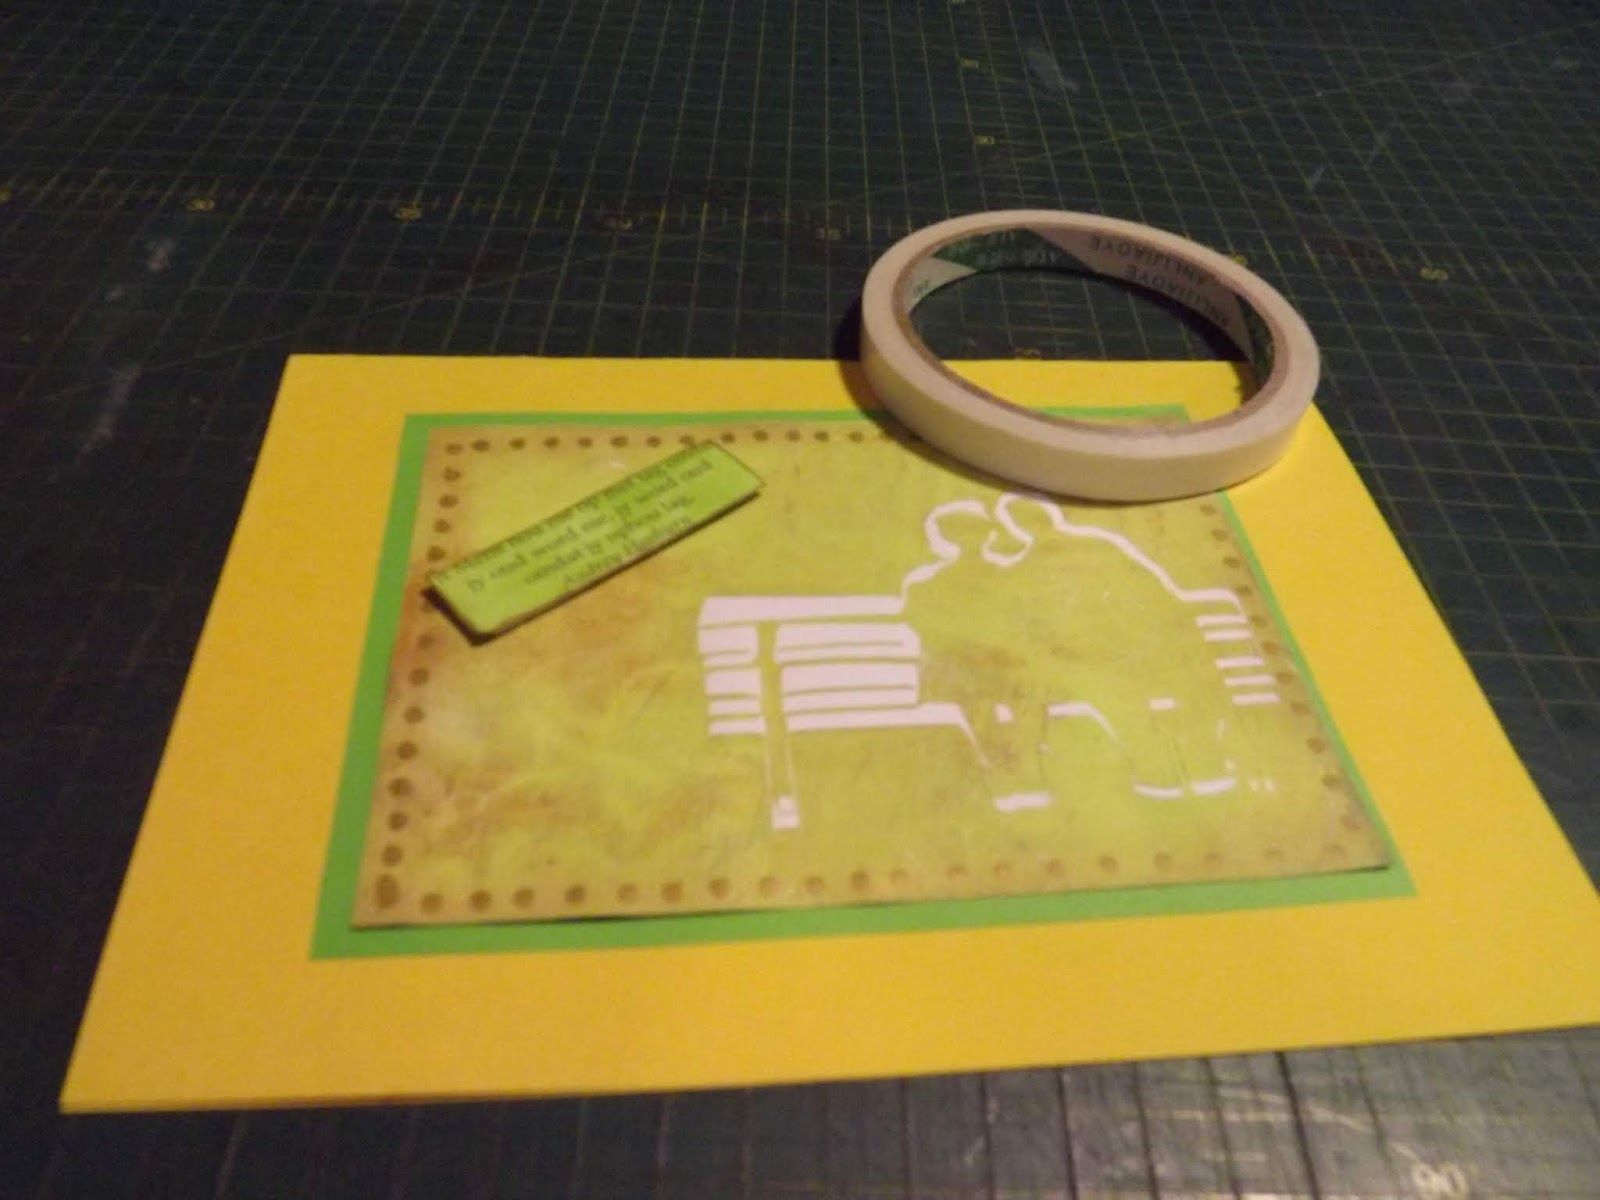
I mount the quote to the index card with 3D tape.

The index card looked like this when I was finished and it was time to mount it to a proper card.

I matted the index card on green paper, which I cropped with a Dala craft knife and a metal ruler.

I used double-sided tape to adhere the pieces together.

I used a bone folder to fold an A4 sheet of cardboard in half, to form a card.

The index card was taped to the card.
I decided to use these Timbres Clair stamps, along with the Crystal Craft Ink Pad, to stamp some images onto the card.

I use a Chiswick base to mount the clear stamps on.

I used yet another Timbres Clair stamp set to add more images.

These hearts were used to form a feint border around the card.

The completed card looked like this.
You can watch a compilation video of the above steps on YouTube:
https://youtu.be/IpFwibWKbXw
Marietjie Uys (Miekie) is a published author. You can buy my books here:
You can purchase Designs By Miekie 1 here.
Jy kan Kom Ons Teken en Verf Tuinstories hier koop.
Jy kan Kom Ons Kleur Tuinstories In hier koop.
Jy kan Tuinstories hier koop.
You can follow Miekie's daily Bible Study blog, Bybel Legkaart, here in English & Afrikaans.
You may prefer to follow the traveling blog, A Pretty Tourist.
For more crafty ideas and great product reviews, visit A Pretty Talent on Facebook.
If you are in a literary mood, follow Miekie's musings, stories and poetry on A Pretty Author - Miekie.
Remember to keep nurturing your TALENT for making life PRETTY.
You can subscribe to any of these blogs and receive regular updates by email. Simply register your email address at the top of the applicable blog.
No comments:
Post a Comment