Search This Blog

Monday 26 August 2019

Card Making: Eternal Life

There are times when we all need sympathy cards. These are not fun times and it is not the time to sit down and make a card. Therefore it is convenient to have a card for these occassions ready at hand. Today I show you how to make such a card for the loved ones who stay behind after someone has passed on.


I start the project on one of these index cards.


I will be using my Gelli Plate for the surface preparations.


I pick this project up on a used Gelli Plate and decide to use up all of my droplets of paint that I had saved on the side while teaching a friend how to use the Gelli Plate.


She simply brayered an index card onto this paint.


I pulled a slightly messy card away with this print.


I then decided to add some purple and gold to the plate.


I spritzed the paint with water to dilute it slightly.


I brayered the paint onto the plate.


I decided to use the same card from before.


I brayered the 'messy' card from earlier onto the plate.


I only managed to make the card appear even messier.


I then covered the plate in Titanium White and spritzed it with water.


I added gold acrylic paint and brayered it over the white.


I would try this print on the card.


I placed the fondant cutter lightly on the plate to leave the image on the plate.


I brayered a card onto the plate.


The image was much too feint, but I could work with the background.


I used a Rolfes Metallic Marker to draw a frame around the card. Then I drew a thin line inside the thicker line with an Artline Marker.


I tore a page from this tiny little book titled Om te Inspireer.


I cropped it.


I wished to add an embossed border pattern and used this embossing folder meant for fondant.


I slipped a sheet of paper inside the embossing folder.


I layered my sandwich and put it through my Go Cut & Emboss machine.


The results were spectacular.


I fussy cut around the embossed image.


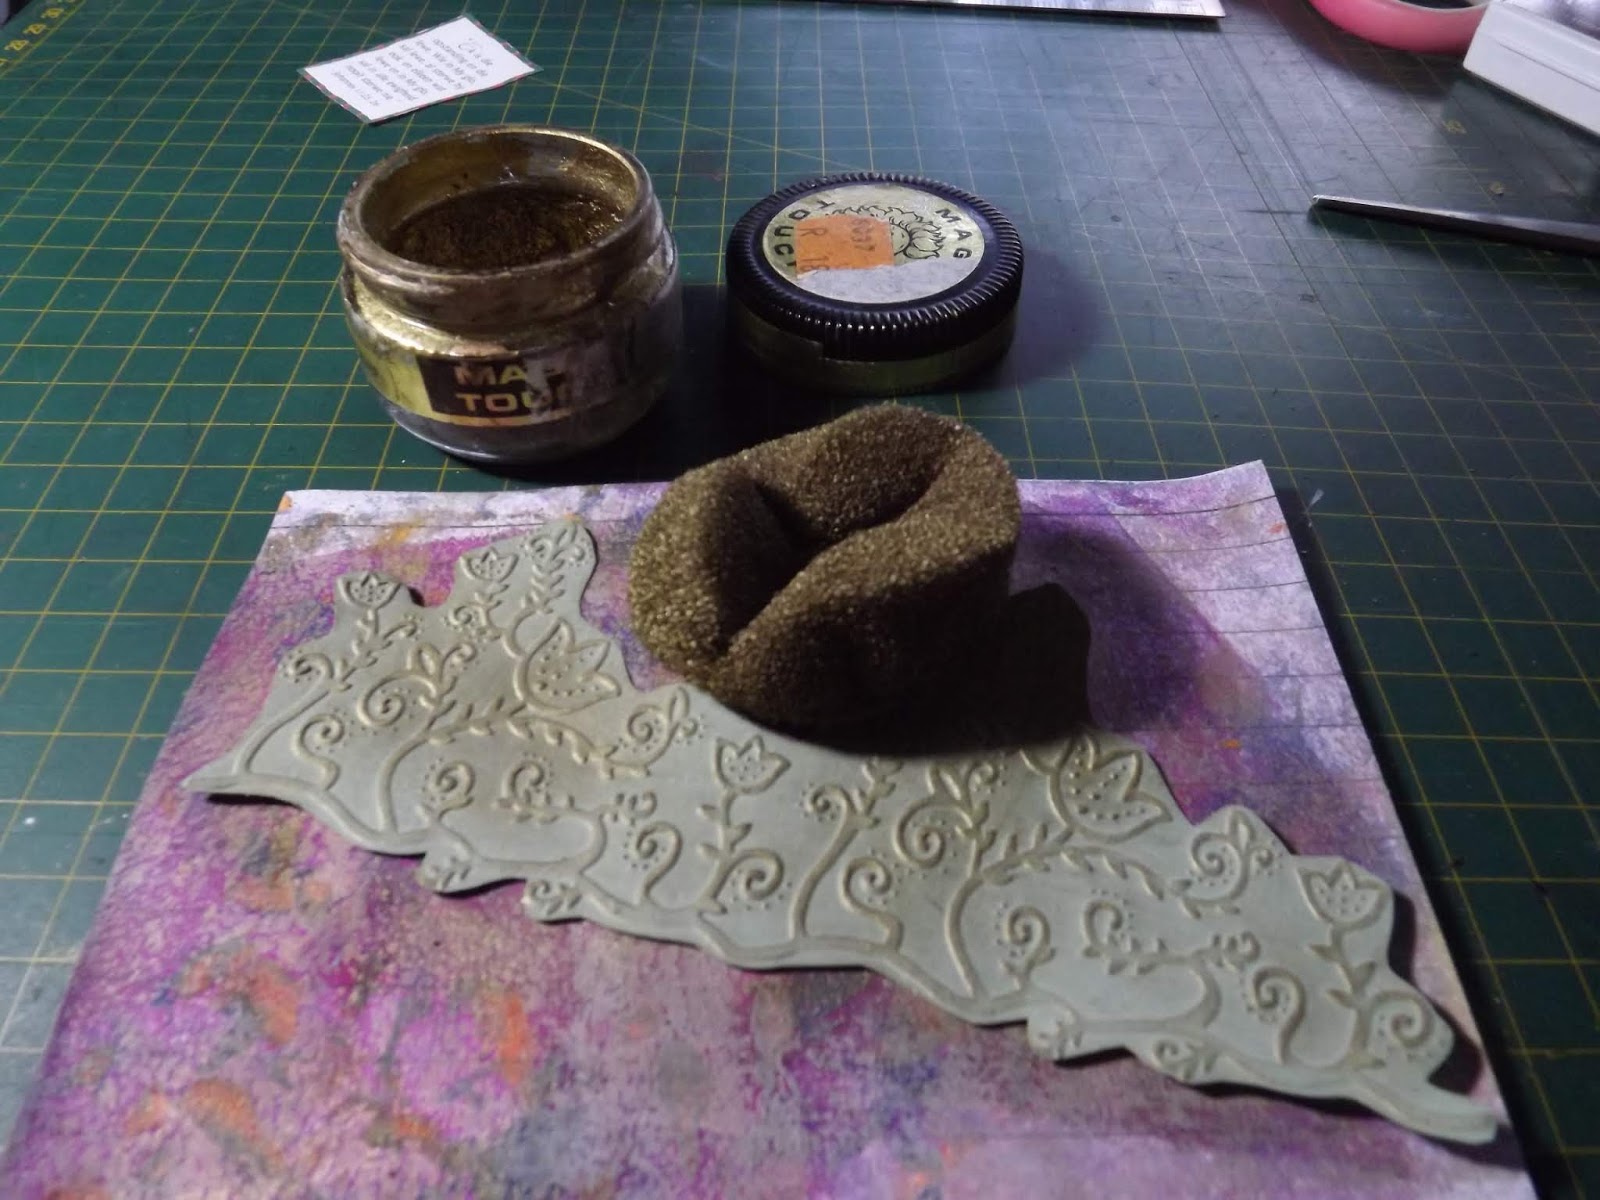
Then I rubbed Magic touch over the embossed image.


I glued it to the card with Tombow glue.


I used hot glue to make some molds in a silicone mold.


I coloured the mold with a Rolfes marker and glued it to the card with Tombow glue.


I used 3D foam to raise the sentiment off the card.


My completed index card.


I then folded an A4 sheet of cardboard in half with a bone folder to make a card.


I used the Rolfes Metallic Marker to draw a border around the card.


I used double-sided tape to tape the index card to the orange card.


I drew a frame around the index card on the orange card.


I used 3D Pearl Drops to create a border of pearl drops.


The completed sympathy card.


You can watch a compilation video of the above steps on YouTube:
https://youtu.be/GKv_BIVZs30


Marietjie Uys (Miekie) is a published author. You can buy my books here:
You can purchase Designs By Miekie 1 here.
Jy kan Kom Ons Teken en Verf Tuinstories hier koop.
Jy kan Kom Ons Kleur Tuinstories In hier koop.
Jy kan Tuinstories hier koop.
You can follow Miekie's daily Bible Study blog, Bybel Legkaart, here in English & Afrikaans.
You may prefer to follow the traveling blog, A Pretty Tourist.
For more crafty ideas and great product reviews, visit A Pretty Talent on Facebook.
If you are in a literary mood, follow Miekie's musings, stories and poetry on A Pretty Author - Miekie.
Remember to keep nurturing your TALENT for making life PRETTY.
You can subscribe to any of these blogs and receive regular updates by email. Simply register your email address at the top of the applicable blog.

Sunday 25 August 2019

Card Making: Security in Love

Most often times we take risks when we venture out into relationships with people. Yet, sometimes those risks are well worth taking. I wished to express this sentiment with today's card. In the background, I have a running figure, but on top of it, I paste a sentiment that tells us that there is security in love. It was time for one of my friends to stop running and to put her trust in love again. I made this card for her.


I started the project on these index cards.


I would be using my Gelli Plate for the surface preparations.


I started by squirting some Iris acrylic paint onto the Gelli Plate and then spritzing it with water to thin it.


I brayered it onto the plate and then dropped some silver Bianjo acrylic paint onto the plate.


I brayered this onto the plate.


I decided to use these running figures from my cake decorating tools to create the background image.


I laid the figures on the wet paint.


I lifted the figures away and pressed the index card onto the plate.


I pulled this print away from the Gelli Plate.


I tore a page from Phil Bosman's book 'n Tuin van Vriendskap to use as a sentiment on my index card.


I cropped the page with an artist's knife and steel ruler.


Then I used 3D foam tape to raise it slightly off the card.


I used a Rolfes Metallic Marker to draw a stitched border around the card.


I shape some faces in my silicone mold, using my hot glue gun.


I also shaped a heart in another mold.


Once set, the embellishments simply pop out of the silicone molds.


I coloured the hot glue molds with the marker by Rolfes.


I used Tombow glue to attach the embellishments to the card.


My completed index card looked like this.


I then folded a white A4 sheet of cardboard in half to form a card.


I used a Pentel Pen to draw a stitched border around the white card.


I used double-sided glue to mount the index card onto the white card.


I used Tim Holtz Distress Ink and a K Craft Clear Stamp to stamp a sentiment onto the card.


I stamped the sentiment in the bottom right corner.


I used Tombow Glue to add some rhinestone embellishments to the card.


The completed card.


You can watch a compilation video of the above steps on YouTube:
https://youtu.be/ESRwvM4OhAI


Marietjie Uys (Miekie) is a published author. You can buy my books here:
You can purchase Designs By Miekie 1 here.
Jy kan Kom Ons Teken en Verf Tuinstories hier koop.
Jy kan Kom Ons Kleur Tuinstories In hier koop.
Jy kan Tuinstories hier koop.
You can follow Miekie's daily Bible Study blog, Bybel Legkaart, here in English & Afrikaans.
You may prefer to follow the traveling blog, A Pretty Tourist.
For more crafty ideas and great product reviews, visit A Pretty Talent on Facebook.
If you are in a literary mood, follow Miekie's musings, stories and poetry on A Pretty Author - Miekie.
Remember to keep nurturing your TALENT for making life PRETTY.
You can subscribe to any of these blogs and receive regular updates by email. Simply register your email address at the top of the applicable blog.