
I used these index cards to do my projects on.

After preparing the surfaces in the previous blog, I had these seven cards to work on.

Day 43
The theme for Day 43 was Direction.

I found these stickers in my stash and decided that its directional arrows made it ideal for this project.

I chose the sticker that I likes best and placed it on my card.

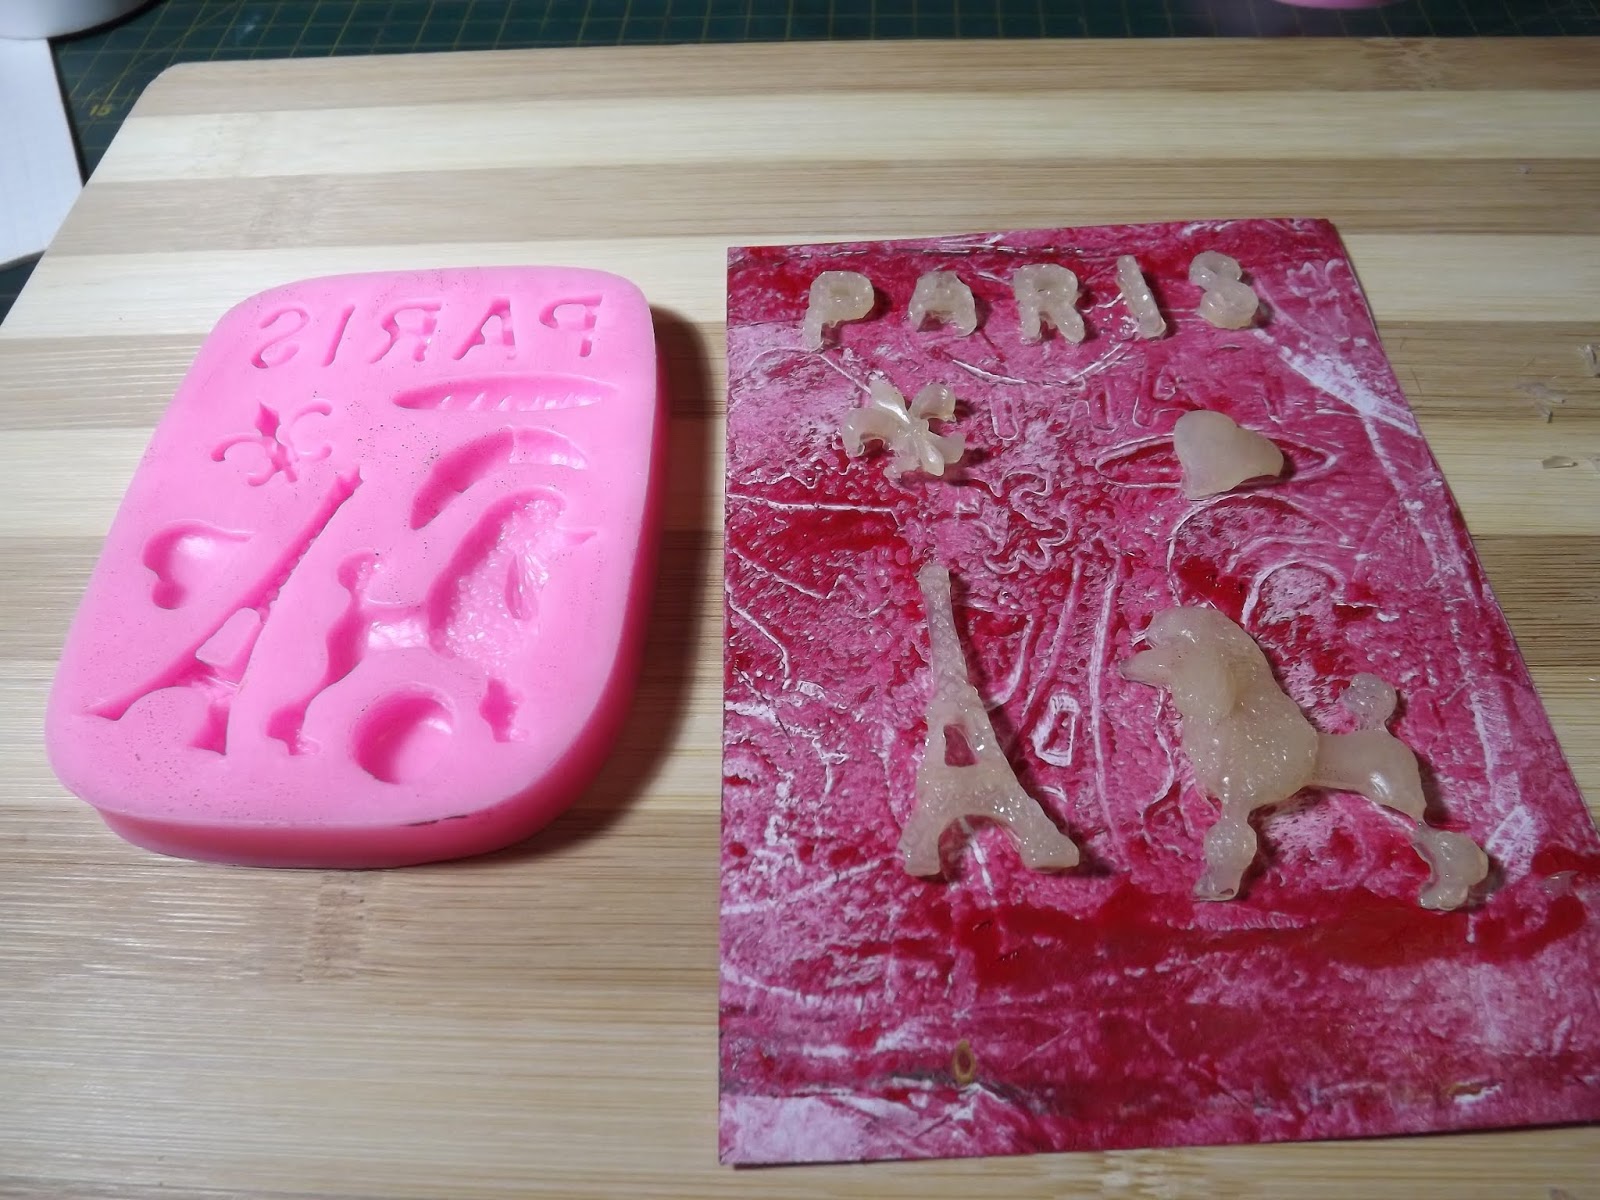
I have a file filled with cut-out gift-wrapping paper designs and I turned myself to these. I rather liked these designs with their nautical theme.

I used Tim Holtz Distress Ink to ink the sides of the designs.

I used double-sided tape to adhere the designs to the card.

I used a Pentel Pen to draw a stitched border around the card.

I found this fondant mold with ships in my cake decorating box.

I filled one of the ships with hot glue, using my hot glue gun.

With the glue still hot, I pressed the mold down on the card and waited for it to set.

I lifted the mold away.

I was not impressed with the shape that I got from this particular mold and it was stuck fast to my card. No fear, there is a solution.

I used my heat gun to melt the glue again.

Then I filled another design with more hot glue.

I placed this on top of the re-heated glue and waited for it to set.

Again, I lifted the mold away.

This gave me a successful print that reminds one somewhat of a wax seal.

Day 44
The theme for Day 44 was pool. I started on this prepared card.

I opted to use the same paper stash as in the previous card.

I used double-sided tape to stick my chosen designs down.

This time I would be using this cake mold for making hot glue molds.

I filled all of the designs in the mold.

Again, I pressed them down on the card while the glue was still hot.

I waited for the glue to set and lifted the mold away.

I used the Pentel Pen to draw a curvy line around the border of the card.

The completed card for Day 44.

Day 45
The theme for day 45 was Wabi-Sabi, which refers to the Japanese tradition of finding beauty in the broken or imperfect. I started on this prepared card.

I would use one of the sentiments on this set of stamps by K-Craft. The sentiment I opted for was 'Be strong and courageous' as this reminded of adversity, a theme akin to finding beauty in the broken.

I used Brilliance ink to stamp the sentiment and then I used gold embossing powder on top of the white ink.

I shook off the excess embossing powder...

... and returned it to its container.

Then I used my heat gun to melt the embossing powder.

I found this paper with its butterflies to use on the card. Butterflies are also born from adversity and is again a symbol of beauty found in the imperfect.

I fussy-cut around the edges of the butterflies.

I then used Tombow glue to glue the butterflies to the card.

I used a green Rofes Metallic pen to draw a double margin around the edges of the card.

I used a fondat mold with designs for flying insects.

I filled the three butterflies in the mold with hot glue.

I set the mold aside for the glue to set before popping the butterfly molds out.

I glued the butterflies to the card with Tombow glue.

The completed card for Day 45.

Day 46
The theme for day 46 was amethyst. I started on this prepared purple card.

I wanted to use this fondant mold. I wished to use the same corner mold in all four corners of the card. This meant that I would have to set each corner individually, repeating the process four times. I also wanted to use the centre piece on this design.

I filled the centre with a thin layer of purple seed beads.

Then I filled the centre up with hot glue. I have also filled my first corner with hot glue.

Once set, I pop the pieces out of the mold and fill the same corner again.

This time I decided to use these gift-wrapping paper designs.

I used double-sided tape to stick the bigger design down and 3D tape to glue down the sentiment.

I used Tombow glue to glue down the hot glue molds.

The completed index card for Day 46.

Day 47
The theme for day 47 was turnpike. I used this prepared index card for day 47.
I liked this childish design as it would be fresh. I opted to focus on the concept of being blocked off from the road, rather than focusing on the toll gate concept. The cones would carry this idea through sufficiently.

I fussy-cut around the designs.

I used an Amos glue stick to stick the designs down.

I used a Pentel Pen to draw a double margin with a zigzag pattern inside it, around the card.

I then made hot glue molds of two child-like figures, using a fondant mold.

I popped the figures out once the glue had set.

I used Tombow glue to stick them to the card.

The completed index card for Day 47.

Day 48
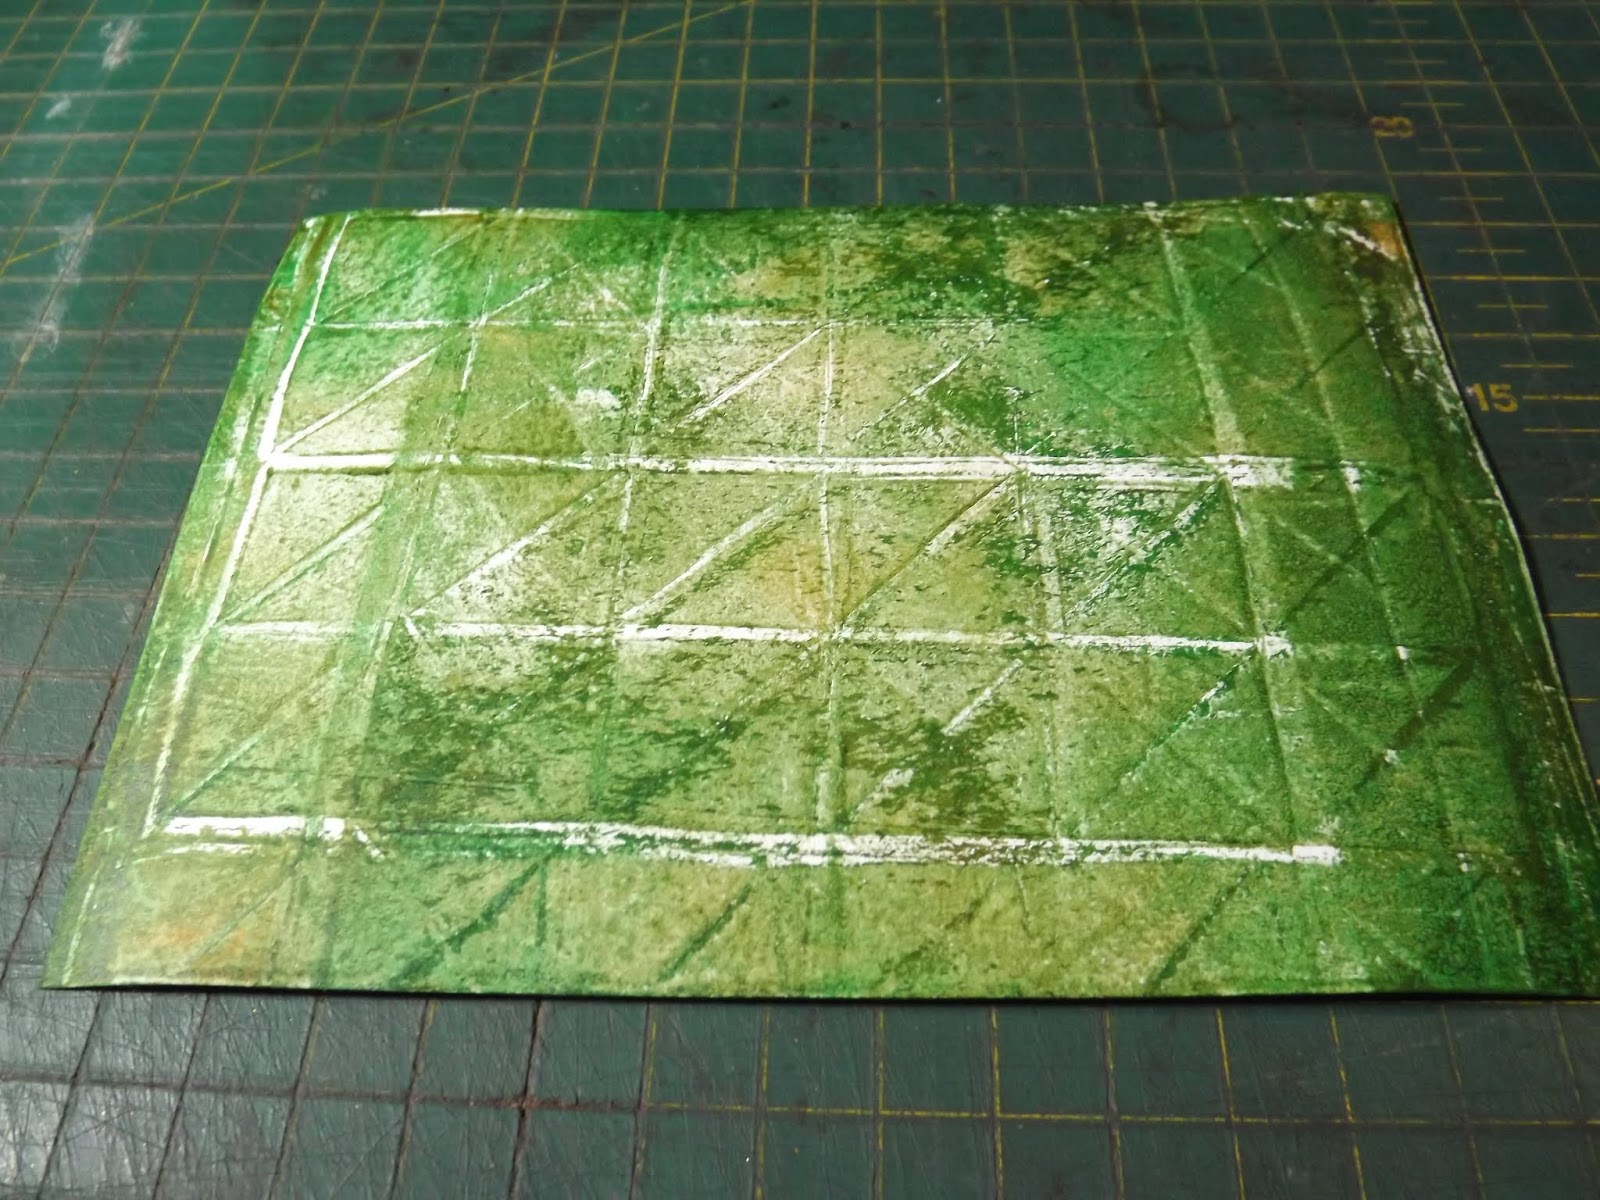
The theme for day 48 was topographic. I figured the lines on this prepared card reminded sufficiently of the topographic lines of a map.

I found this lovely giftwrapping paper to use on the card and loved how the colours of the paper and the prepared index card complimented each other.

I stuck the paper down on the card with 3D tape.

I used this star design on my fondant mold to make three stars in succession.

I used a pink Rolfes Metallic Marker to colour two of the stars.

I used a gold Sharpie marker to colour the third star.

I used Tombow glue to stick the stars to the card.

The completed index card for Day 48.

Day 49
The theme for day 49 was billboard. I would use this prepared index card.

I used this mold to stamp images onto the card when I was preparing it. I would now use the same mold to make hot glue shapes to stick down on the card.

I filled the selcted shapes in the mold with hot glue.

Once they were set, I popped them out of the mold.

I needed to cut away some glue spills from the smaller pieces.

Hot glue can not melt silicone molds, but be sure not to use plastic molds, as these may melt. Unlike the silicone, the glue may also stick to the plastic.
I used a Sharpie marker to draw a fancy frame around the card, using a fondant shaper.

I then coloured the molds gold, using the same Sharpie marker.

I glued the pieces to the card, using Tombow glue.

The completed index card for Day 49.

The completed set of index cards for Week 7 of the ICAD 2019 challenge.
You can watch a compilation video of the above steps on YouTube:
https://youtu.be/a0wzbnwACyc
Marietjie Uys (Miekie) is a published author. You can buy my books here:
You can purchase Designs By Miekie 1 here.
Jy kan Kom Ons Teken en Verf Tuinstories hier koop.
Jy kan Kom Ons Kleur Tuinstories In hier koop.
Jy kan Tuinstories hier koop.
You can follow Miekie's daily Bible Study blog, Bybel Legkaart, here in English & Afrikaans.
You may prefer to follow the traveling blog, A Pretty Tourist.
For more crafty ideas and great product reviews, visit A Pretty Talent on Facebook.
If you are in a literary mood, follow Miekie's musings, stories and poetry on A Pretty Author - Miekie.
Remember to keep nurturing your TALENT for making life PRETTY.
You can subscribe to any of these blogs and receive regular updates by email. Simply register your email address at the top of the applicable blog.
No comments:
Post a Comment