Search This Blog

Monday 27 May 2019

Sew A Reversible Jacket

I have kept the best for last in the mix and match set of clothes that I have been sewing all week. Today I show you how to sew a very feminine reversible jacket to round off the set. Until now, we have been keeping it very simple and easy, but today's jacket has a few snags to look out for, though it is still quite easy to manage.


The reversed jacket.


It is the final piece of clothing that I will be making from this selection of fabric.


I use a McCalls pattern for this jacket.


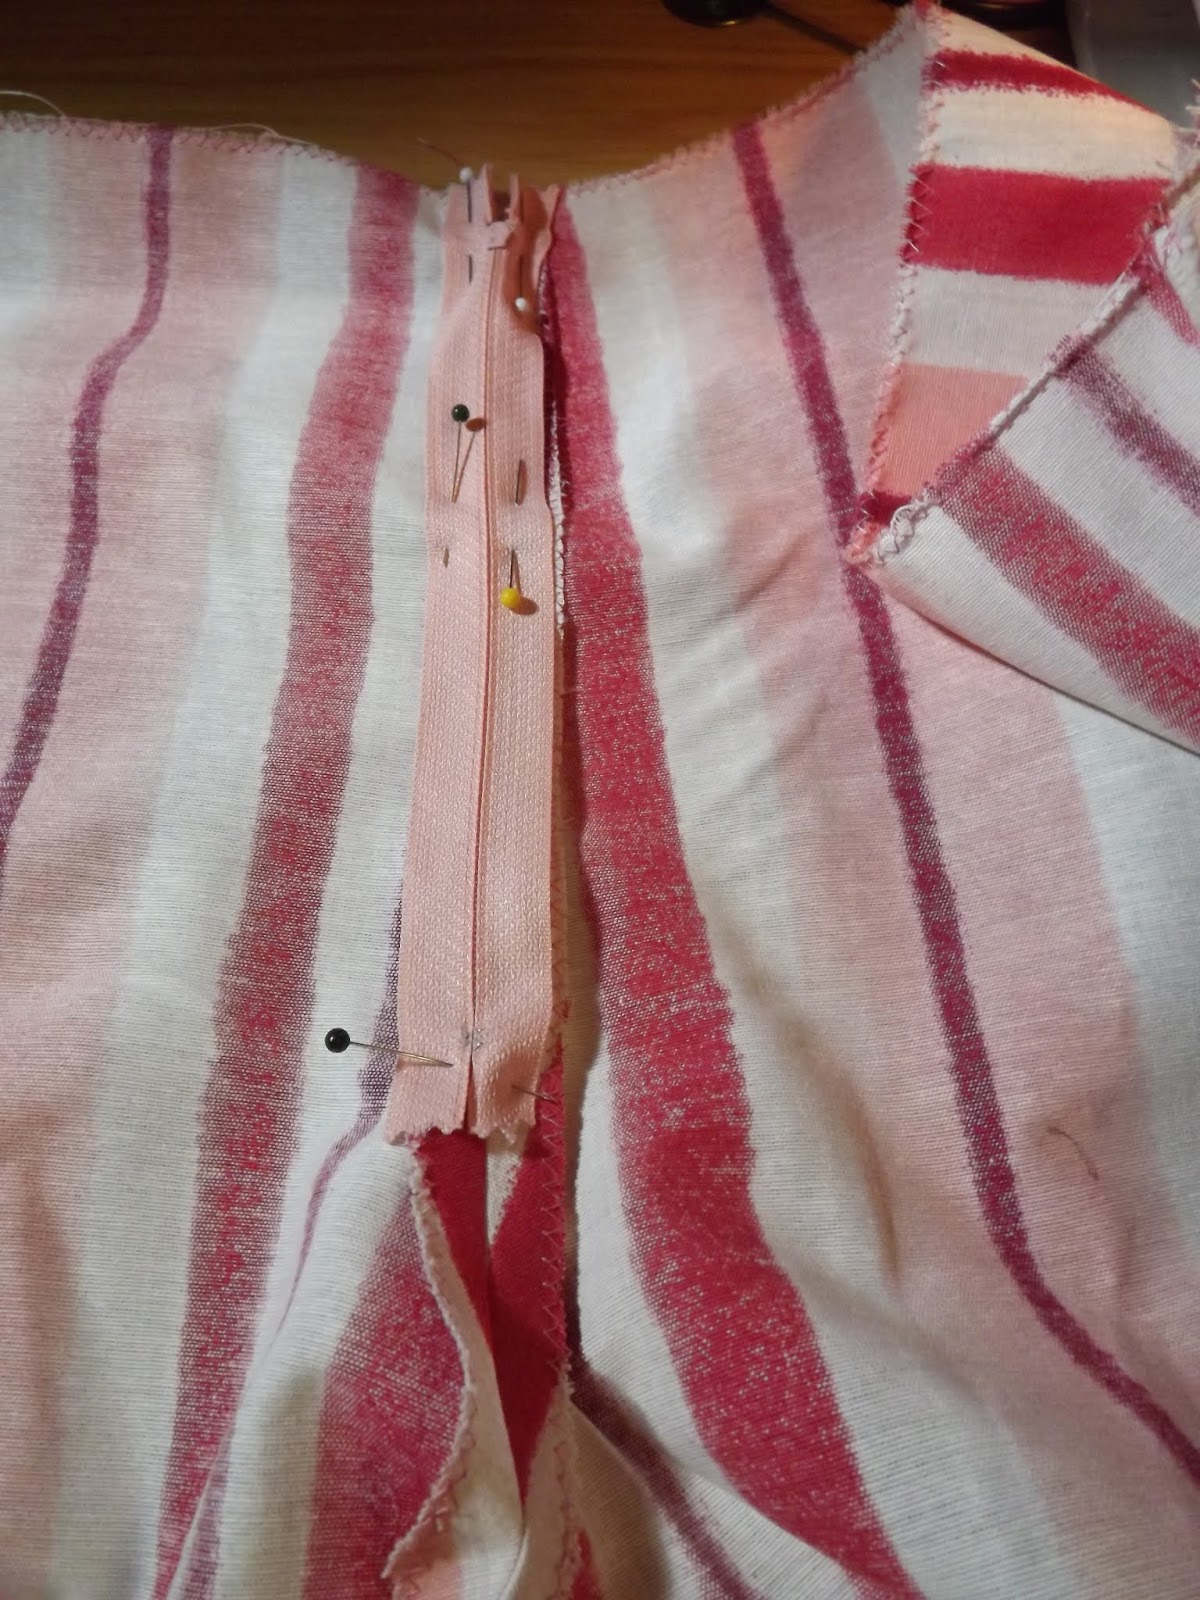
As the jacket has a princess line, I start by pinning the two front panels together with right sides facing.


Sew the panels together.


Notch the seam where necessary.


Pin the side seams of the front and back panels.


Sew the side seams.


Pin the shoulders of front and back.


Sew the shoulders.


Pin the sleeves underarm.


Sew the sleeves underarm seam.


Pin the sleeves into the sleeve openings.


Sew the sleeves into the sleeve openings.


Pin the collars and sew around three sides. Notch and turn right side out.


Find the centre of the collar.


Line the centre of the collar up with the centre of the back neck opening.


Pin together.


Pin the collar to the back neck.


Sew the collar onto the back neck.


Pin the inside jacket to the outside jacket.


Sew all around the edge of the jacket.


Notch all of the curves and corners. Turn right sides out at the sleeves and iron flat.


Fold the collar in and sew by hand.


Fold the hems of the sleeves in and pin.


Sew the hems of the sleeves by hand.


Mark the buttonholes.


Sew the buttonholes.


Open the buttonholes.


Sew buttons onto the jacket on both the 'inside' as well as the 'outside' of the jacket.


The finished jacket.


The reversed side of the finished jacket.


The jacket with the completes ensemble.


You can watch a compilation video of the above steps on YouTube:
https://youtu.be/SJfh1Fz69C8


Marietjie Uys (Miekie) is a published author. You can buy my books here:
You can purchase Designs By Miekie 1 here.
Jy kan Kom Ons Teken en Verf Tuinstories hier koop.
Jy kan Kom Ons Kleur Tuinstories In hier koop.
Jy kan Tuinstories hier koop.
You can follow Miekie's daily Bible Study blog, Bybel Legkaart, here in English & Afrikaans.
You may prefer to follow the traveling blog, A Pretty Tourist.
For more crafty ideas and great product reviews, visit A Pretty Talent on Facebook.
If you are in a literary mood, follow Miekie's musings, stories and poetry on A Pretty Author - Miekie.
Remember to keep nurturing your TALENT for making life PRETTY.
You can subscribe to any of these blogs and receive regular updates by email. Simply register your email address at the top of the applicable blog.

Sunday 26 May 2019

Sew Palazzo Pants

I am bored out of my mind with the pants that are available in the shops this season. They all seem to be tight-fitting and made along a similar pattern. For this reason, I decided to break the mold by making myself some old-fashioned palazzo pants. I am at an age where I could not care less about fashion, but would rather wear clothes that gave me pleasure to wear. I show you how to go about this in today's blog.


I am still busy assembling the ensemble I cut from this selection of fabric.


I cut the palazzo from an old Butterick pattern that I still have.


With a definite stripe like I have in my fabric, it is important to make sure that the lines all run in the right direction.


I had very little fabric left, but wanted to make sure to include pockets as this is very practical in this day and age of mobile devices which we carry on our person. I also made sure to cut the waistband with the stripes running in the right direction.


Sew the crotches of both the front and back of the pants together, after pinning it.


Pin the pockets to the side seams.


Sew the pockets to the side seams.


Pin the zipper to the centre back seam.


Sew the zipper into the seam.


Pin the pockets and the side seams of the pants.


Sew the pockets and the side seams.


Pin the inner leg seams at the centre crotch and all the way down both legs.


Sew the inner legs.


Roll the hems of the palazzo and pin.


Sew the hems.


Fold and pin the waistband.


Sew the ends of the waistband.


Notch the corner of the waistband. Turn right side out and iron flat.


Mark the buttonhole.


Sew the buttonhole.


Open the buttonhole.


Sew the button onto the waistband.


Unpick the seam over the zipper to open it.


Pin the waistband to the palazzo.


Sew the waistband to the palazzo.


The finished palazzo.


The palazzo as part of the ensemble.


You can watch a compilation video of the above steps on YouTube:
https://youtu.be/fU_v1CWjrfk


Marietjie Uys (Miekie) is a published author. You can buy my books here:
You can purchase Designs By Miekie 1 here.
Jy kan Kom Ons Teken en Verf Tuinstories hier koop.
Jy kan Kom Ons Kleur Tuinstories In hier koop.
Jy kan Tuinstories hier koop.
You can follow Miekie's daily Bible Study blog, Bybel Legkaart, here in English & Afrikaans.
You may prefer to follow the traveling blog, A Pretty Tourist.
For more crafty ideas and great product reviews, visit A Pretty Talent on Facebook.
If you are in a literary mood, follow Miekie's musings, stories and poetry on A Pretty Author - Miekie.
Remember to keep nurturing your TALENT for making life PRETTY.
You can subscribe to any of these blogs and receive regular updates by email. Simply register your email address at the top of the applicable blog.