
So, this is the canvas I retrieved from the rubbish area.

A couple of layers of gesso managed to cover up most of the paint.

I started with Payne's Grey and a large palette knife.

The painted was plastered onto the canvas randomly.

Then I moved on to Titanium White.

I did pretty much the same thing with the white.

I then used Buff Titanium.

This was also plastered all over the canvas.

Then I used Dioxazine Purple.

I used a brush to paint the edges of the canvas.

I used the palette knife to plaster the canvas with the purple.

I then added Sky Blue.

Then I added a warm red.

A very warm yellow was added.

Then I added a brilliant green.

Then I dropped Dioxazine Purple and Payne's Grey onto the canvas and mixed the two on the canvas, covering most of it.

I added Sky Blue, but this time I used my fingers to blend the colours, working in opposite directions from what I have been doing with the palette knife.

I add Ultramarine Blue, and this I also blend with the fingers.

I then wait for the paint to become touch dry, before I draw the outline of the pelican in charcoal.

I use a soft brush to paint the pelican in Titanium White in a very uneven manner, allowing the background colours to shine through.

I add very pale blue to the pelican.

Then I add a very dark Prussian Blue.

I then add a mid-range blue.

Then I add Payne's grey, but this time I use a palette knife.

I use a Fan brush to add Titanium White to the pelican.
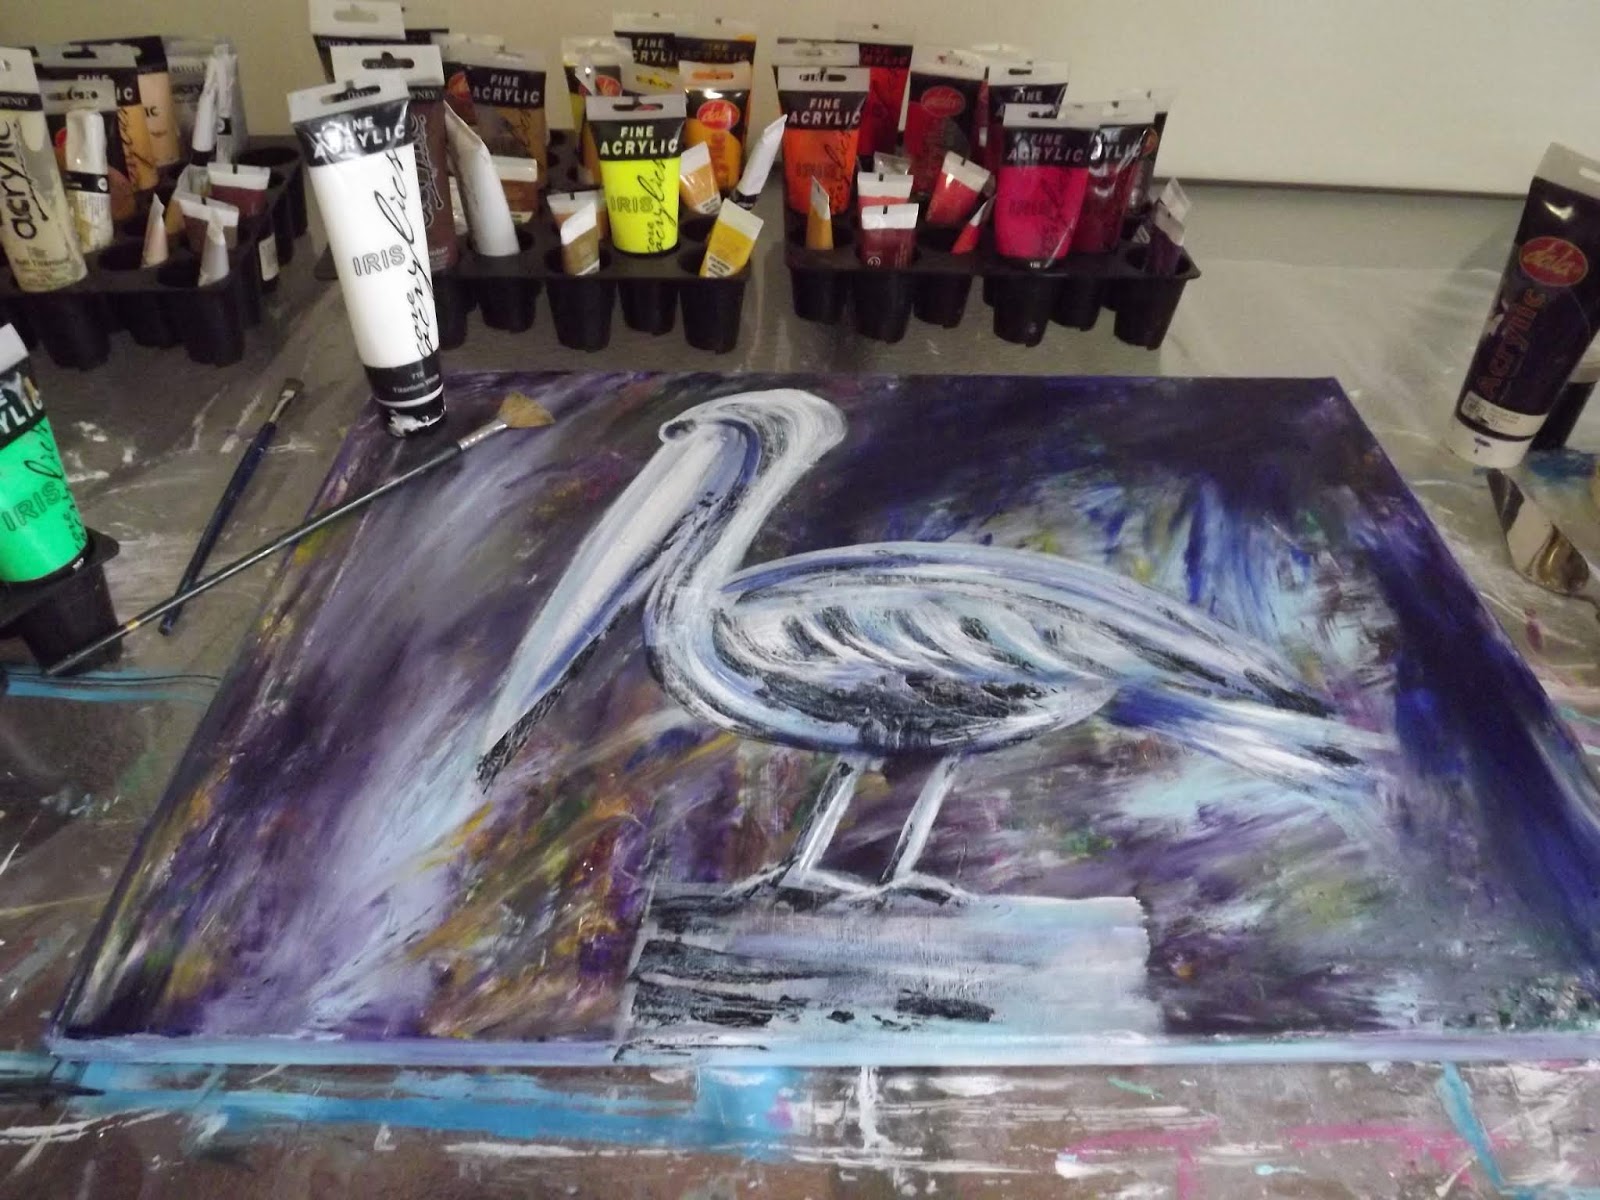
Then I add Burnt Umber. I only touch the pelican with this colour, restricting its use mainly to the pole the bird is balancing on.

A very bright orange is used on the beak.

I use a fine brush to add detail to the eye. I also use the same brush to sign my name.

The finished painting.
You can watch a compilation video of the steps shared above, on YouTube:
https://youtu.be/1OKvGzWRYSw
Marietjie Uys (Miekie) is a published author. You can buy my books here:
You can purchase Designs By Miekie 1 here.
Jy kan Kom Ons Teken en Verf Tuinstories hier koop.
Jy kan Kom Ons Kleur Tuinstories In hier koop.
Jy kan Tuinstories hier koop.
You can follow Miekie's daily Bible Study blog, Bybel Legkaart, here in English & Afrikaans.
You may prefer to follow the traveling blog, A Pretty Tourist.
For more crafty ideas and great product reviews, visit A Pretty Talent on Facebook.
If you are in a literary mood, follow Miekie's musings, stories and poetry on A Pretty Author - Miekie.
Remember to keep nurturing your TALENT for making life PRETTY.
You can subscribe to any of these blogs and receive regular updates by email. Simply register your email address at the top of the applicable blog.
No comments:
Post a Comment