
A friend introduced me to the local bead shop and I went a little crazy with my purchases.

I started the first string on leather. I put a large wooden bead in the middle and followed up with spacers on both sides. Then came two smaller wooden beads. In between each element, I made a small knot in the leather.

More spacers and more wooden beads followed, still with the knots to keep everything nicely separated.

Still more spacers and wooden beads were added before I was done. I put this string aside, still uncertain about whether I would combine all three strings at the fastening, or not.

I found this nifty tool at the bead shop. It is a spring that you bend open. You then catch the strings you are working on, in the spring, and it stops the beads from escaping while you're working on the other end.

I started this string with five glass beads.

I then added five inexpensive white plastic beads as spacers.
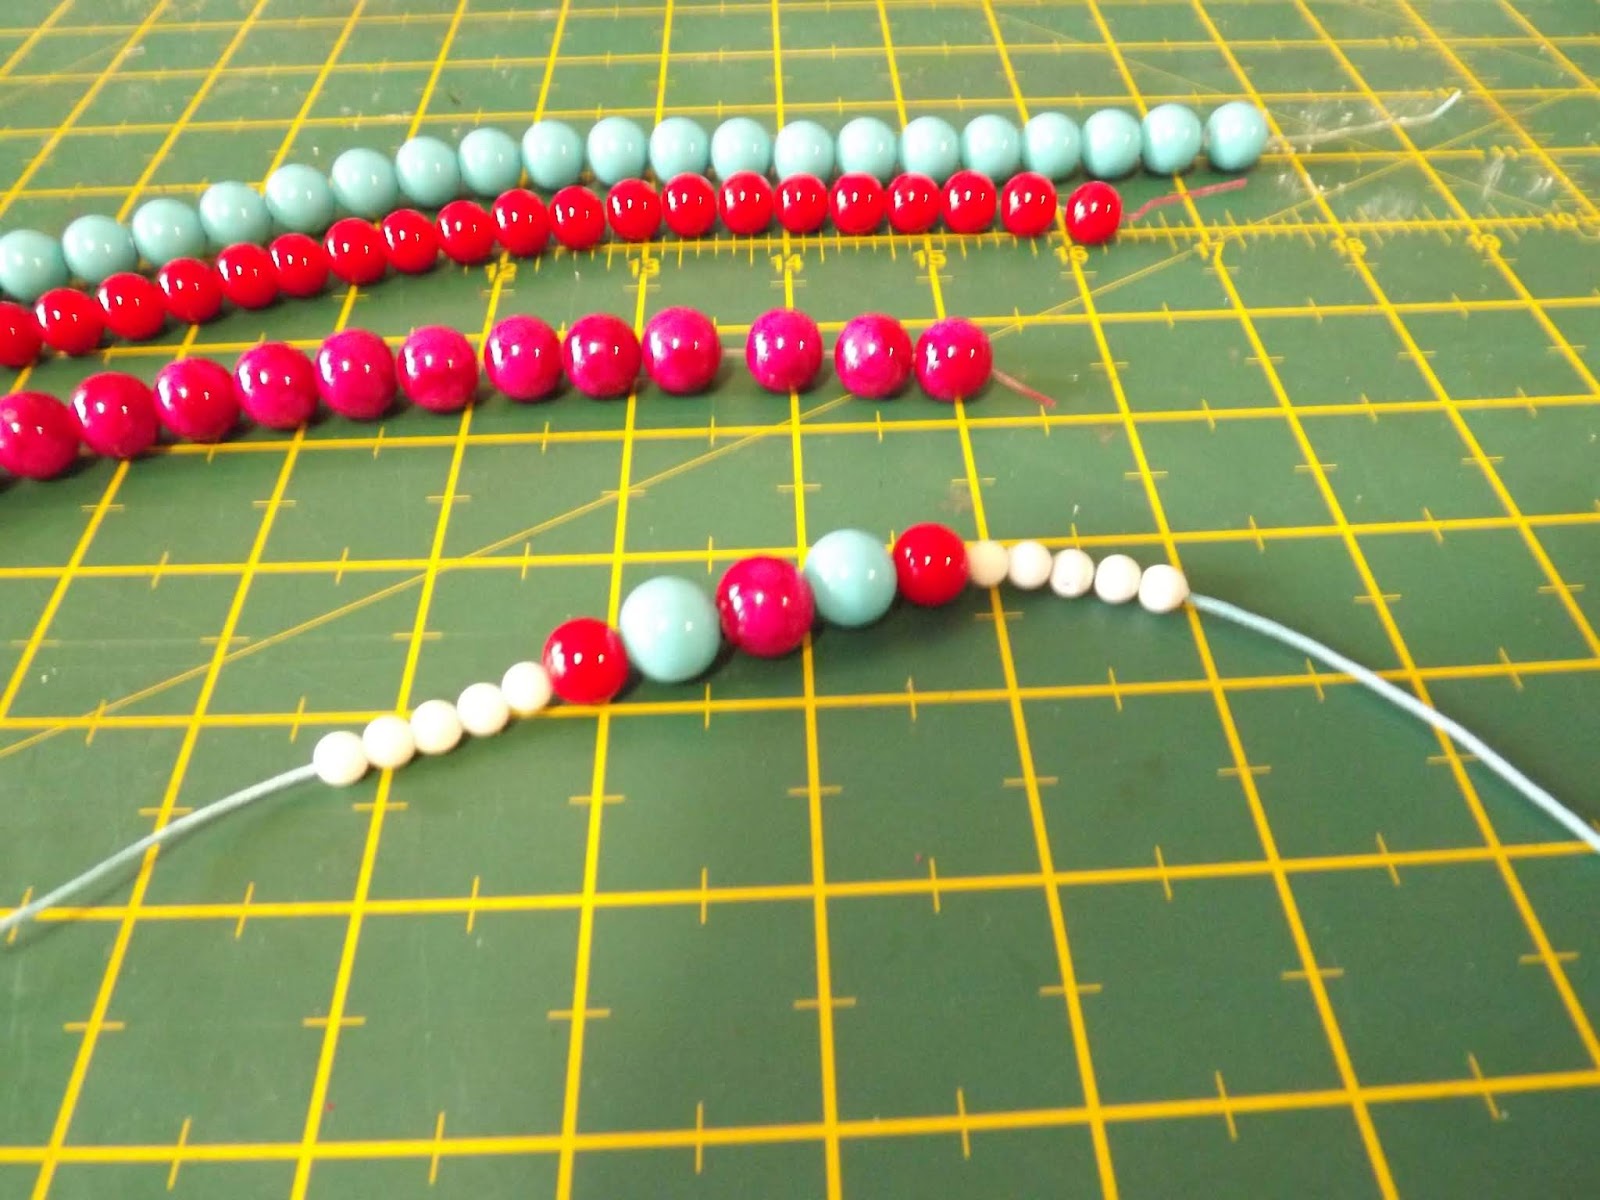
More glass beads and spacers were added.

I continued in this fashion. When I was done, I left the string aside, still undecided about binding all three strings together, or keeping them separate.

When I had made the net curtains for my lounge/studio, I had cut small pieces from the hem to get the curtains the required length. I retrieved one of these off-cuts from the fabric cupboard.

I've bought this collection of odds and ends from a wool shop a couple of months ago, not knowing what I would do with it. This seemed a good time to use these.

I cut the length in half and then used only a quarter of the 'bunch.' I tied this, along with the netting, together at one end, with an elastic.

I then divided the 'wool' in two strings and plaited this with the netting.

I cut the ends even.

Then I used a length of ribbon to tie the two ends together.

By this time, I had decided to keep the three strings separate. I tied knots in the other two strings.

What the strings look like when worn together, as intended. Although, nothing stops a person from wearing them separately either.

My mom's strings next to my own.
You can also watch a compilation video of the above steps on YouTube:
https://youtu.be/rXPHf7IJUzM
Marietjie Uys (Miekie) is a published author. You can buy my books here:
You can purchase Designs By Miekie 1 here.
Jy kan Kom Ons Teken en Verf Tuinstories hier koop.
Jy kan Kom Ons Kleur Tuinstories In hier koop.
Jy kan Tuinstories hier koop.
You can follow Miekie's daily Bible Study blog, Bybel Legkaart, here in English & Afrikaans.
You may prefer to follow the traveling blog, A Pretty Tourist.
For more crafty ideas and great product reviews, visit A Pretty Talent on Facebook.
If you are in a literary mood, follow Miekie's musings, stories and poetry on A Pretty Author - Miekie.
Remember to keep nurturing your TALENT for making life PRETTY.
You can subscribe to any of these blogs and receive regular updates by email. Simply register your email address at the top of the applicable blog.
No comments:
Post a Comment