
I start with a common masonite board. As masonite does not absorb as much paint as the MDF board does, I only need to treat it with gesso, instead of the universal undercoat that I used on the MDF board in the previous blog.

I opt to use Dala Acrylic Gesso and cover the whole board with this.

When the gesso is dry, I paint the board Red using Dala Craft Paint.

As soon as the craft paint is dry, I coat the board with crackle medium and leave it to dry for 24 hours.

When the crackle medium is dry, I apply a coat of Dala Craft Paint in Turquoise. The cracks start to show almost immediately.

These cracks will widen and become more pronounced as the paint dries. The surface preparation is now done and we can start concentrating on painting some cute designs on the board.

I prepare a stay-wet palette for today's painting. This help to keep the paint fresh for longer, giving me the opportunity to finish the work before the paint dries on my palette. I have blogged about preparing a stay-wet palette before and you can read all about it here.

I will be using Dala Craft Paint for the project, but you could also try these techniques with acrylic paint, chalk paint, or blackboard paint.

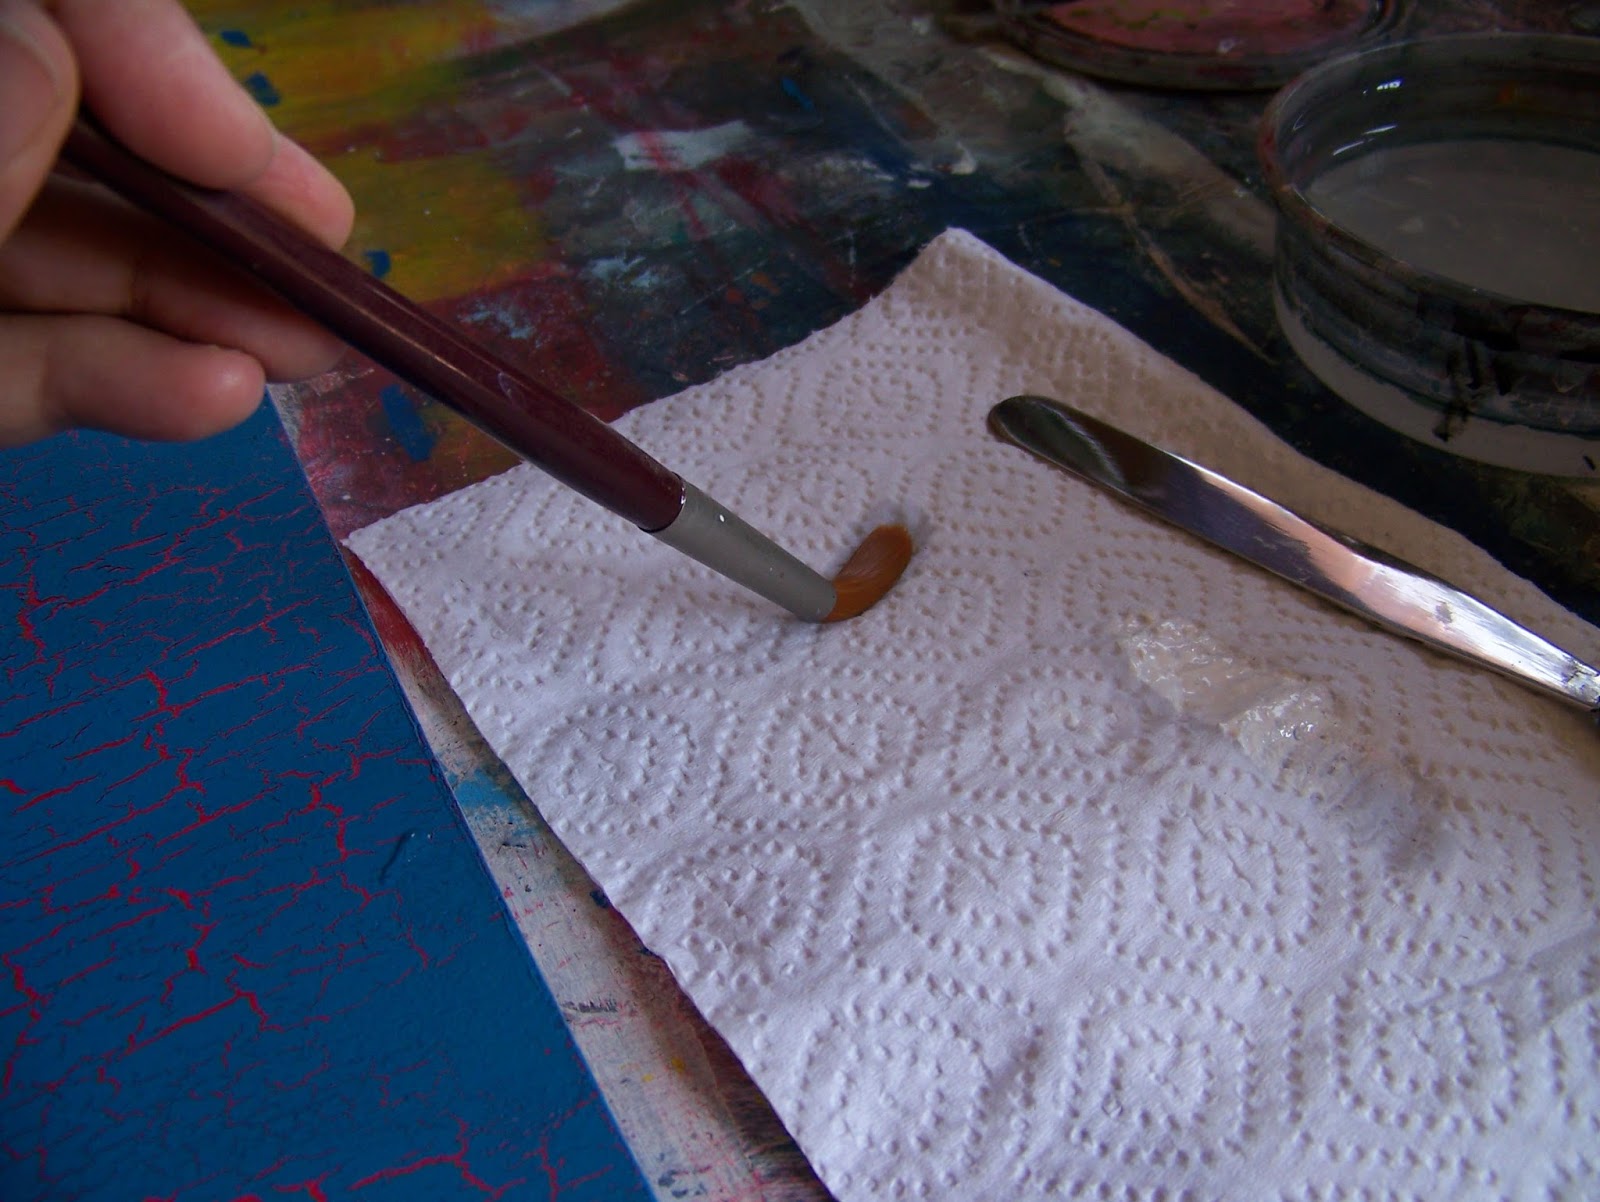
Keep a paper towel handy, as you will need to wipe your brush to clear the secondary colour, before dipping into the primary colour again. This action will be repeated numerous times.

Find yourself a good round brush. A no 6 will probably be a good size. I aim to make rather large flowers and use a no 11.

Dip the brush in water to separate the bristles.

Dab on the paper towel to clear the excess water.
Dip into your primary colour, loading the brush almost up to the shaft. Make sure the brush is loaded on all sides. Do not roll the brush in the paint, as this will cause the bristles to twist.

Dip the point of the brush into the secondary colour.

Lay the brush flat on the surface, pressing down, allowing the bristles to open up. Pull the brush in a semi--circular motion, making a stroke resembling a comma. Keep the pressure on the brush, until the stroke is complete. Lift away.

A completed flower.

I paint one large flower in each corner.

I select the colours for my foliage and load my brush with the primary colour, as I did before.

I dip the point of the brush in the secondary colour.

I repeat the same brush stroke to paint the leaves.

Only the grouping of the strokes creates a difference in appearance from the flowers.

I then dip into a single colour and repeat the same comma stroke to anchor the leaves.

My leaves now have a bed to spring from.

I use a rigger, also called a liner, to paint yellow lines that will connect the elements. I then dip into white and highlight these lines in a few places.

I bring yet another colour into the design when I use my rigger to cross-hatch the beds of the leaves.

I paint circles inside the centers of the flowers and then cross-hatch these centers with the rigger.

I then paint collections of dots with the rigger in the primary colour of the flowers.

I make more dots with the rigger in the secondary colour used in the flowers.

My board is now complete. In the next blog, I will show you what I did with this board to put it to practical use.

Marietjie Uys (Miekie) is a published author. You can buy the books here:
You can purchase Designs By Miekie 1 here.
Jy kan Kom Ons Teken en Verf Tuinstories hier koop.You can purchase Designs By Miekie 1 here.
Jy kan Kom Ons Kleur Tuinstories In hier koop.
Jy kan Tuinstories hier koop.
For more crafty ideas and great products, visit A Pretty Talent on Facebook.
Remember to keep nurturing your TALENT for making PRETTY things.
You can subscribe to this blog and receive regular updates by email by simply registering your email address at the top of the current blog.
No comments:
Post a Comment