
I started painting an empty coffee bottle in a previous blog when I discussed Dala Blackboard Paint in general. I left the bottle as is, but returned to this half-painted bottle for today's blog.

In the previous blog, I had painted the plastic lid of the bottle with a single coat of Dala Blackboard Paint, even though they do not lay claim to the fact that the paint will adhere to the plastic. I had to scratch the paint with my nail to get it to come off. That is good enough for my intended purpose for the bottle and I decide to continue as is. If your bottle will be subjected to continuous use, I suggest you first treat the lid with Universal Undercoat, let it dry, and then paint the Dala Blackboard Paint on the treated surface.

I gave the lid a second coat of paint and left it to dry.

I then turned my bottle upside down to make it possible to reach all the areas that needed painting and gave the bottle an overall first coat of paint. The colour I am using is Dala Blackboard Paint Navy.

The lid got a third coat of paint once it was dry.
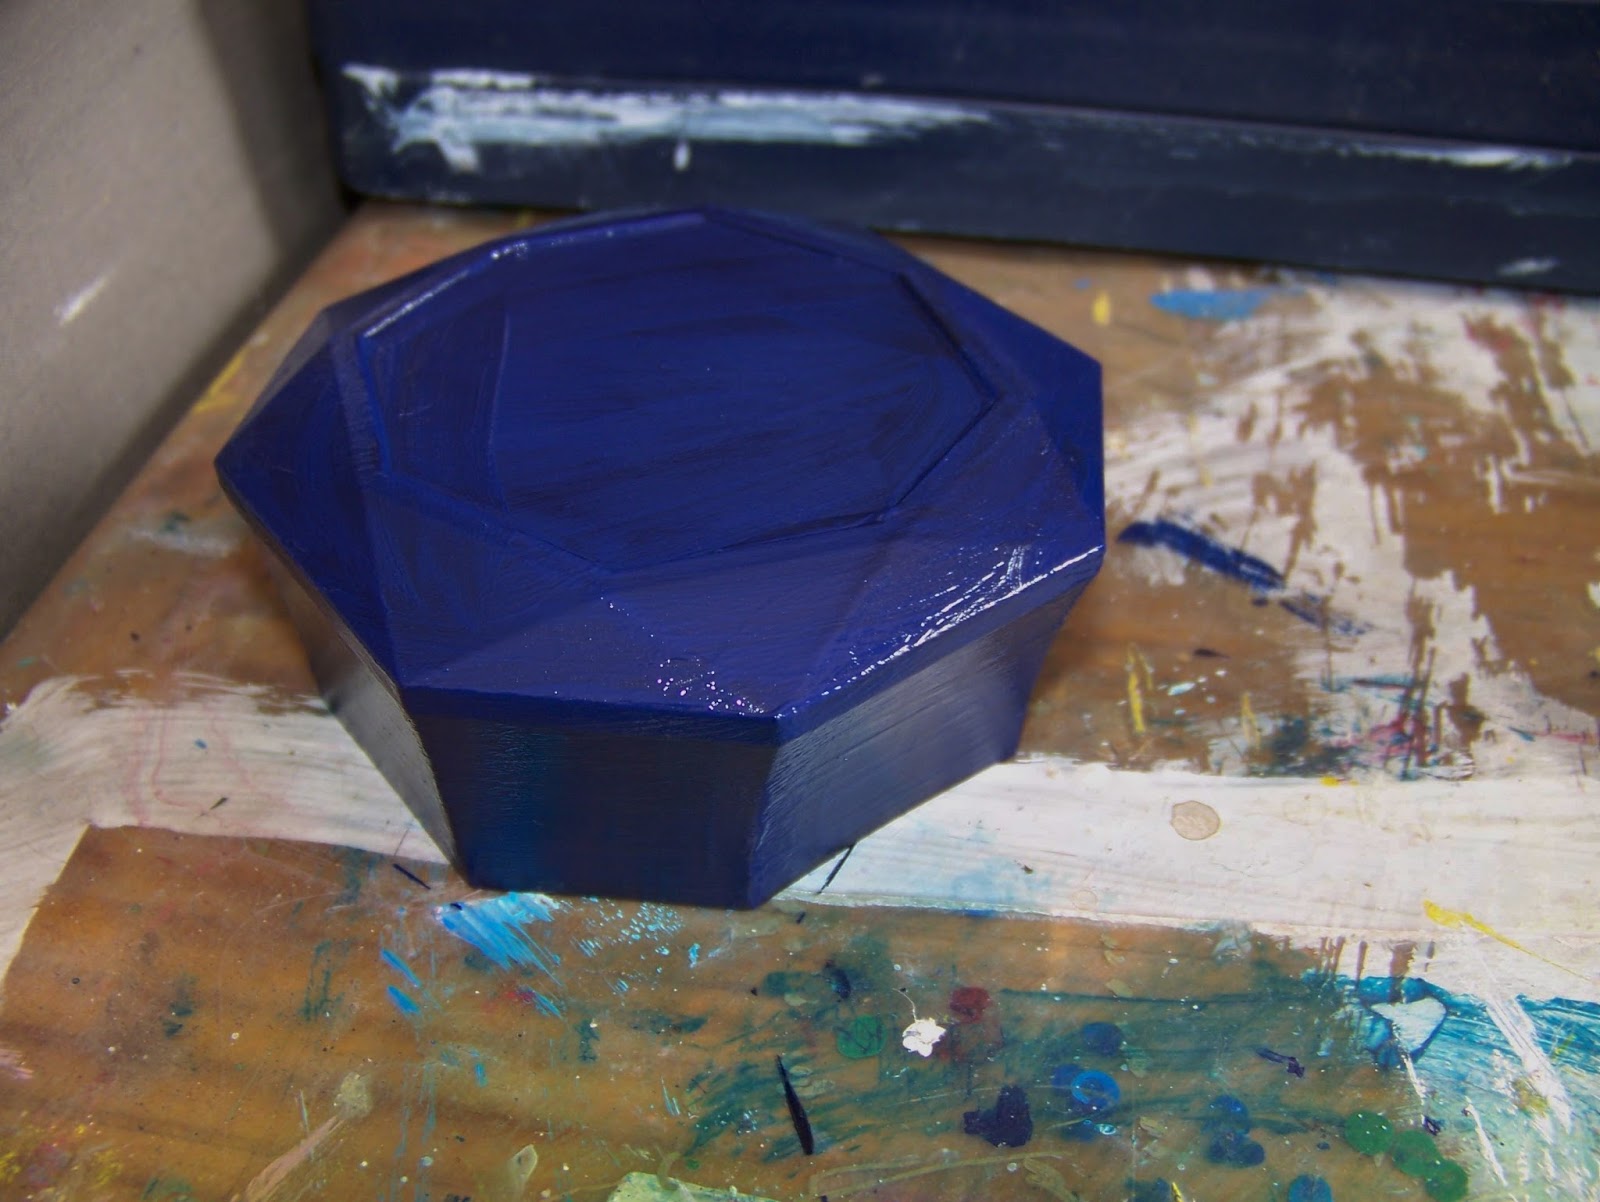
The bottle received a second coat of paint once it was dry.

Once these last coats were dry, I found that there was no need to apply a third coat to the bottle and screwed the lid on. That is a perfect colour match, allowing me to continue with the fun bits.

I use a round no 6 brush. Dip only the tip of the brush in Light Blue Blackboard Paint. Make tiny dots on the bottle by gently touching the tip to the bottle. I do this on all four sides of the bottle.

I use the same brush to paint the petals of the flowers. This time I use Pink Blackboard Paint. Starting a little ways away from the dot, gently touch your brush to the bottle and lift it up pulling it away from the dot. Make a petal at the top, then one opposite it at the bottom. At right angles to these, two petals follow to the right and left. Then add a petal in each of the quarters, ending up with eight petals to each flower.

Continuity and repetition is key to the success of this simple design.

I use Light Grey Blackboard Paint to make a lazy S swirl on the corners of the bottle. Once again I load only the tip of the brush and work with swift, but accurate movements. Wavering and hesitating will cause blotches. Practice on a piece of paper if you feel uncertain about the stroke, before attempting it on the actual bottle.

I then alternate small blue and pink dots at the swirls.

This is what the finished product looks like. However, Blackboard Paint is intended to be written on with chalk. This means that I can change the contents of the bottle and simply wipe the old label to write a new one, as often as I like.

The fact that even my decorations are painted using Blackboard Paint, means that I can write the labels over the flowers and the chalk will still stick to it.

The label simply wipes away with a soft cloth when it is necessary to change the contents. Versatile indeed!

Marietjie Uys (Miekie) is a published author. You can buy her books here:
You can purchase Designs By Miekie 1 here.
Jy kan Kom Ons Teken en Verf Tuinstories hier koop.You can purchase Designs By Miekie 1 here.
Jy kan Kom Ons Kleur Tuinstories In hier koop.
Jy kan Tuinstories hier koop.
For more crafty ideas and great products, visit A Pretty Talent on Facebook.
Remember to keep nurturing your TALENT for making PRETTY things.
You can subscribe to this blog and receive regular updates by email by simply registering your email address at the top of the current blog.
No comments:
Post a Comment