
Cutting the fabric
I start by laying out the main body of the bag and the sling.

The outside pockets are cut from a coordinating fabric.

I then cut the pieces from lining.

The inside pockets are cut from coordinating lining to make the inside a little more interesting.
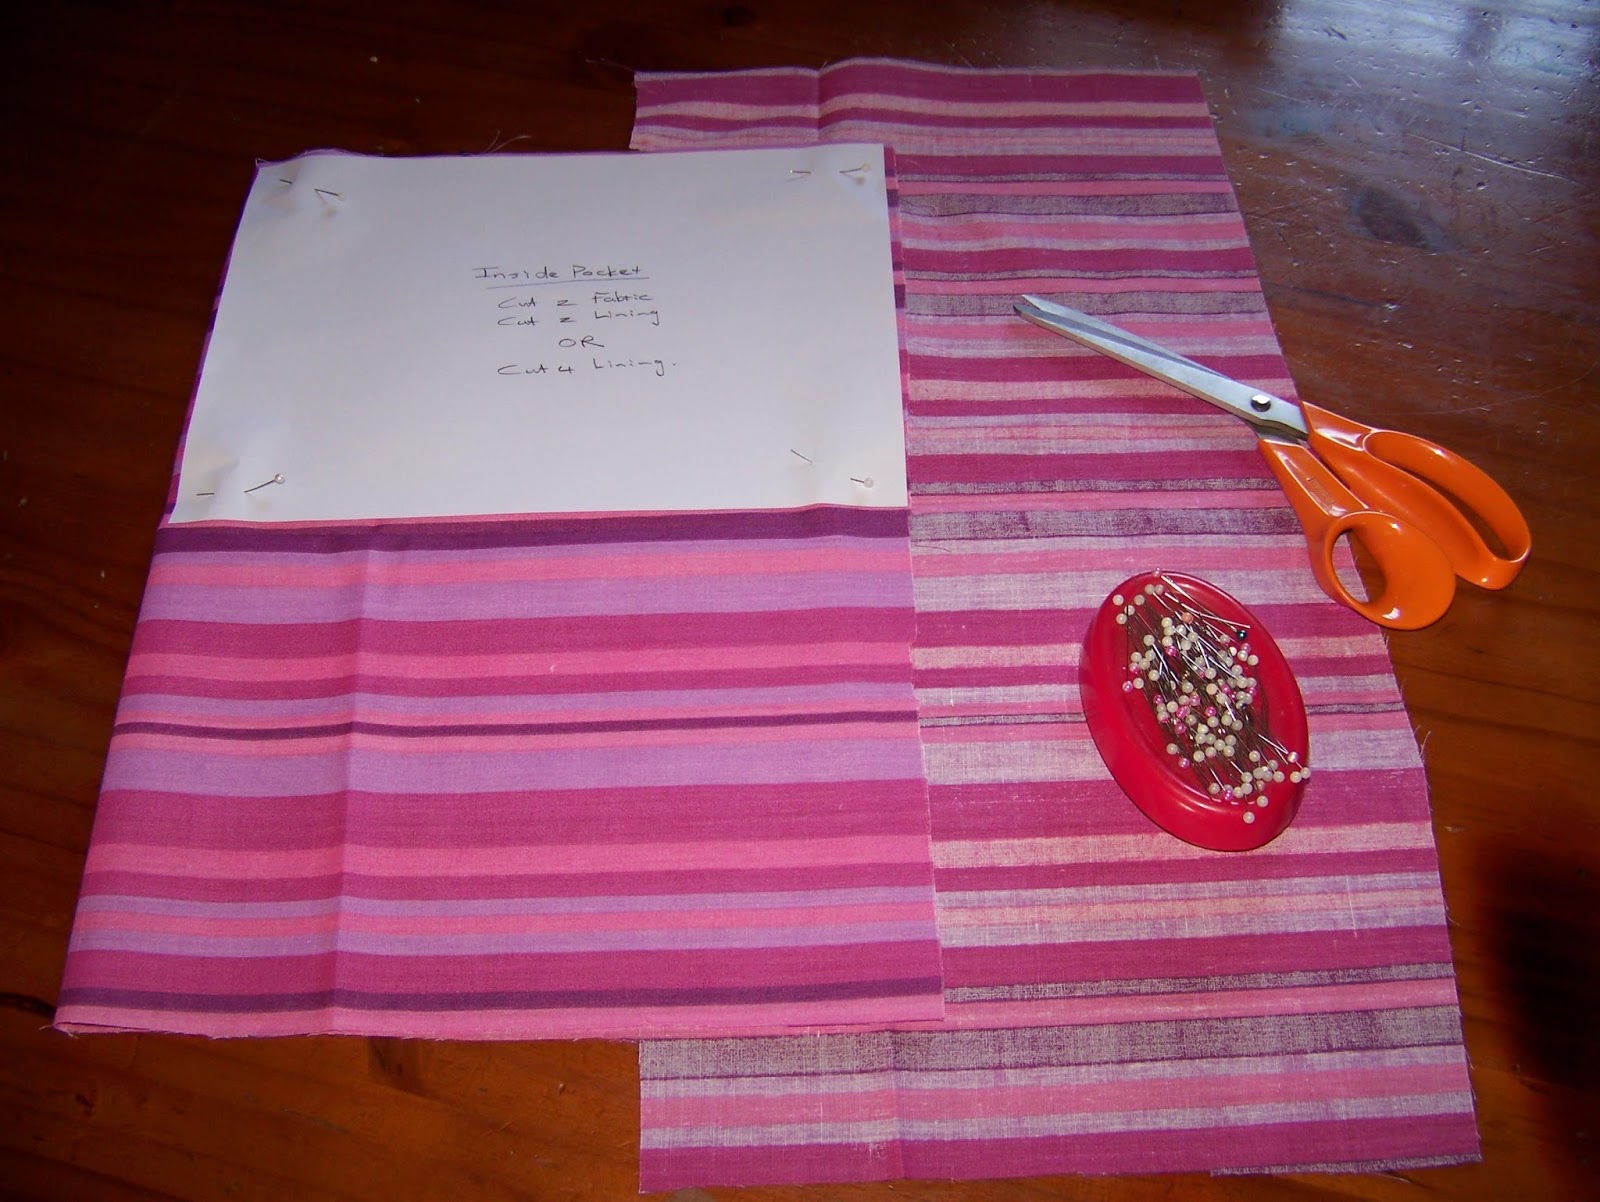
I then cut the divider from very stiff vilene to give it a bit more body.

The sling
Sew the parts and ends of the sling together so that the sling becomes one large circle of fabric.

Iron the seams open.

Fold the sling in half and iron flat.

Open the sling and fold the sides in to meet at the center fold line.

Iron flat.

Fold in half again, on the original fold line and iron flat.

The Divider
Lay the pieces for the divider with right sides facing on top of each other and sew along the top.

Iron the seam open and iron the stiff vilene onto one side.

Fold the other side over and iron the seam flat.

Sew all wound the four sides of the divider at 10 mm seam allowance.

Trim the vilene away where it protrudes at the bottom.

Measure and pin a length of wide elastic to the divider. Pin at 11 cm intervals.

Double stitch the intervals and the sides of the elastic, securing it to the divider.

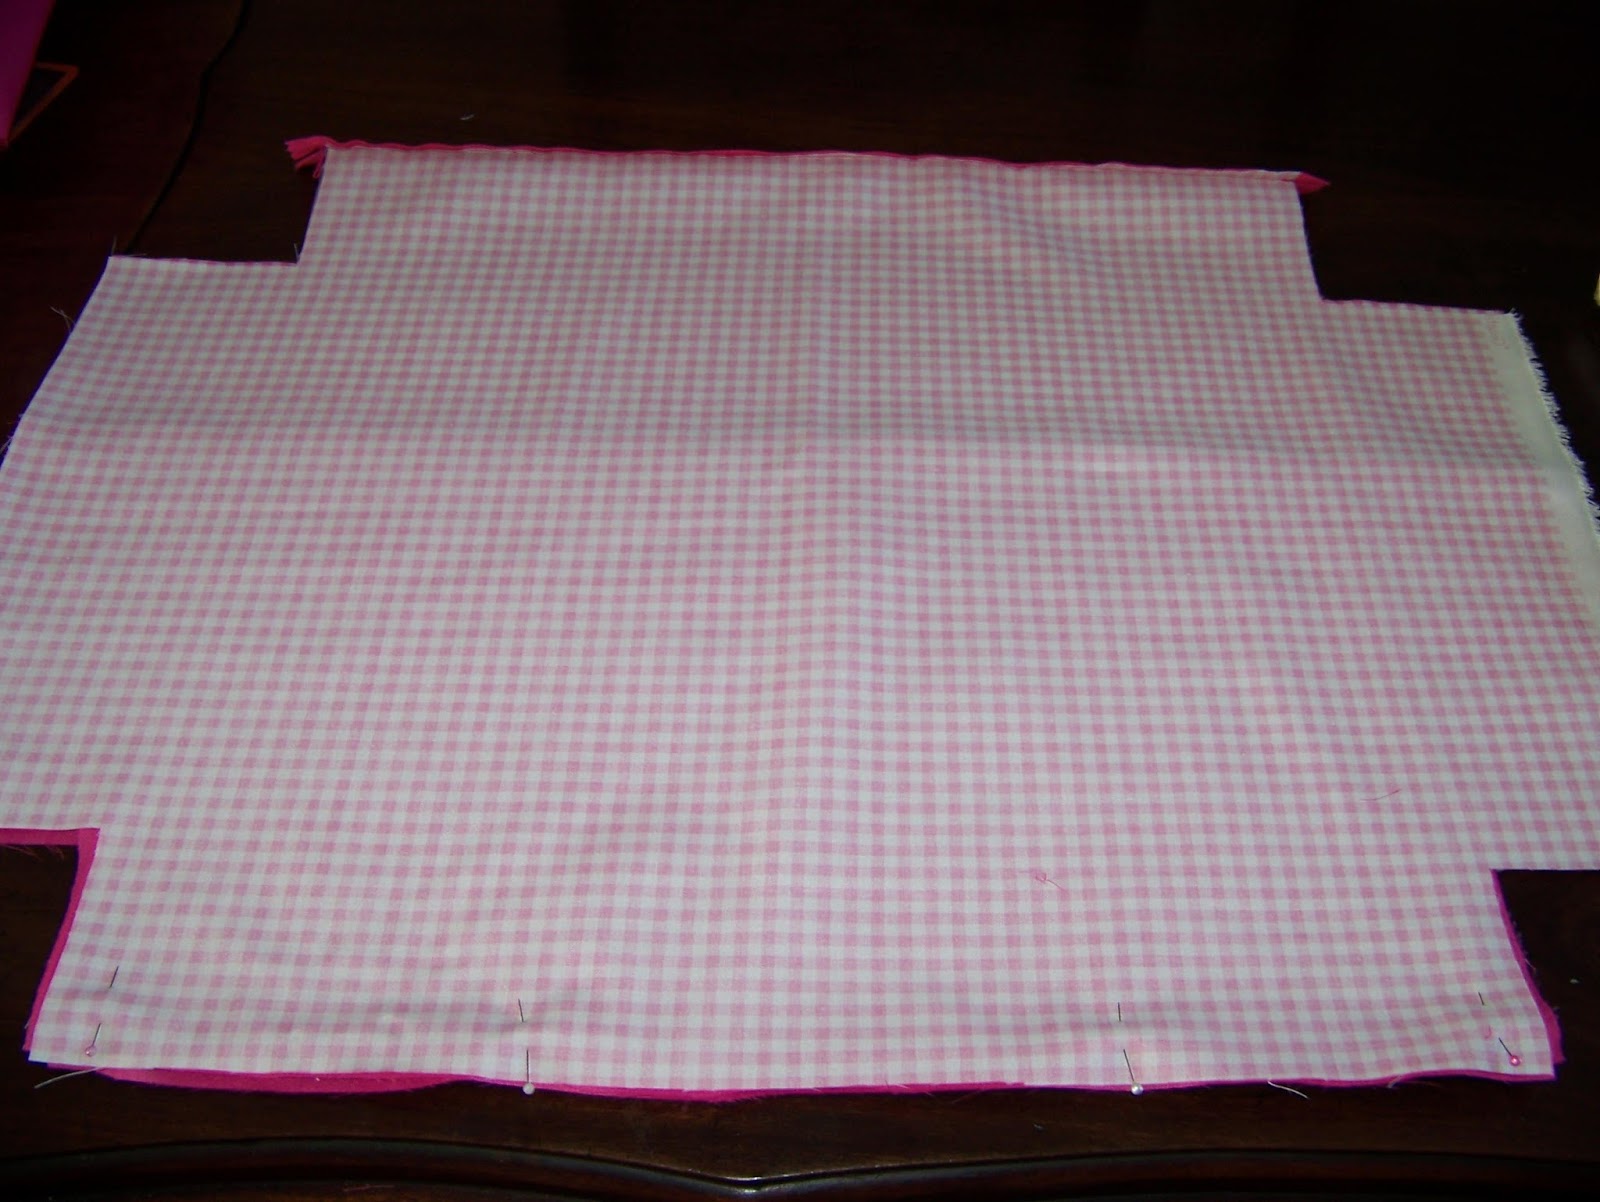
The Inside Pockets
Lay the pockets right sides facing on top of each other. Sew all around the four sides of the pockets, leaving only a small gap to turn the pockets right side out.

Remember to leave the gap.

Notch the corners.

Turn the pockets right side out and iron flat. Fold the seam of the open space in before ironing.

Pin the pockets to the main lining.

Sew the pockets on three sides to the lining, leaving only the top open.

I sewed down the center of one of the pockets, dividing it into two smaller pockets, leaving the other one the original size.

Constructing the Lining Bag
Lay one of the main linings flat on the work surface. Line the divider up at the bottom with the lining.

Lay the other lining face down on top of the divider, lining them up at the bottom. Pin all the layers together at the bottom.

Sew the bottom of the lining.

Pin the sides of all the layers, including the divider.

Sew the sides.

Fold the corners flat and pin them.

Sew up to the divider from the sides.

Fold the corners at the top and pin them.

Sew from the middle to the sides.

Once you have sewn all four corners, you will have finished the construction of your lining and you can put it aside.

The Outside Pockets
Lay the outside pockets and its lining with right sides facing. Pin at the top.

Sew the top. Iron the seam open and then fold the lining over and iron the seam flat.

Top stitch the top of the outside pocket at 10 mm.

The Zipper
Line the zipper up with the top of the main bag. Pin in place.

Sew as close to the zipper as possible.

Pin the other side of the zipper.

Sew as close to the zipper as possible.

The Bottom of the Bag
Lay the main bag open on your work surface with the right side facing up. lay one of the outside pockets in place with the right side facing up. Line them up at the bottom.

Lay the remaining outside pocket on top of the first facing down. Line up at the bottom.

Fold the other side of the bag over and line it up at the bottom facing down. Pin all the layers.
Sew all the layers together at 15 mm. Open the zipper.

Iron the bottom seam open and baste by sewing just next to the seam on both sides to strengthen the seam.

Attaching the Sling
Fold the ironed seam in quarters.

Fold the seam around the bag as shown and pin it in place.

Top stitch all along the edges of the sling.

Do not cross in to the path of the zipper, or it will not be able to open and close.

You will need to sew the tops and bottoms of the sling separately. The sling divides the outside pockets into 6 smaller pockets. Make sure your zipper runs smoothly before continuing, but leave the zipper open still.

Constructing the Bag
Pin the sides of the bags with the pockets sandwiched in between.

Sew at 1,5 cm.

Pin the corners at the bottom of the bag, sandwiching the pockets in between.

Sew right through from end to the other. There are no dividers or openings to look out for here.

Pin the corners at the closed side of the zipper.

Sew right through and over the zipper to the other end.

Pin the open side of the zipper next to each other. Pin the corners. Sew over the zipper and to the other end.

Turn the bag right side out.

Attach the Lining
Slip the lining into the bag.

Pin the lining to the zipper, folding the seam in.

Sew the lining to the zipper by hand for the tidiest finish.

This travel bag will be able to take everything I need and a whole lot of what I want. What I like best, is that I can fold it up and store it in a tiny space when I am not using it.

Marietjie Uys (Miekie) is a published author. You can buy her books here: You can purchase Designs By Miekie 1 here.
Jy kan Kom Ons Teken en Verf Tuinstories hier koop.Jy kan Kom Ons Kleur Tuinstories In hier koop.
Jy kan Tuinstories hier koop.
For more crafty ideas and great products, visit A Pretty Talent on Facebook.
Remember to keep nurturing your TALENT for making PRETTY things.
You can subscribe to this blog and receive regular updates by email by simply registering your email address at the top of the current blog.
No comments:
Post a Comment