
I want to use the peplums of the top on version C of this pattern and turn them into a wide collar for another jacket. Truth is that my client did not like the way the peplums looked on her once she fitted the top we made in a previous blog. I then removed them from that top and made version B of the pattern instead, which she loved. I suggested we use the peplum as a collar with another pattern and she loved it!

This is the jacket I want to add the collar to. However, I am also going to make it a short sleeved jacket and I will not be lining it, so it is more suitable for Summer.

I did not bother with taking new photos. but simply copied the steps from the previous blog here. I start with the first peplum and lay the pattern piece out as instructed by the pattern info.
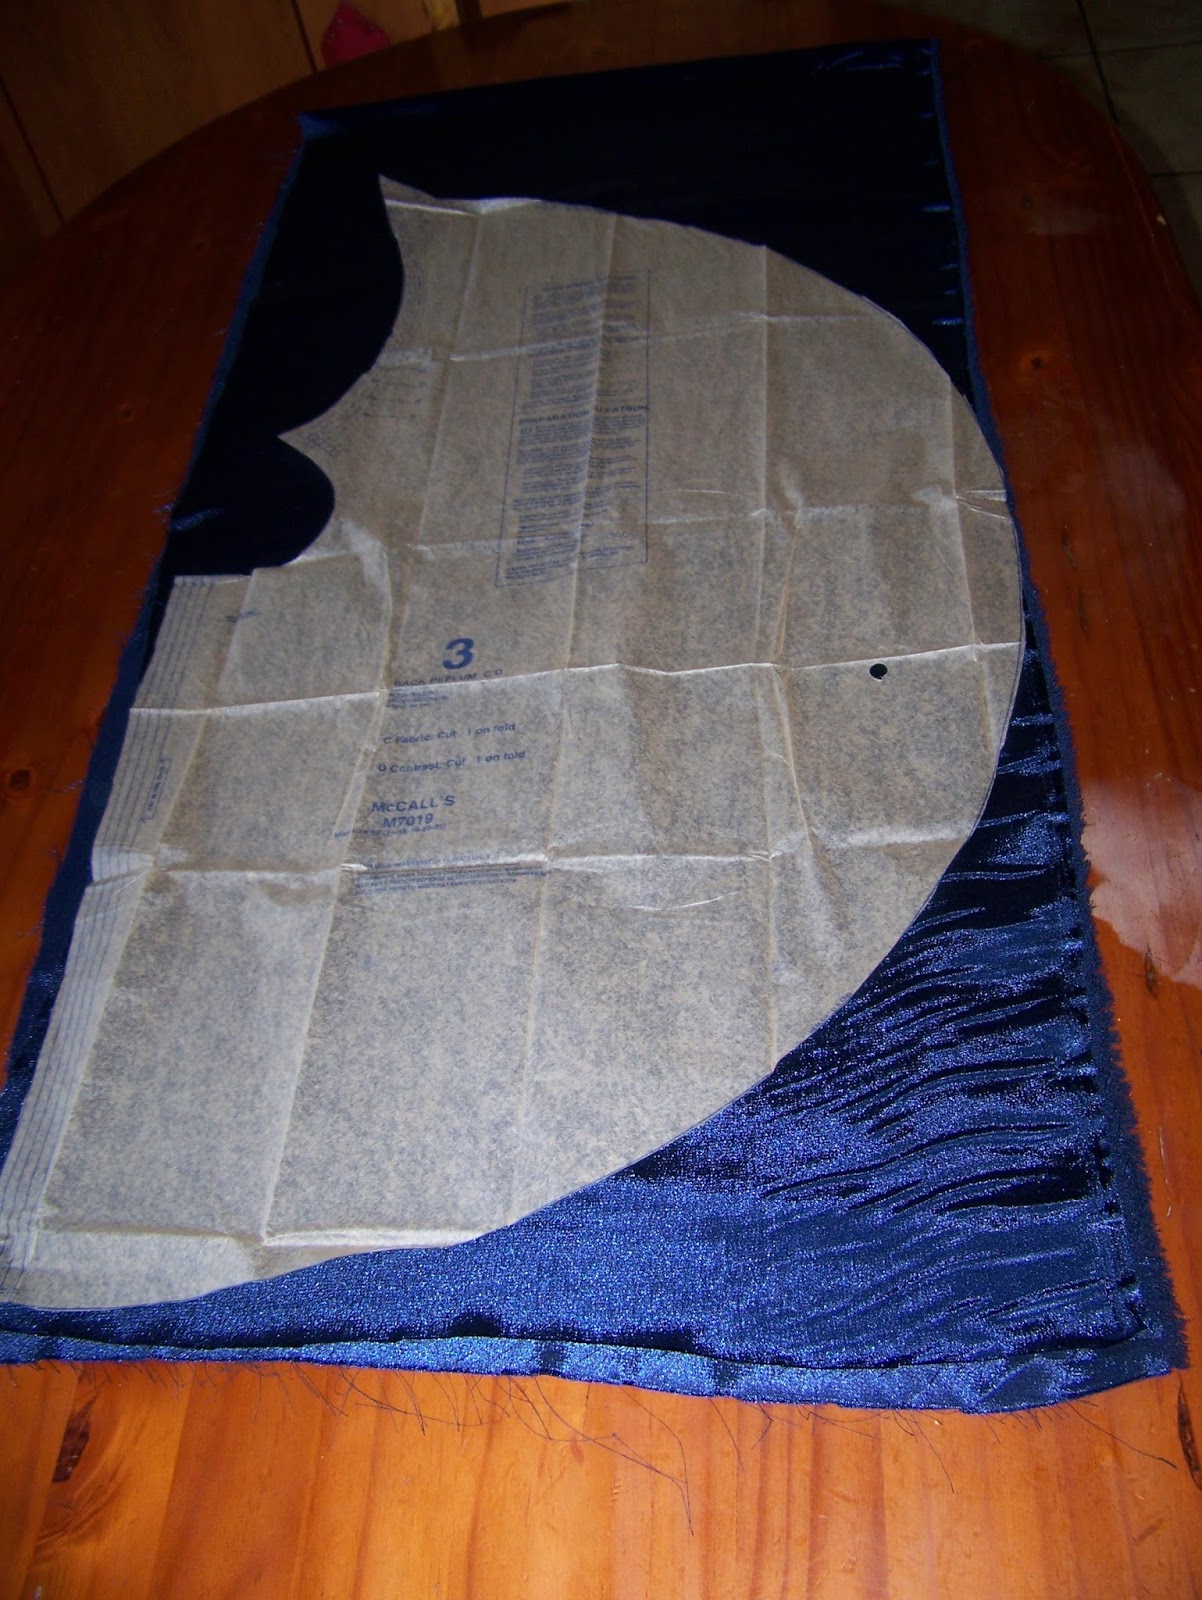
I pin the pattern to the fabric and cut along the pattern lines.

I do the same thing with the other peplum.


A staystitch is sewing about 10 mm away from the edge. It firms the fabric a little, making it easier to work with.

I then overlock the hem, fold it over and pin it in place. Then I sew as close as possible to the edge as the curve of the pattern does not allow for large hems.

I then return to the instructions.

The second peplum is treated exactly as the first. First I staystitch the top edge.

Then I overlock, fold, pin and sew the hem. I am not going to repeat this for every step, but know that for every step of this pattern, I started off by overlocking/zigzagging the edges of the fabric.

Instructions.

I pin the top peplum to the bottom peplum as instructed.

To baste simply means that you sew pieces together that will later be attached to another piece. It makes it easier to attach the first pieces to the other later. I sew along the edges of the upper peplum, approximately 10 mm from the edge.

I will turn these constructed peplums into a collar for my altered jacket.

I take a look at the instruction sheet to see which pattern pieces I will need.

Having identified all the pattern pieces for the jacket, I separate the ones I will be using from the ones I will not be using. The lining pieces are therefore not included in my selection.

I then lay the pattern out on my chosen fabric before cutting it out.

The shortened sleeve is also laid out and cut out.

The front facing and back neck facing has to be cut from vilene and I do this.

The vilene is ironed onto the fabric pieces.

I staystitch the back neck by sewing 10 mm away from the edge.

I then pin the front facings and back neck facing at the shoulders.

I sew the shoulder seams at 1,5 cm.

Then I pin the fronts to the back at the shoulders.

These two seams are also sewn at 1,5 cm.

Next I pin the sleeves to the arm openings.

The sleeves are sewn at seam allowance 1,5 cm.

I then start at center back, lining the 'collar' up with the bodice of the jacket and pinning it in place.

I then pin the facings to the collar and bodice with the right sides facing.

Starting at the hem on one side, I sew all round the neck to the hem on the other side at seam allowance 1,5 cm.

I cut notches at all the curves. At this stage, I turn the facing in and iron it flat.

I then pin the sides together, including the seam of the sleeve.

I sew from the sleeve right through to the hem at 1,5 cm.

I pin the hem of the jacket.

Sew the hem of the jacket.

Pin the hems at the sleeves.

Sew the hems at the sleeves. Iron all the seams open or flat.

The front of the completed jacket. This time the client was very happy with the results.

The jacket from the back.

Marietjie Uys (Miekie) is a published author. You can buy her books here: You can purchase Designs By Miekie 1 here.
Jy kan Kom Ons Teken en Verf Tuinstories hier koop.Jy kan Kom Ons Kleur Tuinstories In hier koop.
Jy kan Tuinstories hier koop.
For more crafty ideas and great products, visit A Pretty Talent on Facebook.
Remember to keep nurturing your TALENT for making PRETTY things.
You can subscribe to this blog and receive regular updates by email by simply registering your email address at the top of the current blog.
No comments:
Post a Comment