I use this pattern by McCall's to cut the top from.
I am going to be making option B and find the pattern pieces required.
I lay the pattern out on the fabric. I shall have to cut the yoke twice on the fold and check to make sure that I will be able to fit it in. I am happy to find that it does.
Then my client informs me that she does not like sleeveless tops and I take the yoke out. I take the long sleeve that goes with the jacket in this pattern envelope. I fold it in to form a short sleeve and put the sleeve in the place of the yoke. My client and I agree that I should cut the yoke from a coordinating fabric.
The top is tacked in a number of places and I decide to tack the sleeve as well to make it fit the design. I therefore make the sleeve much bigger where it fits into the armhole.
I then fold it over to make sure the two seams will fit on each other. I had to cut one side shorter.
My client liked this fabric I had available in my stash to cut the yoke from and I laid the yoke out on this fabric. This time I did not need to fold the pattern to get it to fit on the fabric.
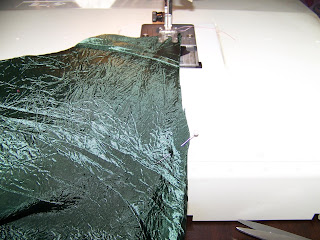
I start the sewing process by pinning the center front of the shirt up to the V-opening of the neck.
I then sew the pinned seam at 1,5 cm.
I then fold the neck in and pin the seam on the V.
I sew very slowly to get a neat seam at the prominent neck line.
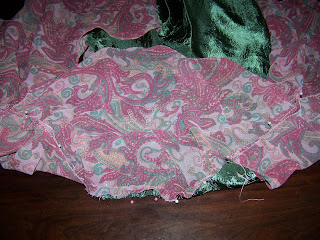
I then lay the yokes on top of each other with right sides facing and pin them at the neck opening.
The yoke is sewn at the pinned seam.
Time to cut notches in the seam.
Then I fold the yoke over and iron it flat.
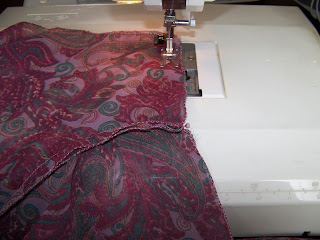
I set my sewing machine to tack.
I tack the front panel at the shoulder seams.
I tack the back panel at the top seam.
I then pin the shoulders of the front to the yoke. Make sure you catch only one layer of fabric on the yoke. The fabric should lie on top of each with right sides facing.
Sew the front shoulders to the yoke.
Pin the back panel to the yoke, right sides facing.
Sew the back to the yoke.
Progress photo. The top is starting to take shape.
I set my machine to tack again and tack only the rounded mounds on the sleeves.
Pin the sleeves to the arm holes. The longer side is the back of the sleeve and is pinned to the back of the top.
Sew the sleeves to the top.
Pin from the arm opening on the sleeve all the way down the side seam of the top to the hem.
Sew the pinned seams on both sides of the top.
Pin the hem at the bottom of the top.
Sew the hem.
Pin and hem the sleeves.
Turn the sleeve inside out. Fold the inner yoke in at the seams. Fold the seams into the yoke. Pin in place.
Sew the yoke by hand.
You now have a very pretty top to add to your wardrobe.
Marietjie Uys (Miekie) is a published author. You can buy her books here:
You can purchase Designs By Miekie 1 here.
Jy kan Kom Ons Teken en Verf Tuinstories hier koop.You can purchase Designs By Miekie 1 here.
Jy kan Kom Ons Kleur Tuinstories In hier koop.
Jy kan Tuinstories hier koop.
For more crafty ideas and great products, visit A Pretty Talent on Facebook.
Remember to keep nurturing your TALENT for making PRETTY things.
You can subscribe to this blog and receive regular updates by email by simply registering your email address at the top of the current blog.


No comments:
Post a Comment