
For a nice sturdy base, I cut apart a six liter milk carton and use the large flat sides.

This is then painted in the color of the child's choice. We used acrylic paints for this project, but you can use any craft or water-based paint with equal success. My color choice fell on Fluorescent Rose.

Use a large flat brush and cover the whole background with this color.

You will need a pair of scissors and an egg carton for the next step.

Assist the kids to cut two egg spacers apart from the rest of the carton.

Punching out the bottoms of the cartons is optional.

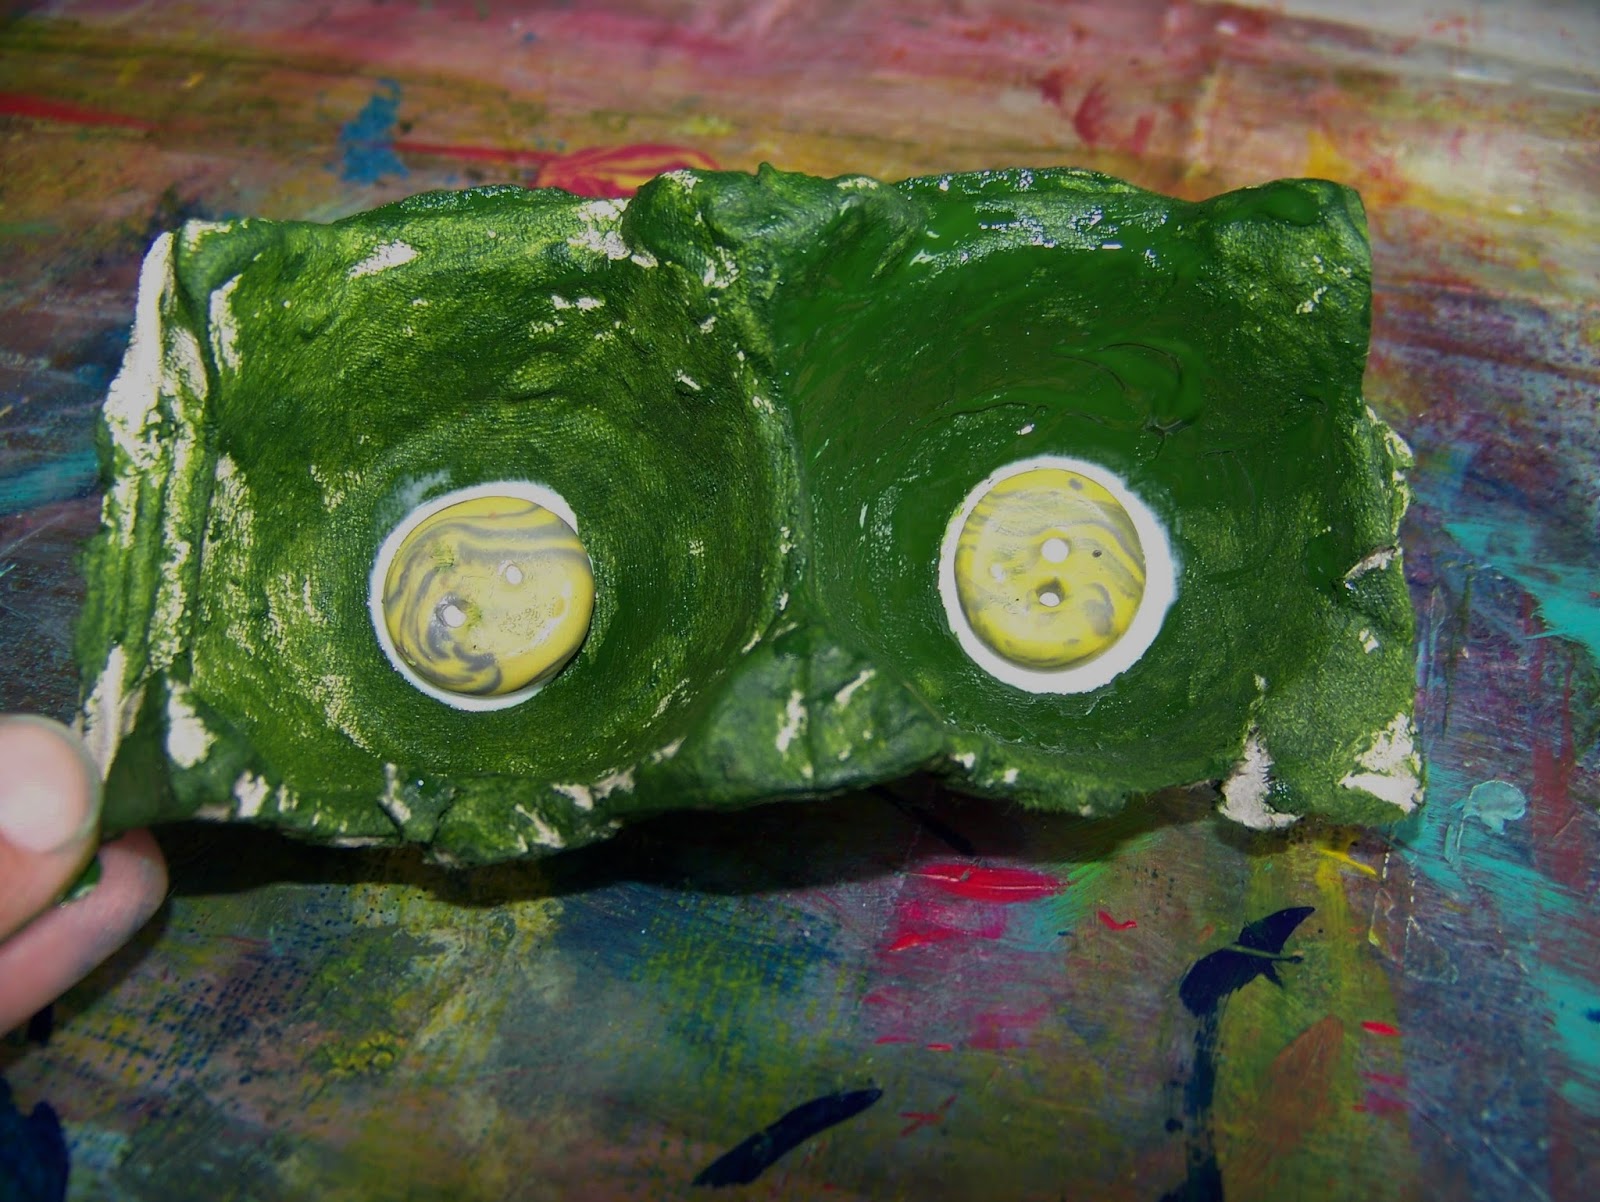
My choice of color for the mask fell on Cadmium Yellow.

Paint the front and back of the egg carton.

For my own example project, I stuck the mask in place before I added the drawing. With the kids, I already knew how much space I had available and let them do the drawing first, sticking the mask down in the last step.

I've had these handmade buttons lying around the house for years. They were baked from Fimo clay, but you can use any buttons, beads or eyes for the project.

Making sure that the paint is completely dry, I was ready to use a black Sharpie marker to draw the cat with.

For the younger kids, I would only make a dotted line so that they could trace and draw the cat themselves. Older kids can copy the lines from the example. Point out the shapes to them verbally, or by drawing along on a separate piece of paper, e.g. the head is a circle, the ears are triangles, etc.

Lay down some glue dots for the buttons.

I once again used those old clay buttons that were cluttering up my space.

As a final, optional step, I added some detail to the button line, mouth and ears. I now had an example to show the kids so they could make their own.

Mixing colors for projects with kids is always a great idea as this will help them to understand at a young age already how color comes to be. In this case we simply mixed a lighter shade of blue, but the kids found it very interesting and entertaining.

Allow them to paint their own backgrounds, encouraging them to fill the whole page. In exercises like these you can often pick up on learning disabilities where kids will not be able to cross the center line, or work right to the edge. If the problem persists, have it checked out by a qualified person. Do NOT make the child feel inadequate or guilty for not being able to perform to your standards.

While the backgrounds are drying, the kids can paint the egg cartons and glue the eyes in place.

I draw the dotted outline of the cats for the kids.

They then trace the outline.

And the result shows their uncertainty with handling pens still, but it is a really good exercise that was executed beautifully. Well on par with the age group.

This is the outline for the younger child.

I was too late to catch her in the act, but managed this sneak pic of her critically surveying the outcome of her work.

And excellent work it is!

They then stuck their masks and buttons onto the cats.


Lastly, they were given free reign to draw their own whiskers onto the faces.


Job well done!

For more crafty ideas and great products, visit APrettyTalent.com.
Remember to keep nurturing your TALENT for making PRETTY things.
You can subscribe to this blog and receive regular updates by email by simply registering your email address at the top of the current blog.
No comments:
Post a Comment