
In this card the focal point is a very subtle one. I find an embossing plate with a rose design on it. Using my embossing tool, I then proceed to emboss a small red cutoff piece of cardboard, approximately 13 cm x 8 cm.

If you feel the design is too subtle, you may want to rub a an ink pad over it. The ink will only touch the raised areas, giving a second colour to your embossed design and making it slightly easier to see. I was satisfied with the results and chose not to go this route.

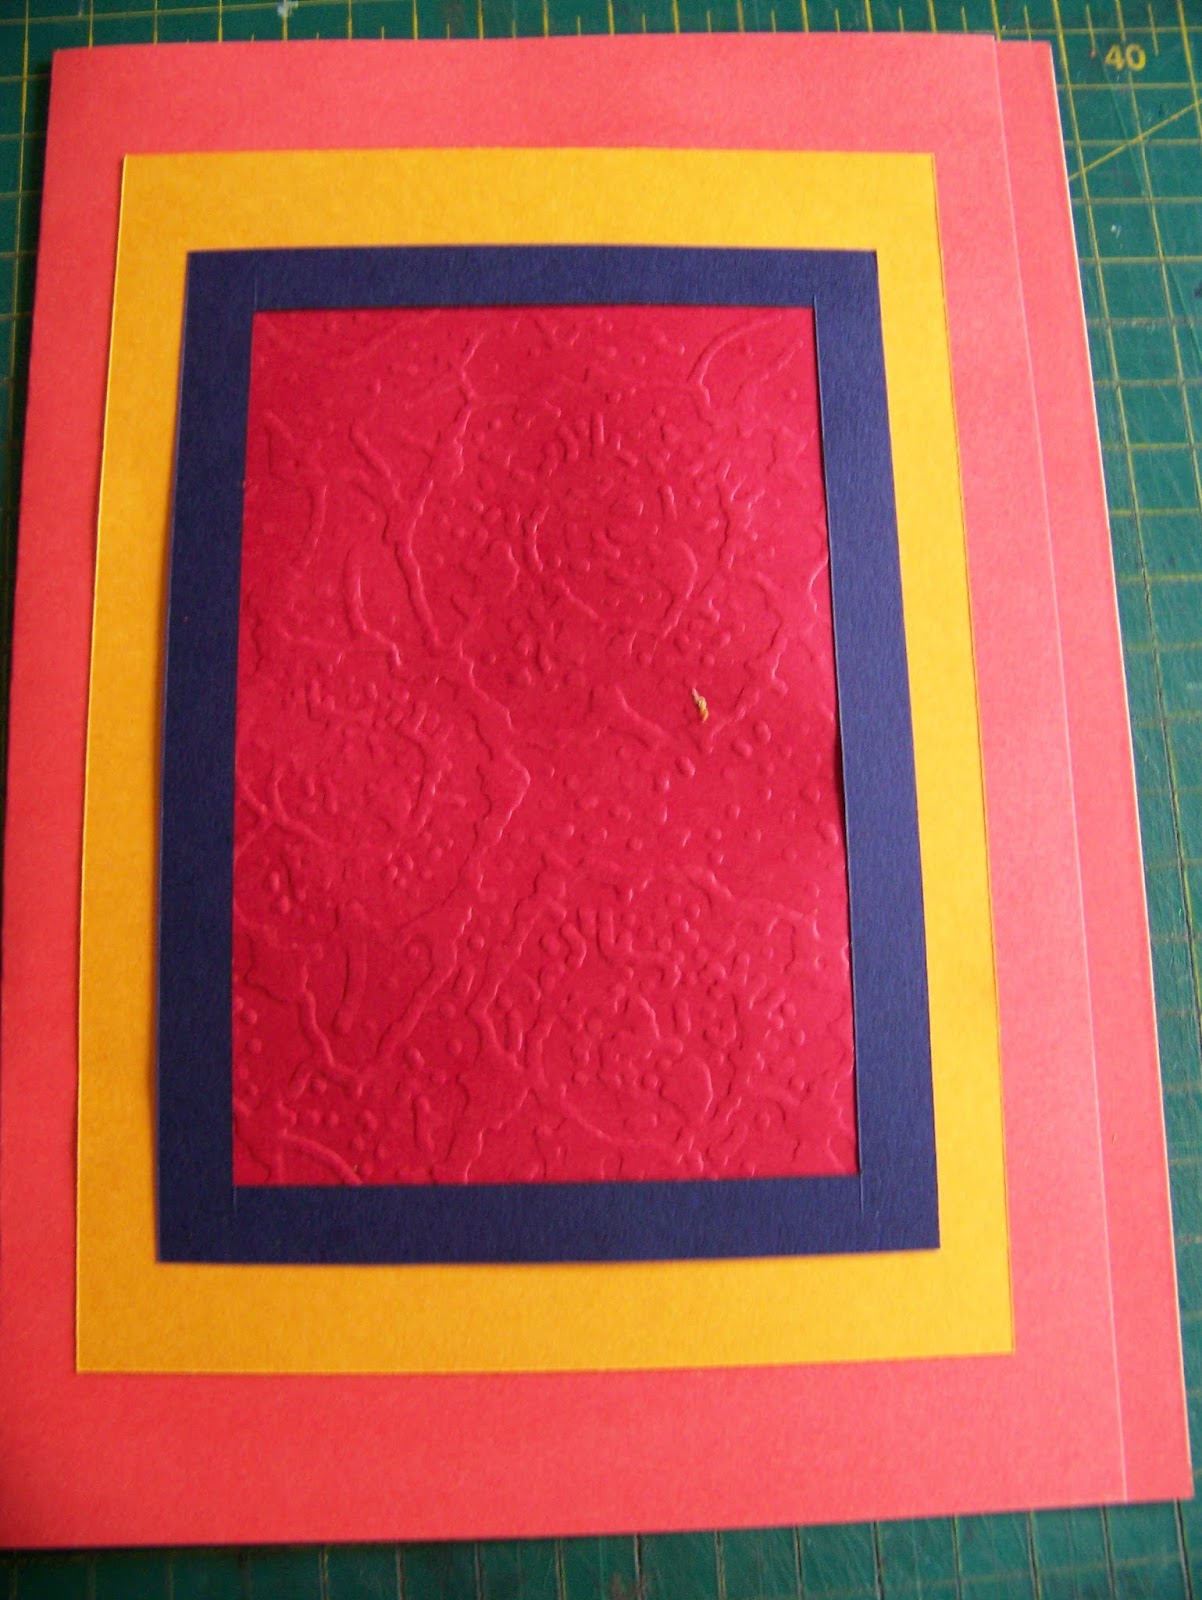
Finding an A4 sheet of cardboard in a less brilliant shade of red, I fold this over to make a card. I use the cutting mat to help me to fold the top over to be 1 cm shorter than the bottom of the card.

Finding a bright yellow (almost orange) cardboard sheet, I cut a piece to be about 2 cm smaller than the card all around.

I now start layering everything on top of each other, using double-sided tape to keep it in place.

The card forms the bottom layer, followed by the yellow cardstock, followed by the embossed red focal point.

This is when I introduce the third of the primary colours when I cut a blue frame to fit around the embossed card.
I then found a pretty roll of Washi tape to match the floral design of the embossing, as well as to break the monotony of the primary colors. The contrast of black and white is still bold and dramatic, but it does help to tone the brightness of the other colors down a bit.

I work with yet another piece of offcut cardboard on the inside of the card. This time I even allow the paper to have a design. This design will not overwhelm the writing, provided the message is written in a brilliant black ink.

Another blue frame ensures that the three primary colors are represented inside the card as well as outside.

Wanting to break the seriousness of the bold colors and designs, I opt for some playful embellishments to add to the card. These are attached with double-sided tape.

That concludes the inside of the card.

A close-up view of the inside of the card.

To finish the outside of the card, I add a few more playful embellishments. This time they are attached with Tombow glue.

A very simple design where the colors feature more strongly than the embellishments.

For more crafty ideas and great products, visit APrettyTalent.com.
Remember to keep nurturing your TALENT for making PRETTY things.
You can subscribe to this blog and receive regular updates by email by simply registering your email address at the top of the current blog.
No comments:
Post a Comment