
I position the shirt very carefully on the fabric, making sure it lies as flat and straight as possible.

I cut out one half of the shirt, lift it away, fold the fabric double and cut the other half of the shirt in an exact mirror of the first. This is what the pattern looks like when folded open. There does not appear to be a difference between the front and back, which is very convenient.

I now lay the sleeve out as smoothly as I did the rest of the blouse. I cut up to the top of the sleeve, remove the shirt, fold the fabric over on itself and cut the other half of the sleeve on the pattern of the first.

It is an oddly shaped sleeve, but true to the pattern.

I now measure and cut the facings exactly as the ones on the shirt.

The facings all get stiffening ironed on to them.

Pin the facings to each other, alternating longer and shorter pieces to get them in the correct order.

Sew the ends as shown.

Cut the centers open. Do this with all four facings.

Fold the seams open.

Fold the seams in on top of each other. The corners will automatically be created.

Iron the facings flat.

When fully constructed, the facings should look like this.

This pattern can be highly confusing, differing largely from most other patterns. I suggest you lay the fabric pieces out to make sure you get them in the right places.

Pin the sleeves to the top and sew. Each sleeve will have two separate seams attaching it to the top, again differing from most patterns which has only one continuous seam.

Find the center of the neckline of the top, front and back.

Find the center of the facings, front and back. There are the shorter facings. The longer ones are for the sleeves.

Tack the neckline of the blouse, front and back.

Line the center of the facing up with the center of the blouse.

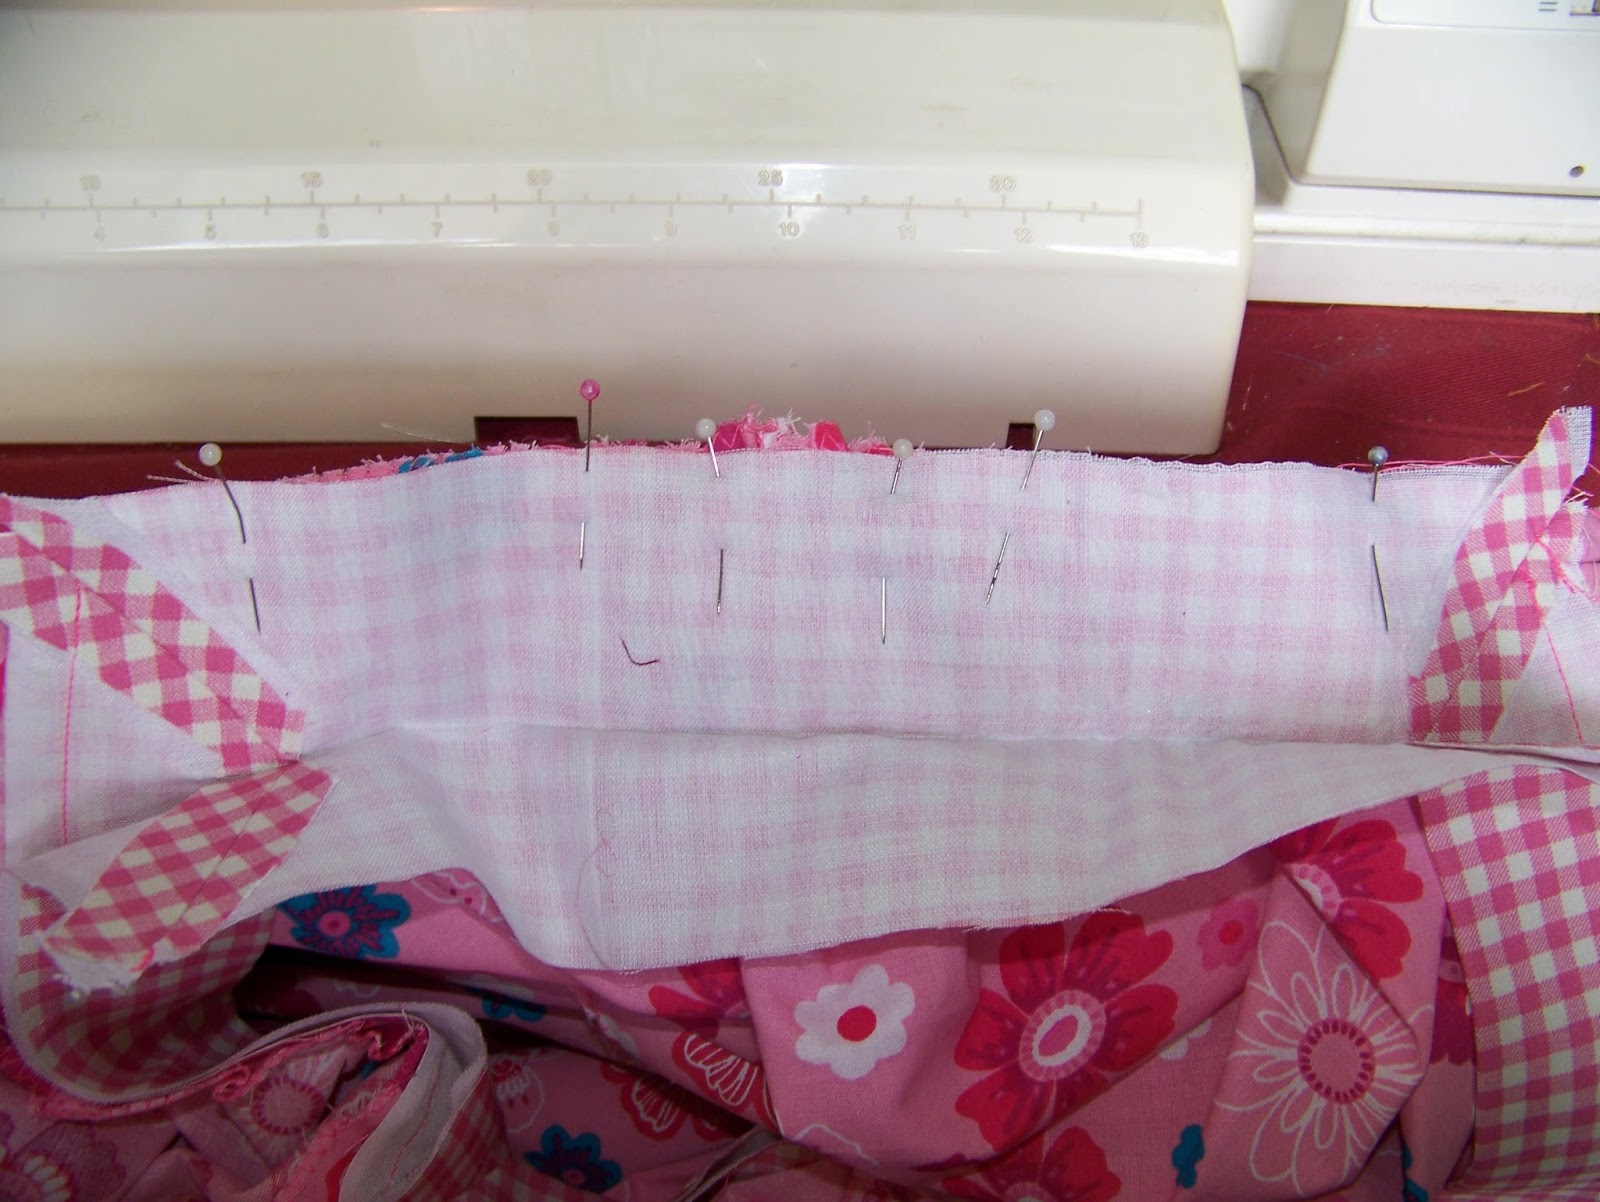
Now pin the sides of the top and the facings.

Tack the rest of the neckline between the pins and pin it securely to the facing.

This is what the other side should look like.

Sew from one corner to the next.

You should start and stop exactly on the seam, as shown.

Repeat this for the remaining side, be it front or back.
Tack the sleeve. Pin it to the facing exactly as for the front and back. The tacking should be centered at the top of the sleeve.

Sew the sleeve to the facing. Start and end exactly on the seams for the front and back, as shown.

Fold the seams in and pin the inside facing.

Enclose the seams in the facing, by closing it by hand.

Lay the front and back on top of each other, lining them up at the side seams. Line up the sleeve seams and pin it.

Pin from the sleeve seam down to the hem of the blouse.

Sew from the sleeve seam down to the hem of the top with seam allowance 1,5 cm.

Pin a rolled hem for the sleeve.

Sew the hem for the sleeve.

Pin a rolled hem for the top.

Sew the hem for the top.

I love how this top turned out and I will certainly be using the pattern again. This square neckline is flattering for heavy boobed women, like myself.

For more crafty ideas and great products, visit APrettyTalent.com.
Remember to keep nurturing your TALENT for making PRETTY things.
You can subscribe to this blog and receive regular updates by email by simply registering your email address at the top of the current blog.
No comments:
Post a Comment