
The recipes calls for 10 liters of water, but once everything is mixed you may find that you have closer to 11 or 12 liters of ginger beer. Prepare enough bottles for the bottling process.

When my grandmother passed away a couple of years ago, I borrowed her recipe book and scanned the pages as photos (or jpeg files). Each child and grandchild was given a CD with the scanned pages to print (or not) as they wished. I printed a copy for myself. It is special to still be able to work from her recipes, written in her own hand!

I have large plastic buckets dedicated to kitchen use and I filled one of these with 10 liters of water.

The recipe called for 3 pounds of sugar, a unit I am unfamiliar with. I have a handy app on the iPad, simply called Converter, to convert pounds into kilograms for me. I found that it was approxiamately 1,36 kg sugar.

I poured some sugar out of a packet and weighed it on a kitchen scale (that used to belong to my other gran!) until I had just about the right amount.

The recipe then calls for two tablespoons of powdered ginger to be added. I find that ginger is very weak of late and added two heaped tablespoons.

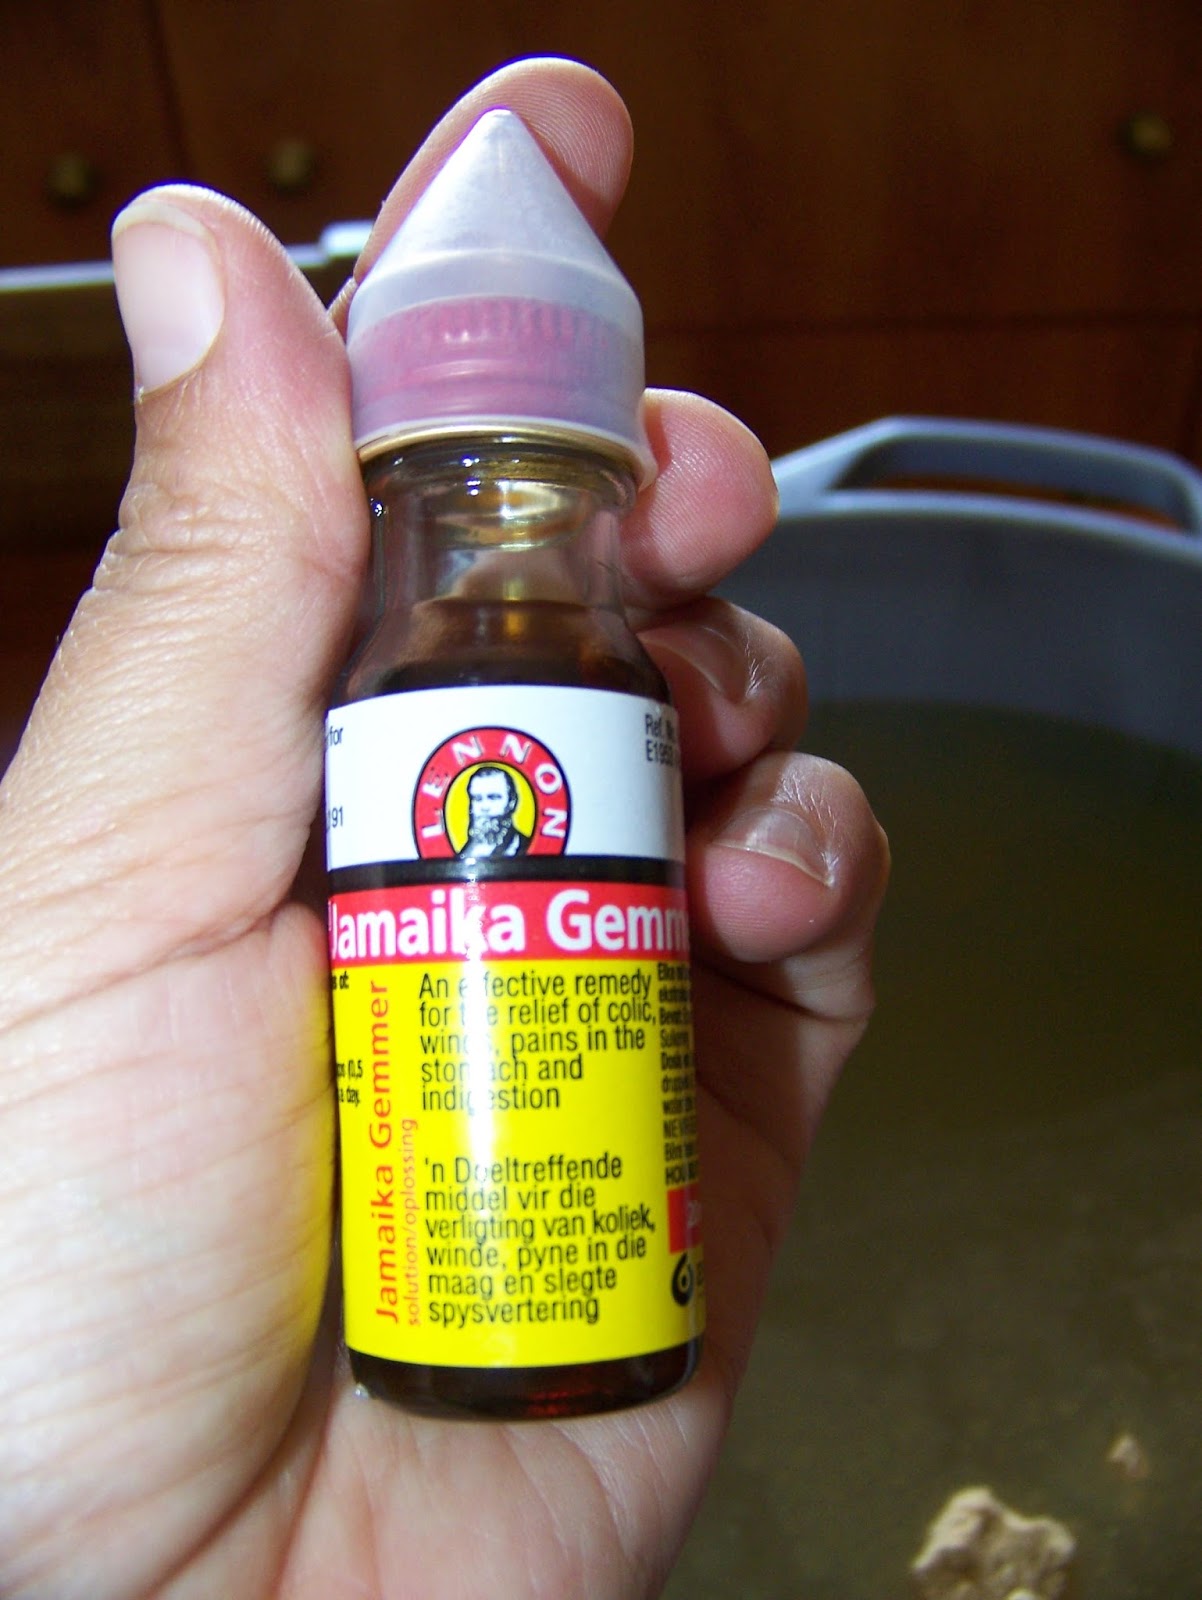
The recipe calls for a bottle of Jamaica ginger to be added. I added two! What can I say? I love a strong ginger taste and so does everyone in my family.
The original recipe knew nothing of instant yeast, but called for a yeast cake or a teaspoonful of dried yeast grains. Really any yeast will work fine in this recipe and I have used all possible versions with equal success. Today I will be using traditional brewers yeast, the only one I have not tried yet! I am curious to see if this will affect the ginger beer differently.

Add a teaspoonful of tartaric acid.

Add half a teaspoon of orange essence. You do not want to overpower the beer with an orange flavor, but this will help to achieve that nice rich color, as well as to add a hint of fruitiness to the beer.

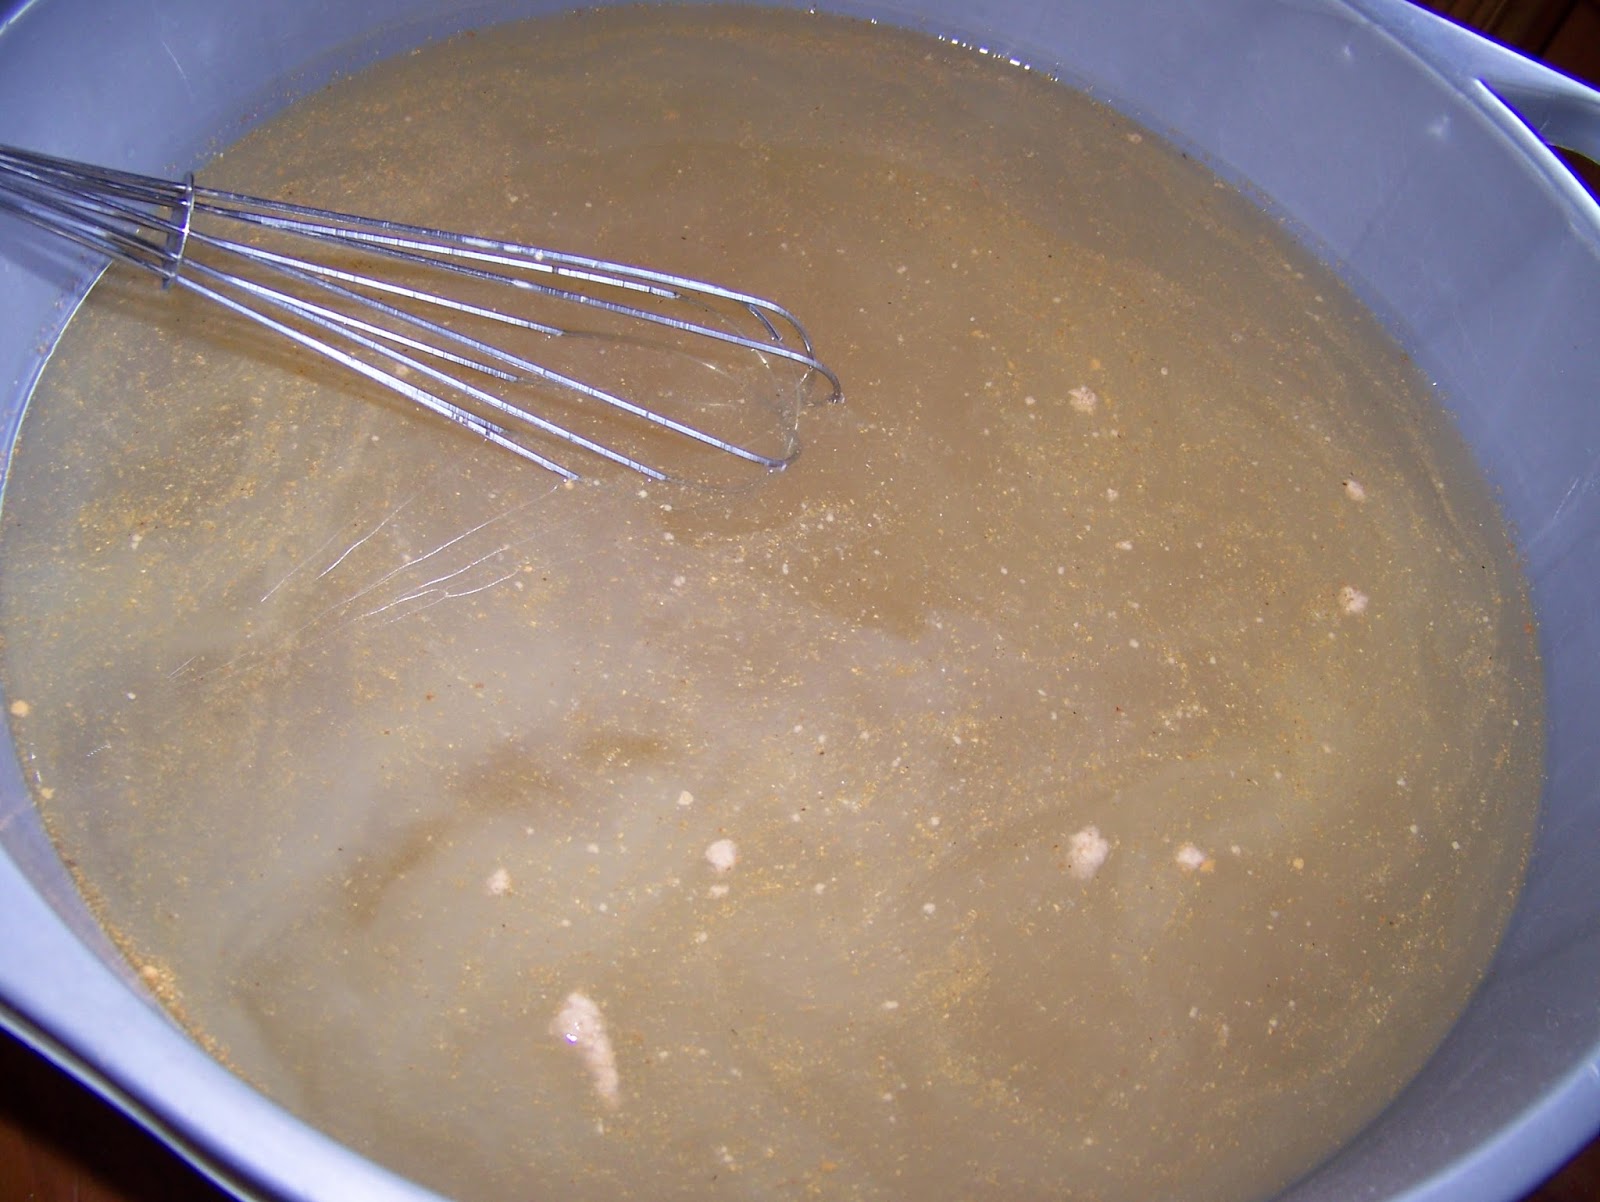
Now bring out the big whisk and stir until all the sugar dissolved.
I asked my mom to pour the ginger beer into the bottles so I could take this picture. It is now time to bottle the ginger beer, but do not put the lids on yet. I got just short of 12 liters. Do not fill the bottle to the top, but leave space for the ginger beer to rise once it starts fermenting.

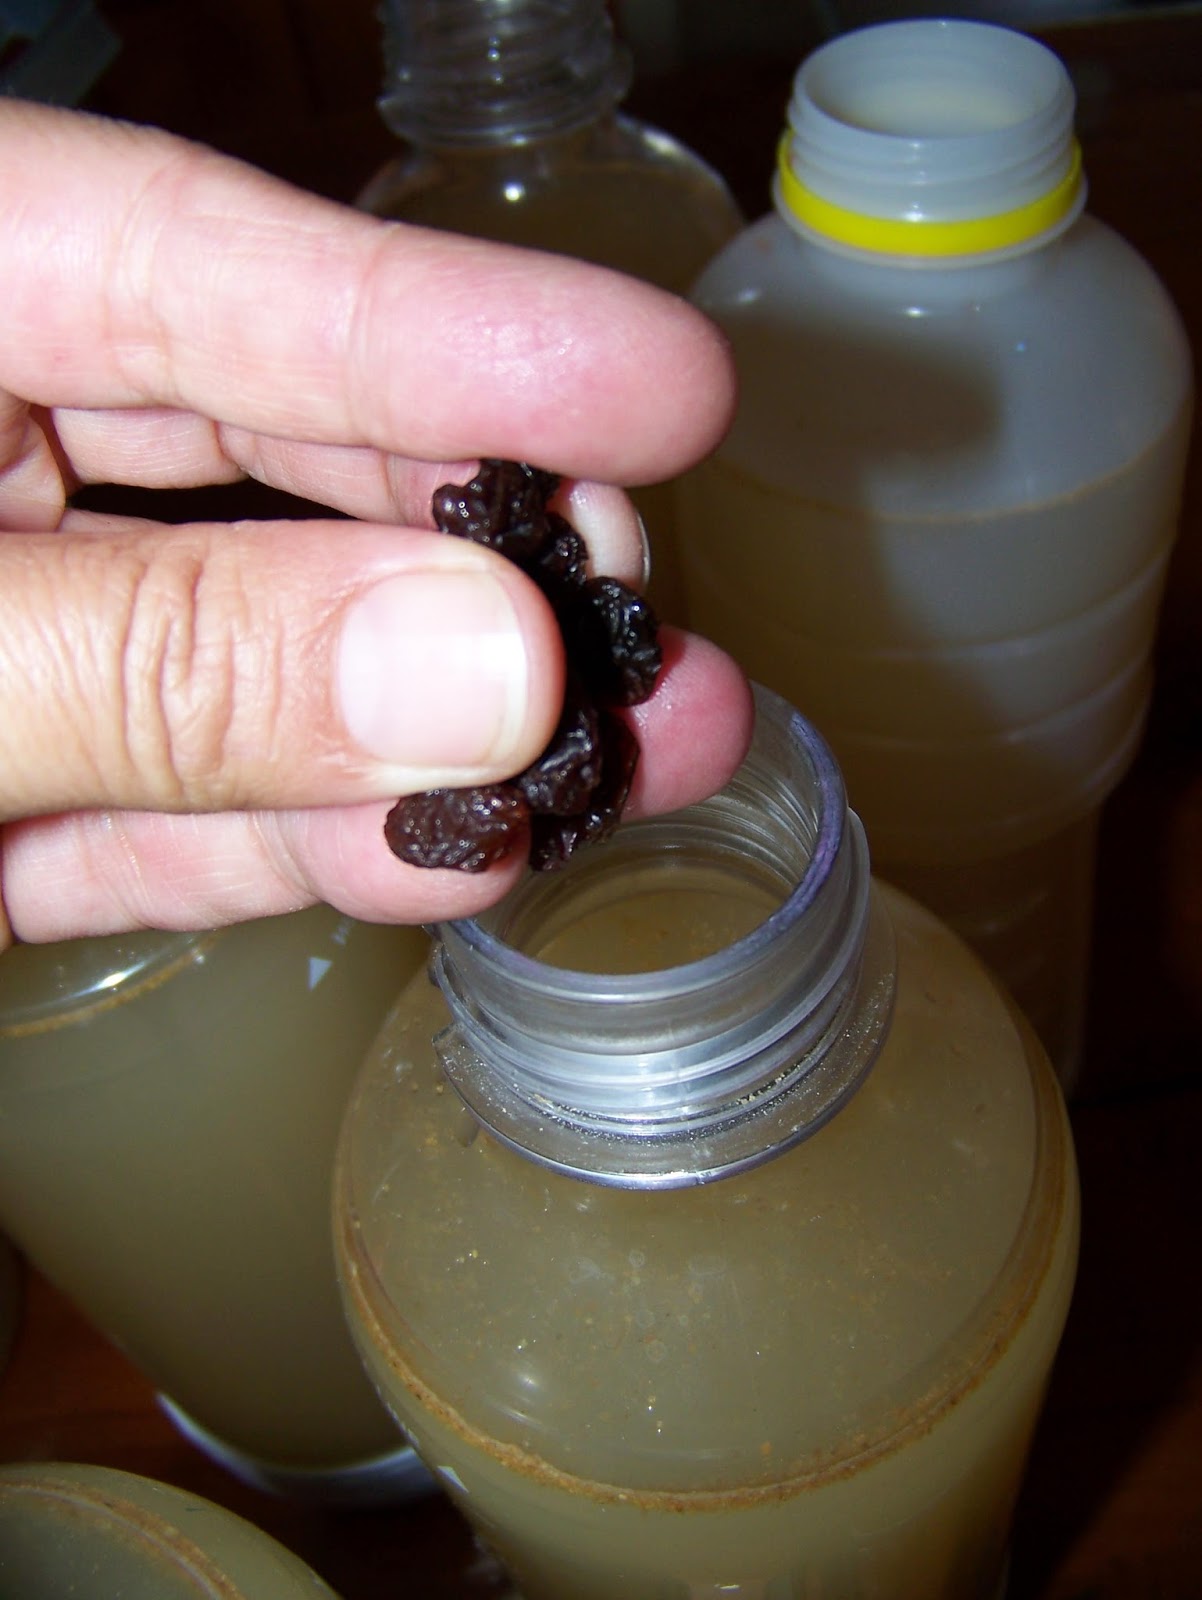
We first need to add some raisins to the bottles. These will help with the fermentation process.

I like to add quite a few raisins, but 3 or four in each bottle is sufficient.
The ginger beer will now begin to ferment and you need to give it time to do so. Instant yeast will react much faster, but I would advise that you still give it the full 24 hours waiting time to allow the grapes to get in on the game! Do not screw the lids on, but only let them rest lightly on the bottles. Once the fermentation starts, the bottles will expand and burst, unless the gasses have an escape hatch.

Now put the bottles aside and wait at least 24 hours. After 24 hours you can remove the raisins and strain the ginger beer through a linen cloth. I dislike doing this, preferring to keep all of those taste additives inside the bottles. Everyone in the family already knows that you do not drain homemade ginger beer to the bottom!

About 12 hours later, the ginger beer looked like this and it was clear that the fermentation process had started. The raisins had swollen out and risen to the surface.

24 hours later it was clear that the ginger beer was now brewing beautifully. If you watch the raisins for a little while you will note that they raisins race up and down the bottle. This is a really good sign. You can now tighten the lids and put the beer in the fridge to chill. I opted to allow mine to ferment for another 12 hours to increase bubbles in the ginger beer. Once you have put the bottles in the fridge, you need to open the lids at least once a day to allow the gasses to escape, or the bottles may swell and pop. Yeast is a live cultivar and will continue to brew. The cooler temperature will inhibit growth without completely stopping it.

When you are ready to drink the ginger beer, I suggest straining it.

I use a muslin coffee strainer which catches most of the impurities. Those raisins are added back to the bottle to ferment a little more.

At last you have some cool ginger beer to enjoy!

For more crafty ideas and great products, visit APrettyTalent.com.
Remember to keep nurturing your TALENT for making PRETTY things.
You can subscribe to this blog and receive regular updates by email by simply registering your email address at the top of the current blog.
No comments:
Post a Comment