
I started by measuring an open shelve in the playroom to make sure the gift would have somewhere to fit before I made it. As luck would have it, I had a piece of masonite that had already been prepped with gesso in exactly the right size. The size I was looking for was 80 cm x 50 cm.

I planned the surface of the bridge on another off-cut masonite board I had. I sawed on the lines.

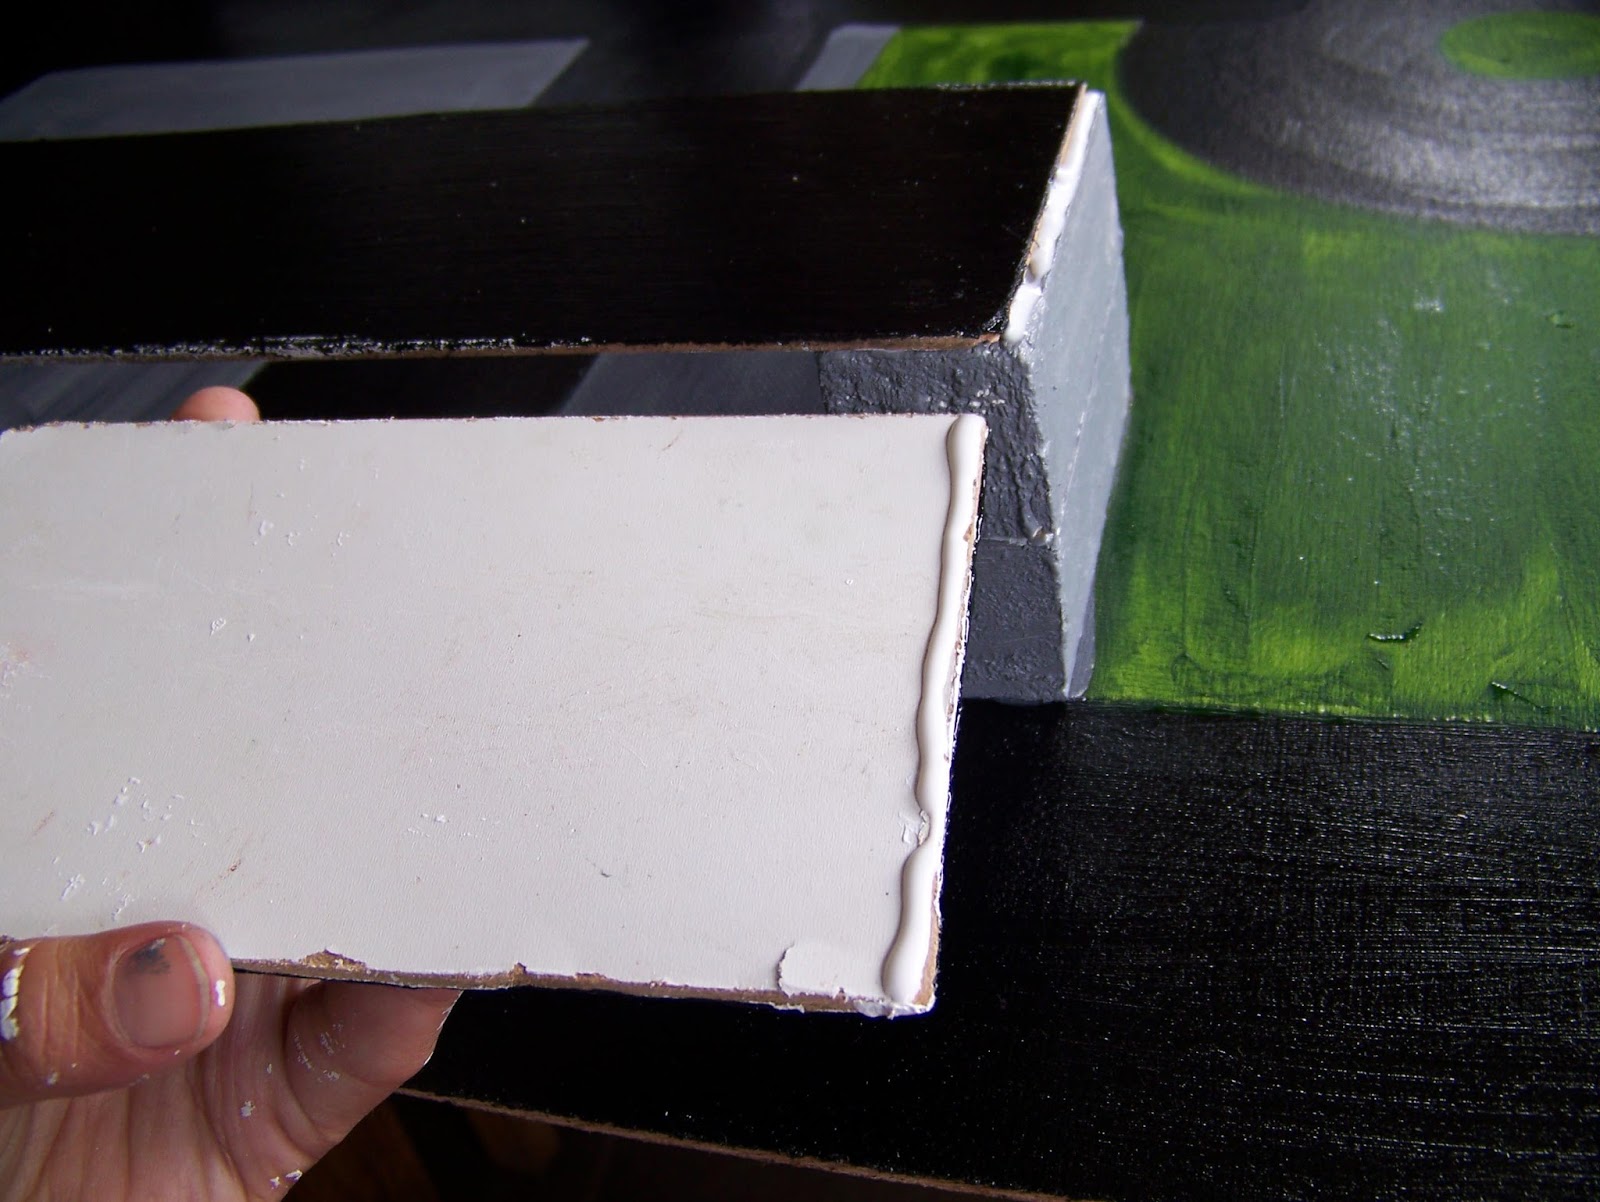
The pillars would be cut from square timber, also off-cuts. I used the masonite to measure to make sure the pillars fit perfectly under the bridge.


I filed all of the sides to make them smooth.

I then painted all of the untreated wood with a gesso coating.

I laid the bridge in place on the board to mark its space with a pencil. The rest of the roadways would be planned around this focal point.

I meticulously drew all of the lines and roads in, only to realize that I was forcing adult issues onto a preschooler. They hardly even care if there are any lines. In the end I ignored most of this planning.

I used black acrylic paint to paint all of the roads. Acrylic is a great choice for me for two reasons. It dries with an almost plastic surface, which can easily be wiped clean and is also water resistant. Secondly, I had it in stock and would not need to buy anything extra, making the project more expensive.

The surfaces for the bridge were also painted black.

I then mixed white and black acrylic to achieve grey.

I painted the pillars grey.

I also painted all of the parking lots grey.

I then used Acrylic Sap Green to paint the grass areas. Initially I wanted to paint buildings, but rethinking it decided to paint only 'grass' as this little boy's favorite pastime is to mow the lawn with whoever is handy to help.

I used wood glue to attach the pillars to the board. I then glued a second pillar on top of the first to give the bridge the necessary height.

I put glue at the top of the pillars and laid the bridge on top of that.

I allowed a small space at the side of each pillar for the ramps to rest on. These were glued. I also glued the other end of the ramps where they would rest on the board.
The structure was now in place and only needed time to dry.

I painted the lines onto the road freehand with white acrylic paint. I am not entirely sure this was wise.

When everything was dry, I added a few cars and the road was ready for inspection.
Since the girls all had the opportunity to see their gifts before Christmas, I considered it fair that the same rule applied to the boy. The delight in his face was priceless. He was none too happy that it had to put away until Christmas, though.

For more crafty ideas and great products, visit APrettyTalent.com.
Remember to keep nurturing your TALENT for making PRETTY things.
You can subscribe to this blog and receive regular updates by email by simply registering your email address at the top of the current blog.
No comments:
Post a Comment